
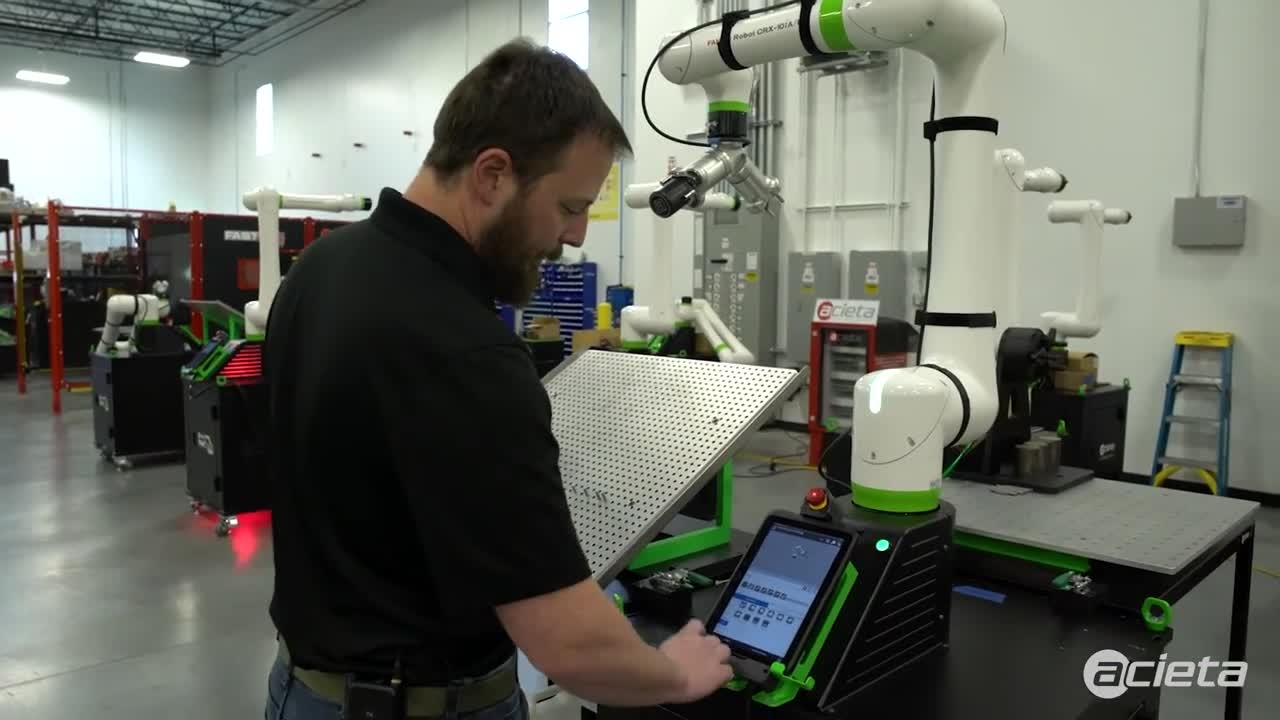
Pick the program that will move the robot to the positions that are needed.
It's called Payload Positions.
This helps you move between the four positions that the payload calculator requires.
Make sure you have your part or your payload set up on your gripper.
So that way as the robot records the settings, it's with your actual payload.
Here I've got a part in the gripper and I'm ready to start.
Select Menu > Setup > UTool Payload Setup
The first thing that it shows you are the four different positions that it's going to expect the robot to walk through.
We already have that step covered because of the program. So we'll just press Next Step.
And then we select which payload schedule we want to set.
In this case, I'm going to pick an unused schedule.
And then we can go to Next step.
Now if you know the mass of your part and the end of arm tool altogether, you can enter this.
So I'm going to pick that the mass is not known and press Next step.
And then we're already at the first position. If we weren't, we would go under Play and enable the step.
Then we advance it line by line until the robot moves to the first position we need to take a measurement at.
Now we can press Measure. And as soon as we have a green checkbox, we know we're good.
And then I can press Next Step. And then back into the Play, run the program forward via FWD.
It'll move to the next position. Press Measure again.
And we should get a green checkbox.
Press Next Step.
Via Play, press FWD and move to the next position.
Measure again.
Get the green checkbox
Next step
Via Play and FWD move from the last position.
And then we'll measure again.
Get the green checkbox.
Press Next Step and it will show us what results it found.
As long as this looks appropriate, go ahead and hit Finish.
Now the first thing you need to do then is apply your DCS parameters.
Hit the icon bottom right and open up the Legacy pendant and then press Apply.
And enter the default master code which is 1111.
Press Enter.
And then it'll take a moment for it to resolve everything.
Now we can press OK.
As soon as it comes back up, we'll have to cycle power and then that new payload is ready to use.