
Wash hands thoroughly and put on non-sterile gloves according to protocol.
Clean the tray using a wet wipe and allow it to air dry to create an aseptic field.
Decontaminate hands, and gather equipment using a non-touch technique.
Necessary items include:
- Chloraprep Frepp 1.5ml
- size appropriate cannula
- cannula dressing
- cannula extension set
- sterile gauze
- required blood bottles
- patient identity label
- sterile luer lock vacutainer
Check the prefilled 0.9% sodium chloride syringe. Remove it from the dust cover and loosen the cap. Expel any air from the syringe and replace the cap to protect the key parts from contamination.
Key parts:
- sponge
- needle
- adhesive side
- extension set access points
- tip of syringe
- luer lok tip
Decontaminate hands and apply a disposable apron. Introduce yourself to the patient, confirming their ID, name, date of birth, and NHS number.
Check their allergy status, explain the procedure, and obtain consent.
Decontaminate hands and wear non-sterile gloves. Prime the extension set with 0.9% sodium chloride to prevent air embolism.
Apply a disposable tourniquet and locate a suitable vein. Clean the skin using a crosshatch motion for 30 seconds, then allow it to air dry.
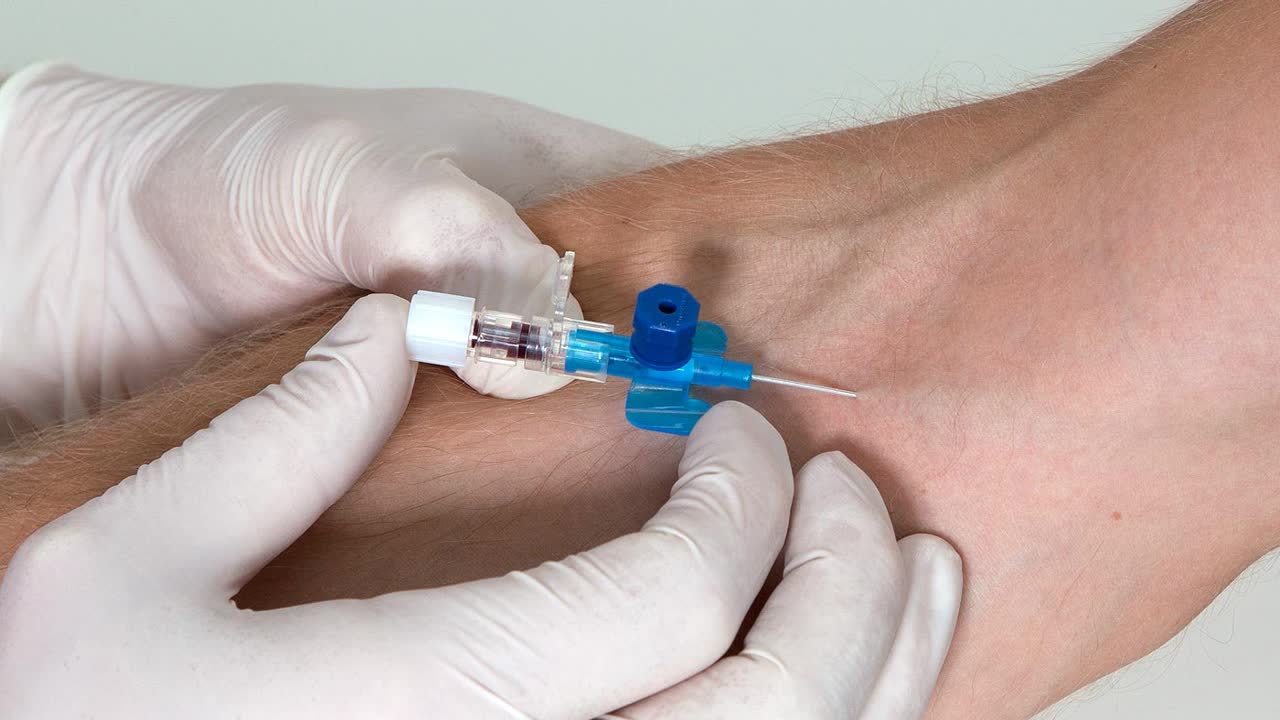
Prepare the cannula for insertion, flattening the wings. Anchor the vein below the puncture site and insert the cannula at an average angle of 15 to 20 degrees using a non-touch technique.
Use sterile gauze for any blood spillage.
Lower the cannula parallel to the patient's skin once the first flashback is visible. Pull back slightly further and slowly to obtain a second flashback. Fully insert the cannula and secure it with two dressing strips running parallel to the cannula.
Apply pressure above the cannula insertion site using sterile gauze to occlude the vein. Remove the safety stylish and dispose of it immediately into the sharps bin. If a blood sample is required, attach a sterile luer lock vacutainer following the order of draw.
After the safety stylish is removed, attach the pre-primed extension set and flush it with the remaining 10 ml of 0.9% sodium chloride. Cover the entire cannula with the dressing to protect the key site and reduce the risk of phlebitis.
Document the date and time of insertion, and attach it to the cannula dressing. Remove and dispose of all waste, wash hands as per trust protocol, and complete the peripheral venous cannulation care plan.