

Personal Protective Equipment (PPE). Gloves and Safety Glasses. If you don’t already have a pair of gloves or safety glasses, please see the store person.

Tools required: Crane, two red corners, sling (You MUST be signed off by the maintenance coordinator before using the crane, if you are not signed off ask someone who is, to do it for you), angle grinder/knife and metal shears.
Turn the switch to Manual.
Press the yellow Jog button to eject the last of the V5000 material from the machine.
The jog button does not push all of the material out, you will have to pull the last bit out with your hands.
Fully retract the De-coiler.

Take off the cardboard roll.

Place red corners and sling on the new coil, make sure sling isnt twisted.
Using the crane lift the new coil up, make sure you are crane trained or get someone who is crane trained to do it for you.
Bring the coil over to the De-coiler.

Make sure the gap is up on the de-coiler so you can get your strap and corner out.
Slowly put coil on the De-coiler.
Fully Expand the De-coiler.
Lower the crane and remove the corners and sling.

Using the grinder remove metal strap and tape. Make sure to hold the end of the coil so it doesn’t hit you.

Make sure coil is positioned like this, grey side up, white side down.
To give you more coil, turn the bottom switch towards the machine.

Using the shears cut a curved edge on the lead edge of new coil.
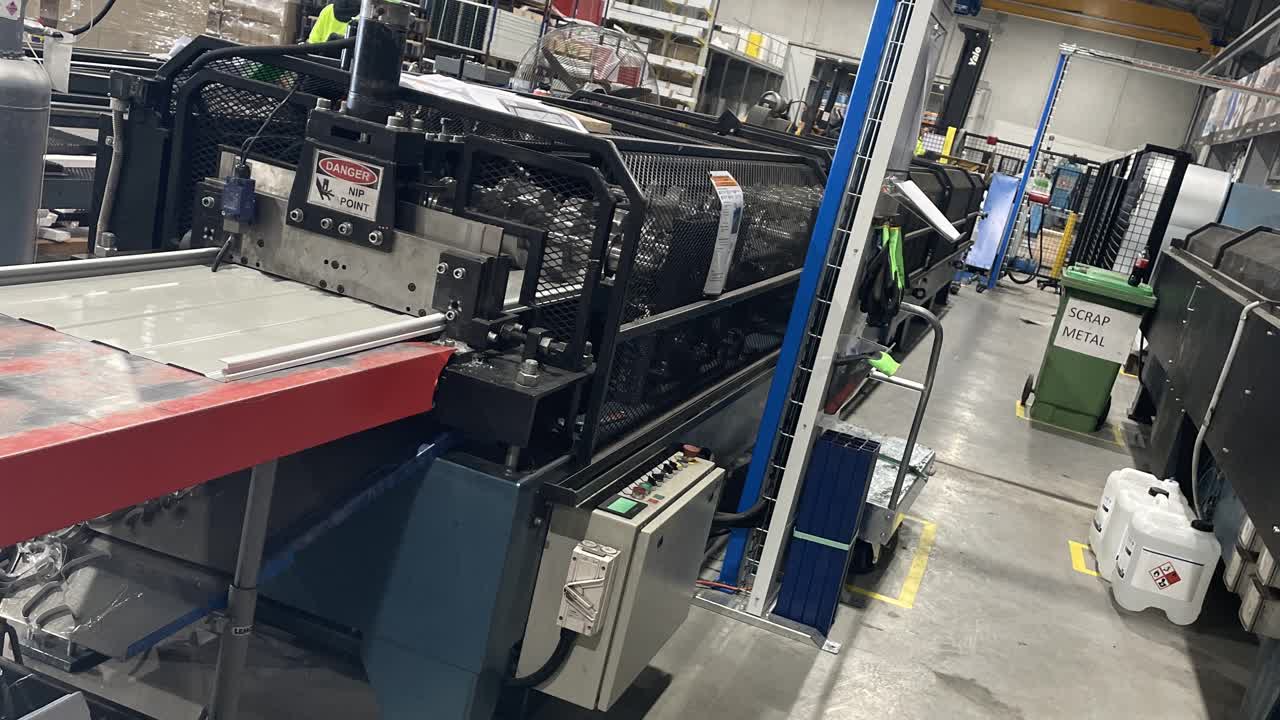
Feed the new coil into the machine, in-between the first rollers and into the guide.
Pressing the yellow jog button feed the coil through the machine. Follow the coil through the machine by pushing the yellow jog buttons on the outside of machine all the way to the console.
Stop the coil before it reaches the guillotine [you will need to help guide the coil through by gently pressing down on the coil].
Press the yellow jog button to jog the coil through, then press the blue Manual Cut button.
Turn the switch back to Auto.

Make sure to write in the comment section of your QA sheet that you have completed a coil change.