
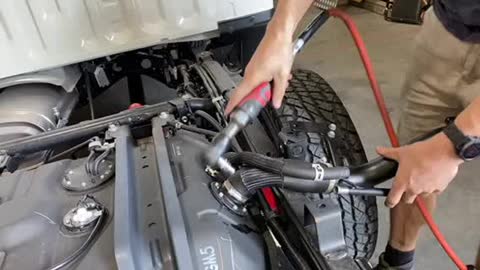
Instruction is almost identical between the Dual Cab and Single Cab variants. Only difference is that hoses are longer on the Single Cab.
The below instruction show fitting on a Dual Cab
Remove the original fuel filler and hose from the factory tank.
Easiest to do this before fitting Tray to vehicle
Identify original filler
Mark 100mm from breather port
Mark breather at elbow as shown
Trim where marked, debur sharp edges
IMPORTANT Clean inside of pipe to remove metal from grinding process
Straighten breather pipe so it approximately parallel with main pipe
Now ready to fit modified filler to Tray

Tray is supplied like this
Fit modified neck to tray, 10mm to tighten
Fit breather hose

Tighten hose clamps
Tray can now be fit to vehicle

Original delivery hose will be used. Cut original hose in half

Should look like this when cut.
We will reuse the the "elbow" section (not the straight section)

Cut zip ties which hold the stainless pipe up during transport.
Cut them, then the stainless pipe will drop down near the tank

Fit elbow so it points straight up
Slide 2 x original hose clamps on. Push together
Important to get this right. Wiggle to desired location
IMPORTANT Slopes downwards towards tank as much as possible
Should look like this
Tighten clamps, 10mm socket
The clamp MUST be on a straight section of pipe, not “on the corner” as the clamp will not seal correctly and the system will leak!
When positioned correctly, you will have a clear gap between the pipe and tray mount
Sometimes it works out that it is very close to the back of the mount. Use a zip tie to pull it hard against the mount so it can never vibrate and rattle
Connect breather (pliers for clamp) and zip tie to main hose. Trim zip ties neatly
Fit fuel cap done!