
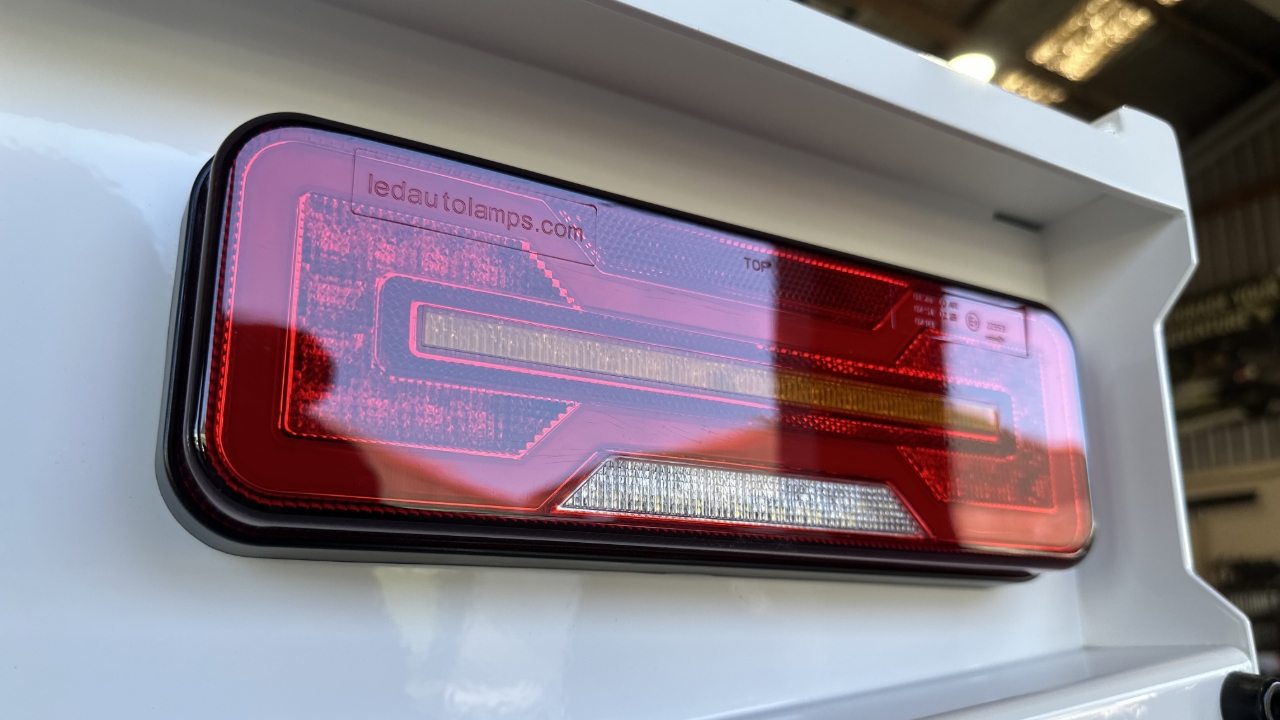
Take your taillights and cut the solder off the wires.
Strip the wires back on the taillights and the Ranger taillight patch and place a solder splice over the brown wires from the taillight and patch.
Heat with a heat gun.
Repeat the solder splice process with the rest of the wires taking note of the orientation.
Red - Red
Black - Black
White - White
Yellow - Green
Brown - Brown
Place housing over the wiring like so.
Tape the housing in place.
For the other taillight, the only difference in the wiring orientation is that green solder splices to green.
Feed your taillight through the bumper like so and rivet the resistor to the tray.
Your taillight has small arrows in the corner. The brake light should be at the bottom and the arrow facing outwards.
If you have BSM's you will need to complete these before you can continue.
Put anti seize on the taillight bolts and place your BSM mounts on the bolts like so.
Fasting the BSM and taillights using the M6 flat and spring washer and nut.
Using x2 M6x16 button heads and nylocs, fasten the BSM's to the bumper like so.
Fasten the nylocs and nuts.
Plug the patch back in to the vehicle taillight and BSM looms.
Securely cable tie the loom away from any hot or moving parts.
Your taillights are now complete