
Remove all screws holding the crate lid to the pallet. All screws to be removed are marked red.
Open canopy doors and remove 4x hold down nuts/bolts. Now your canopy is ready for lifting. Remove cardboard box and associated parts that are strapped to the pallet. These will contain your fitting kit etc.
Remove earth on battery if you have central locking.
Remove factory tie down brackets from tub. Place front mount to tub using the factory tie down bracket, x2 M8x40 stainless steel button heads, spring washer, flat washer and loctite.
Loosely fasten front mount. Repeat process with the left front mount.
Remove factory tie down brackets at the rear of the tray. Place packer in tub like so. Screw a M8x40, with a flat washer, spring washer and loctite through the rear mount, packer and tub.
Loosely fasten the factory tie down brackets through the rear mount and the tub with x2 M8x40, flat washer, spring washer and loctite.
Your rear mount should look like this. Repeat on opposite side.
Pop the 6x tub plugs out. Place provided plugs in like so. The 2x front and 2x centre plugs require the 2 piece plug.
The 2x rear plugs require the 1 piece plugs.
If you have a Tremor model Ranger, your 4x plugs will look like this.
Apply sealant to these outer edges and gaps at the front of your wellside.
Place front packer to the front of the tub and fasten with x2 M6x25 button heads flat washer, spring washer and loctite
Fasten x4 M8x30 button head, spring, flat washer and loctite to the top of the packer
Get all bolts stared before tightening all bolts in the front packer.
sillicone around the ends of the packer like so.
Insert grommets into the top of the packer.
If you are installing wellside drawers, install them before placing your Artemis canopy onto the wellside. It is helpul to have the 4x mounting bolts sitting in the canopy to assist with placement when lowering canopy into place. If you have central locking, feed your canopy harness down between cab and wellside gap. You will connect this at the end.
Fasten the front and back mounting points using x4 M8x20 and nylocs.
Using M8x20 x2 heavy washers and a nyloc, fasten centre mounting point together. This is to create a gap while you drill a hole in the next step.
Drill through tub and mount using M8x20 and a nyloc.
Unscrew bolt like so and remove the heavy washer. Place bolt back into mounts and tighten.
Go back to your front and rear mounts and tighten all button heads.
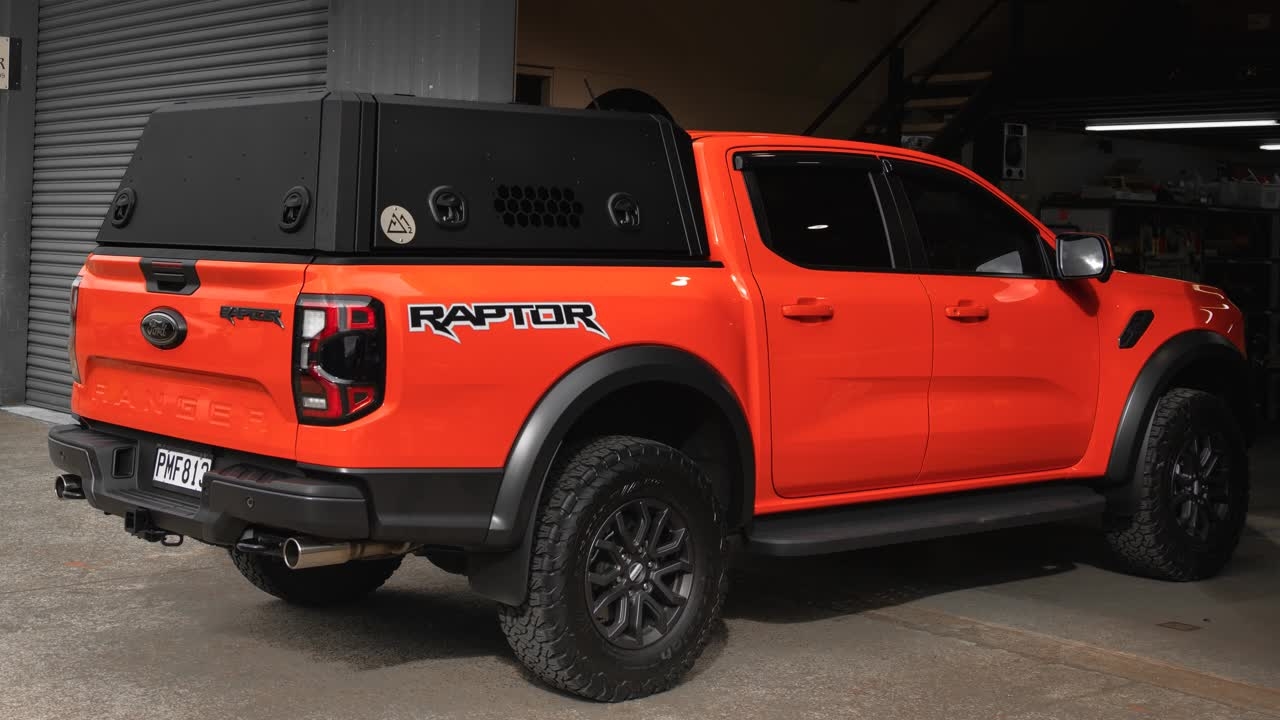
Your Artemis is now installed on the vehicle.
If you have central locking, follow the 'install ranger central locking video' and connect your canopy harness to the vehicle harness in front of the passenger side rear wheel and secure to the exsiting factory ranger harness under the cab using cable ties.
Reinstate earth clamp on battery.
If the latch and barrel nut are fouling, take x2 Allen keys and slightly loosen the barrel nut like so. The barrel nut can be moved up or down. Move to the required height and tighten. Your barrel nut should now slot in to the latch smoothly.
For the rear door latches, the same process from the previous step is used. The barrel nut can move horizontally to its correct position. Tighten and your rear door should now latch smoothly.