Knowby
Bunnings
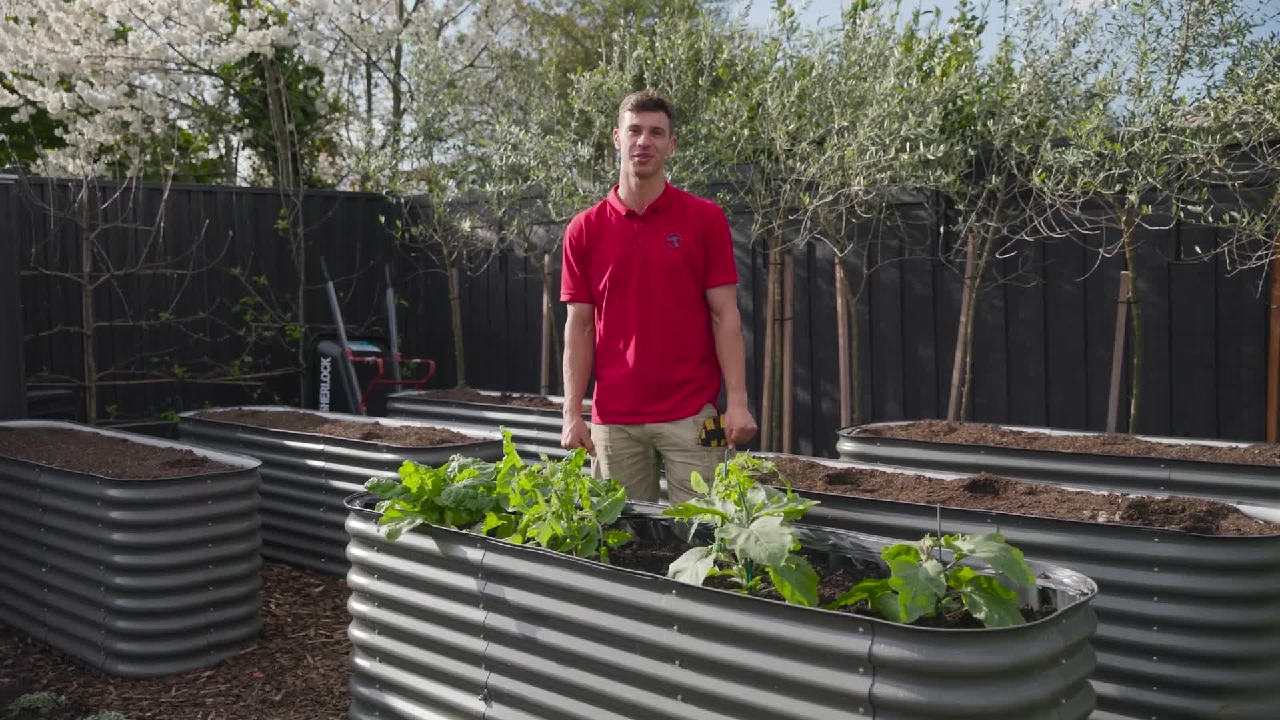
How to make a wicking bed Bunnings Warehouse
A wicking bed is a fantastic way to grow veggies, herbs and flowers, especially in hot or dry conditions.
A wicking bed is a fantastic way to grow veggies, herbs and flowers, especially in hot or dry conditions.
1
Step 1 of 28A wicking bed is a fantastic way to grow veggies, herbs and flowers, especially in hot or dry conditions.
2
Step 2 of 28Hi, I'm James and this is how to make a wicking bed. Let's get into it.
3
Step 3 of 28First, let's start by choosing a sunny spot in your garden, ideally with around six to eight hours of sunlight each day.
4
Step 4 of 28If the ground is uneven, you might need to dig or add some soil to create a flat base before placing your raised bed frame into position.
5
Step 5 of 28Once in place, check again to make sure it's level. Next, line the bed with the pond liner to ensure you have a waterproof reservoir.
6
Step 6 of 28Ensure it fully covers the entire base and sides of the bed with some overhang.
7
Step 7 of 28This plastic layer will hold water at the bottom of your wicking bed, allowing it to wick up into the soil.
8
Step 8 of 28This here is Aggie pipe. This is going to sit at the bottom of our wicking bed and I've measured it to length so that it will fit from one end to the other.
9
Step 9 of 28But before we install that, we'll need to grab our PVC pipe, which we've cut to length so that it will sit just above soil level and this will act as a funnel to feed water to the bottom of the garden bed.
10
Step 10 of 28To ensure the water is distributed evenly, fit an end cap onto one end of the ag pipe to close it off.
11
Step 11 of 28Using a PVC elbow, a coil adapter and a piece of PVC pipe, bring up the pipe to the top of the garden bed.
12
Step 12 of 28This is where you'll add the water. Before we put in the drainage gravel, which will secure the pipe in place, it'll be good to test whether it's working.
13
Step 13 of 28This is good and we can see that the water is coming out, so we're good to move on to the next step.
14
Step 14 of 28Cover the Aggie pipe with a layer of drainage gravel, up to the point where your soil layer won't be any deeper than approximately 300 milliliter.
15
Step 15 of 28This helps to create a solid base for the water reservoir. Once the drainage gravel is in place, drill a hole for your overflow outlet and screw that into place.
16
Step 16 of 28This should be positioned at the top of the drainage gravel to allow for any excess water to drain away, preventing the bed from becoming waterlogged.
17
Step 17 of 28Once the drain is in place, cut a piece of geofabric large enough to cover the drainage gravel layer completely.
18
Step 18 of 28This fabric will keep the soil from mixing with the drainage gravel, ensuring that your water reservoir stays clean and effective.
19
Step 19 of 28With our geofabric in place, it's time to move on to our potting mix.
20
Step 20 of 28It's important to use something high quality and rich in nutrients like what we've got here.
21
Step 21 of 28Fill the bed to about 50 mills below the top, gently patting down the soil as you go.
22
Step 22 of 28Lastly, cut the excess pond liner away and tape it to the metal frame to keep it securely in place.
23
Step 23 of 28Now for the fun part, planting. You can pick your favourite flowers, herbs and veggies, anything goes.
24
Step 24 of 28Dig small holes and plant them at the appropriate depth, spacing them out to allow for growth.
25
Step 25 of 28Gently press the soil around the plants to secure them in place. To finish, water the plants from above to help them settle in, then fill the reservoir through the aggie pipe until water starts coming out of the drainage pipe.
26
Step 26 of 28This will ensure the soil stays moist from below, promoting strong root growth.
27
Step 27 of 28And that's it, you've made a fantastic wicking bed. If you've enjoyed this project, be sure to check out our other instructional videos.
28
Step 28 of 28We've got plenty of DIY advice online to help tackle your next project with confidence.