
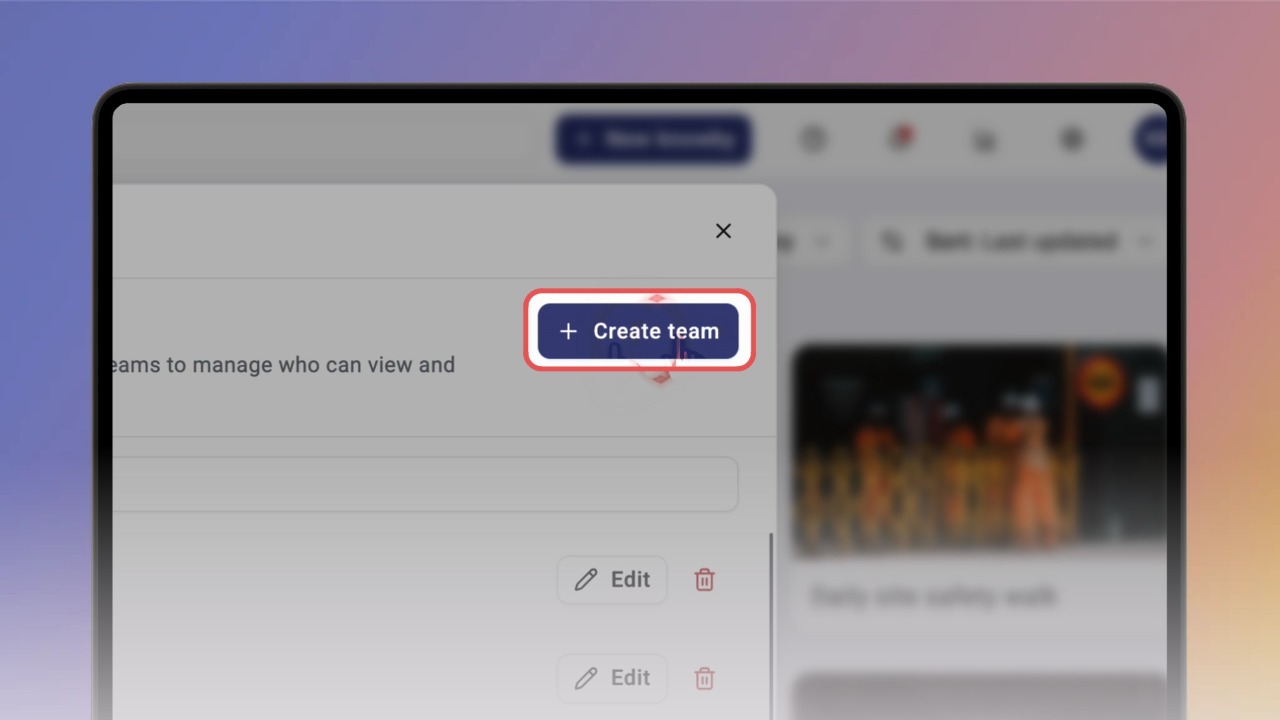
Teams keep your knowbys organised and make sure each group only sees what's relevant to them — like safety guides for one site, or onboarding for one department.
To create one, open Settings, go to Teams, and click Create team. Give the team a name, and add a description if you'd like (optional).
💡 Only admins can create, edit, and delete teams.
Find each person in the list, or type their details into the search field to add them.
Once someone is added, a switch appears on the right that controls their approver rights for this team. Turn it on to let them approve knowbys inside the team.
💡 Admins are approvers by default.
Want to make someone an approver for the whole organisation?
When you're done, click Create in the top-right of the popup.
You can update a team at any time — change the name or description, add or remove members, and turn each member's approver switch on or off.
You can also delete the team.
From the home screen, open the Teams menu in the sidebar and select your team. All the knowbys in that team appear here.
💡 No knowbys yet? You need to give a knowby Restricted access during the approval process so it appears in the team. The next step shows how.
To limit a knowby to selected teams, set its access to Restricted (Specific teams) during the approval process.
If it's already published, open the three-dot menu and click Unpublish first to send it back to Draft.
Start the approval process, go to the Access step, and choose Restricted. A team field appears — select the team (or teams) you want, then complete the approval to publish it.
💡 Not sure how to publish a knowby?
Once it's published, open the Teams menu in the sidebar and select your team. Your published knowby appears here, and only members of your team can see it.
💡 Admins can see the knowbys of every team by default.