Knowby
R-Knowby
How to Load Labels Ribbons i4311 Industrial Label Printer
#self-service
#self-service
1
Step 1 of 15To load label and ribbon materials into your I-4311 printer, hold the yellow release button and open both covers fully.
2
Step 2 of 15Orient your ribbon cartridge with the Brady logo facing up and the product labels toward the printer body.
3
Step 3 of 15Lower the cartridge over the print head and press gently to click into place.
4
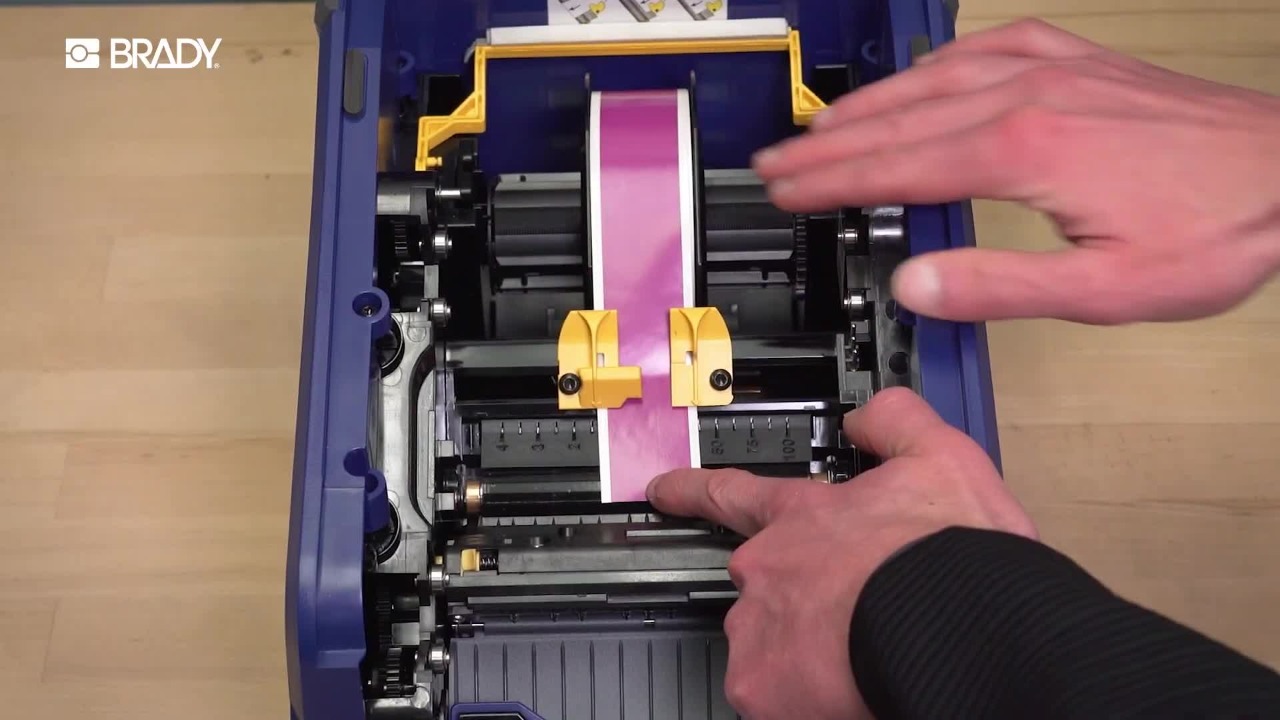
Step 4 of 15To load label materials, first slide the yellow label guides fully open.
5
Step 5 of 15Align the LabelSense chip on your roll with the sensor on the printer and lower in the roll.
6
Step 6 of 15Feed the labels until the leading edge is in the middle of the black rubber roller.
7
Step 7 of 15Holding the labels in place, close the yellow guides over the label material until they're lightly touching each other.
8
Step 8 of 15If you're loading continuous material, flip the wiper arm down onto the material.
9
Step 9 of 15For pre-sized labels, leave the wiper arm up.
10
Step 10 of 15When you're ready, close the rear cover, then close the front cover pressing firmly until it clicks into place.
11
Step 11 of 15The printer's LabelSense technology will now recognize the materials and calibrate automatically.
12
Step 12 of 15To remove your materials, open the printer covers. Lift back the wiper arm if needed.
13
Step 13 of 15Spin the material roll back until the labels are free from the print path and lift the roll out of the printer.
14
Step 14 of 15To remove the ribbon, simply pull the tab on the cartridge and lift it off.