

Personal Protective Equipment (PPE). Gloves and Safety Glasses. If you don’t already have a pair of gloves or safety glasses, please see the store person.
Tools required: Metal cutters, a ruler and a tape measure.
A coil change could mean two different things. One, you've run out of coil and need to replace it or, you need a different coloured coil for another job.

Turn the console to Maintenance. Do this by turning the switch to the right.
Pressing the blue Next button, run out your sheet. Then pressing the blue manual shear button, cut the sheet to a reasonable length. Continue this until you have 'run out' all of material, or until the machine no longer pushes the sheets out and you have to use your hands to pull out the remaining material.

Turn the de-coiler to Manual.
Go to the de-coiler and turn the switch to the left to Retract the mandrels until it has completly contracted.

Remove the cardboard roll or using a forklift remove the old coil. (you must have a forklift licence to do it, if not, get a Fork Lift operator to do this.)
Tell the forklift operator what colour coil you need and when they get back help them put the coil on the de-coiler.
Turn the switch to the right to Expand the de-coiler.
Spin the coil so the tail is facing the machine, by turning the switch to the right.

Remove the tape, make sure to hold the coil tail, so that the tail does not spring up and hit you.
Advance the coil to give you more, so that you can cut it.
Bring the coil towards the machine.
Carefully feed the coil into the machine
Using the metal cutters cut the end of the coil into a curved end.

Turn the de-coiler to auto.
This is a two person job. Get someone to go to the console and turn the jog switch to forward while you carefully get the coil in the right spot, so that the machine can grab it.
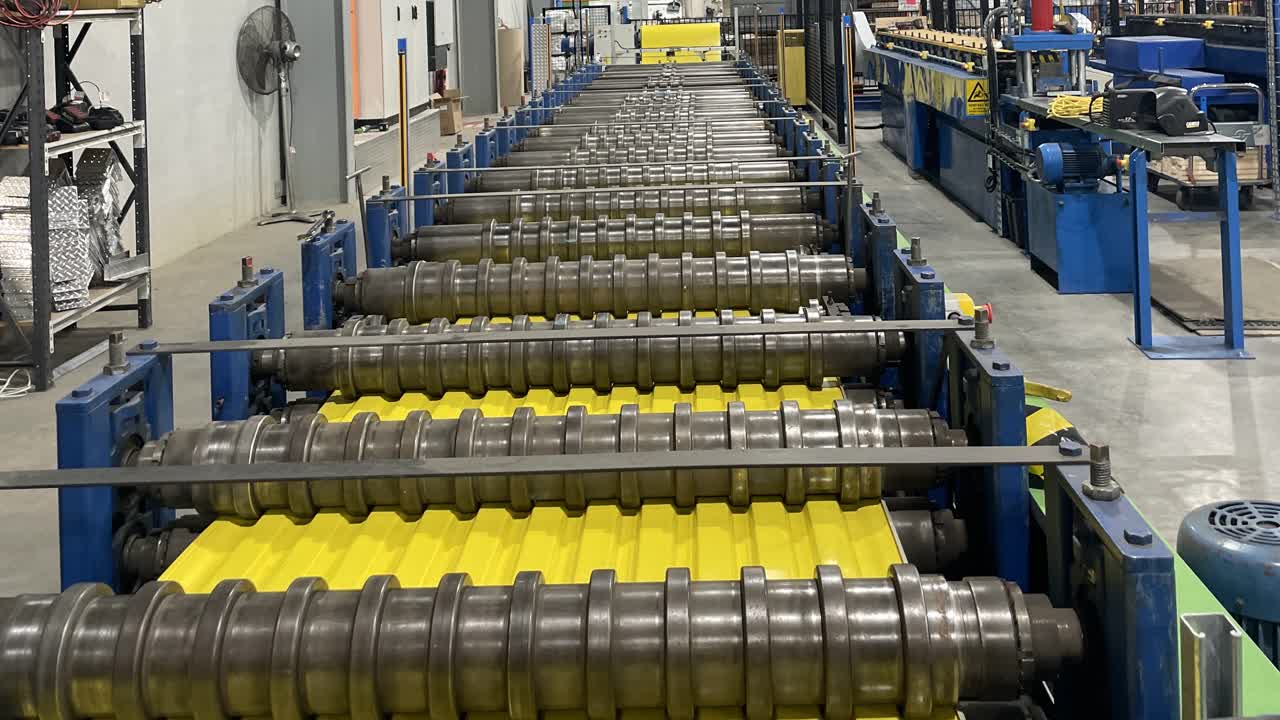
Advance and watch the coil make its way through the roll formers, looking out for defects.
Jog the coil through the machine, stopping before the gullotine, then, slowly jog the coil through the gullotine. By turning the switch to the right.

Once the sheet is through, run it to a reasonable length the press the blue manual shear button to cut it.

Turn the console back to 'Normal'.

Press the blue Next button and run another sheet out.

Using the ruler, measure the fins to ensure they have been folded properly (8mm). Using the tape measure make sure the sheet is the correct length.

Make sure to write on the comment section of your QA sheet that you have completed a coil change.