
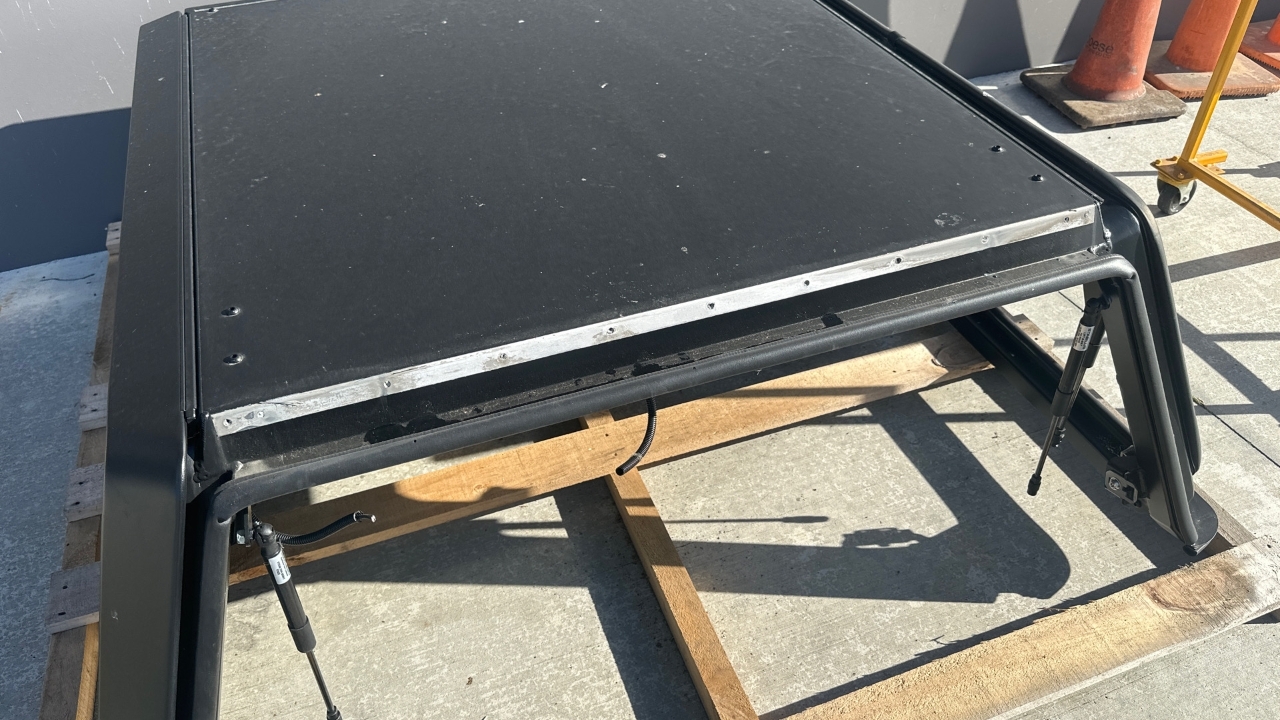
Items needed to be placed onto a sales order per door:
PRT-003435 x 0.6
PRT-003436 x 0.3
PRT-003437 x 0.3
PRT-004200L x 1
PRT-004200R x 1
NOTE: on sales order specify model of canopy
Remove any central locking wiring by unplugging from the door and cutting the cable ties
Drill out all welds with a 6.5mm drill bit
Run the grinder over the body hinge holes to make sure it is a flat edge for the new hinge to sit on

If there is a cable tray on the inside carefully grind off welds marked in red. And set the tray aside. This will make it easier to access for welding, if your welder can reach you won’t have to remove it.

Clean up the inside hinge holes ready for welding

For the end holes you can use a flattened off drill bit or die grinder to remove the powder coating

Grab the hinge that is labeled body
Use clamps, clamp the hinge to the body in the direction on the video. Using the previous powder coating marks to line it up
Ensure there is no gap under the top lip. Make sure it is flushed with the body

Weld the hinge through the holes. Ensure the weld is covering the holes because if there is a gap it will leak.

Ensure not to penetrate welds into this groove of the hinge. If it does, use a cutting disc to cut in
Paint these welds once they have cooled down.
Weld the cable tray back in if it needed to be removed and paint this welds also
Remove the old body hinge from the door

If the hinge doesn't pull out remove the end stoppers. These need to be removed anyway and attached back on later.
If the door hinge isn’t damaged please skip steps 17 - 26
Use a cutting disc down the centre of the hinge insert
Pull out the hinge insert
Remove the door hinge welds but don’t cut into the door skin
Pop the door hinge off with a hammer
Grind off the door welds flat ready for welding the new hinge on
Line up the new hinge on the door using the powder coating marks
Make sure hinge is flushed with door and doesn’t bow up

Weld the hinge to the door. Trying not to get the edge of the hinge

If the edge of the hinge does get welded. You will need to use a cutting disc to remake the groove
Use the cutting disc to remake the groove or to tidy up any welds that might stop the hinge from sliding on easy
before attaching the door lubricate the body hinge
Put the door on to the body by lifting the door up high then pulling down on to the hinge it should then make a pop. Then lift back up and it should make another pop. This means it is locked in.
lubricate where you have welded the door hinge on
Lurbricate the hinge insert
Then insert into the door hinge, making sure it is the correct way like in the video. Ensure you are lifting the door high enough above the body pillar so the insert doesnt scratch it.

Put the tabs back on the ends of the hinge
Attach the gas struts and ensure the door is opening and closing properly