
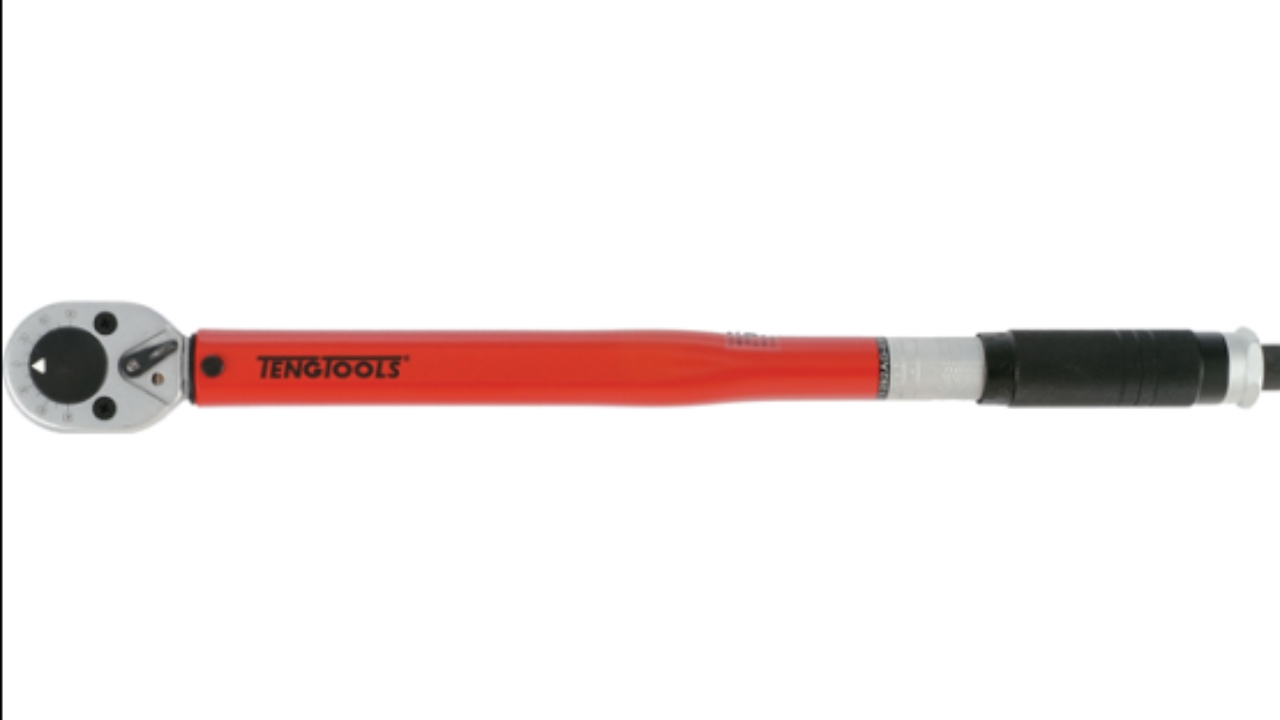

'Torque' is rotational or twisting force and is usually measured in Newton-meters 'N⋅m'
Torque wrenches ensure that the correct fastening torque is applied to get the correct tension within a critical fastener and bolted joint
Some examples of critical joints:
Trailcore Chassis mounts to Body
Trailcore Chassis mount to chassis
Towbar/drawer bar chassis bolts

CQC: DO NOT USE IF NO CALIBRATION STICKER IS APPLIED
Before using any Torque wrench - check the calibration date is validIf out of date, notify your team leader
CQC: Any critical gauge such as Torque Wrenches, that are dropped or suspected of damage must be immediately removed from use, and submitted to the Production Engineer for inspection or re‑calibration.

Identify Torque requirement for the fastener from Knowby or Fitting Instruction
This may be at your station or amongst a fitting instruction
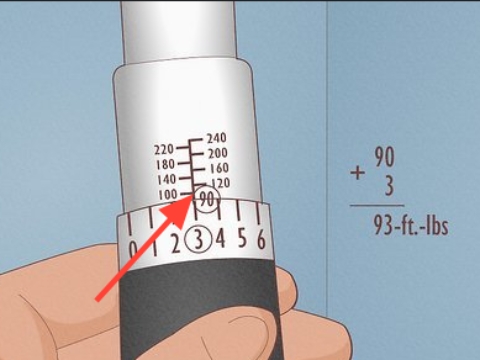
Set Torque to the required setting - lock setting in place - Never assume setting is correct from last user
For the WAY TO type wrench, pull silver sleeve down to unlock
Ensure you are in a stable position while using to avoid injury, where possible, pull towards yourself vs. pushing towards the vehicle

Ensure rigid socked is used with Torque wrench (NOT and articulated socket)
Mark off fastener once torque setting met using suitable paint marking pen
CQC: Follow single-piece-flow on completing torque/marking process
Torque-Mark-Torque-Mark
NOT Torque-Torque-Mark-Mark
Sign off QC once all fasteners are correctly torqued and marked off
When not in use, unwind torque wrench to lowest setting