
Remove your front tie down mounts and install the front canopy hold down brackets on drivers and passengers side using the m8x30 button head bolts, spring washers and flat washers, apply some loctite to the threads before installing. Leave the mounts slightly loose until getting the canopy on.
Remove the factory torx head bolt from the rear of the wellside and attach new brackets using M8x25 with spring and washer
Place canopy on wellside making adjustments ensuring Artemis canopy is centered and aligned to the wellside to prevent leaks. Secure using M8x20 bolts
Centre lower bracket wellside hole will need to be drilled.
Secure top bolt the add heavy washers between top and bottom mount
This will allow space between the two brackets ensuring the canopy is pulled down correctly
Drill hole in rear of wellside where required securing with M8x20
Tighten all side bolts of canopy mounts
After sides are secure
Tighten top bracket bolts ensuring there is a good amount of pull downwards creating a good seal between the canopy and wellside
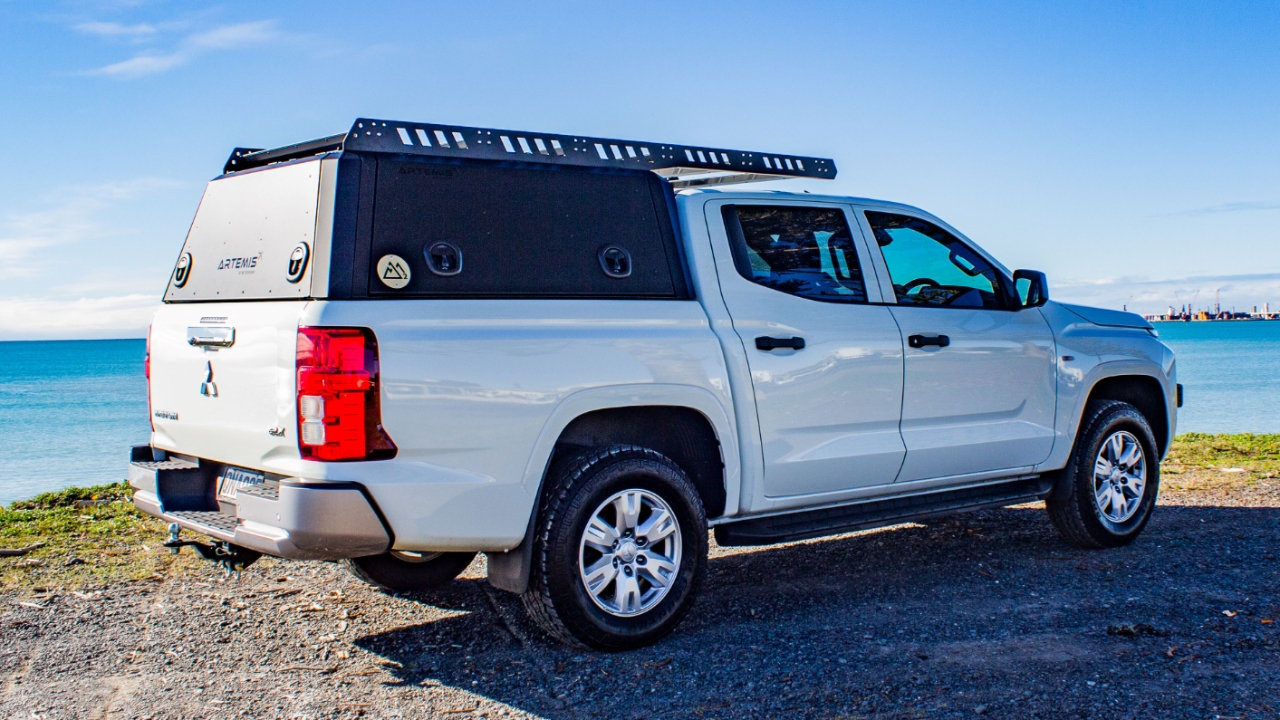
End result canopy should be secure with a good seal and aligned correctly to vehicle.
Water test canopy to ensure no leaks.