
Learn How To Wash Windows With The S Technique Like a Pro
Today we show you a tutorial on how to clean windows professionally with a washer and window squeegee.
Today we show you a tutorial on how to clean windows professionally with a washer and window squeegee.
1
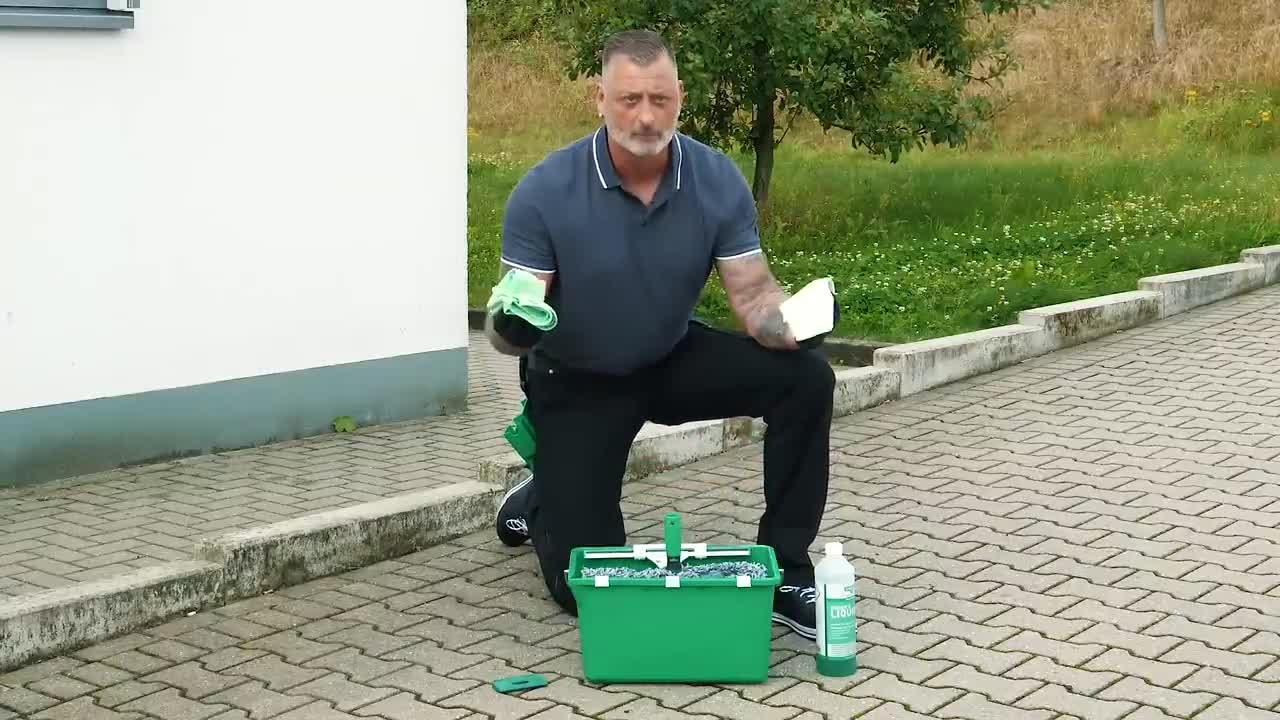
Step 1 of 20First of all, let's take a look at what you need for professional window cleaning.
2
Step 2 of 20A bucket, cleaning liquid, a washer, window squeegee, two microfiber cloths, and a glass scraper.
3
Step 3 of 20We start by cleaning the frames with a damp microfiber cloth for surface cleaning.
4
Step 4 of 20The frame is cleaned in an inverted U, starting at the bottom left.
5
Step 5 of 20Now we start cleaning the window with the window washer and the window squeegee.
6
Step 6 of 20The window is washed with the washer in S movements. We do this with the arm, with which we don't pull the squeegee over the window.
7
Step 7 of 20Sticky dirt on the window is removed with the integrated scrub pad of the washer.
8
Step 8 of 20Stubborn dirt, for example, adhesive residues and paint stains, are best removed with a glass scraper.
9
Step 9 of 20Important, the glass scraper may only be used selectively, and the blade must not show any signs of rust, otherwise scratches may occur.
10
Step 10 of 20The glass scraper is pushed over the window in a short, sickle-like movement from top to bottom, with light pressure.
11
Step 11 of 20When moving backwards, always close the glass scraper.
12
Step 12 of 20Then we clean the window with a window squeegee, also in the typical S movement.
13
Step 13 of 20We do not place the window squeegee directly at the top, but pull it at an acute angle upwards into the corner and then to the other side.
14
Step 14 of 20Always concentrate on the front protruding end of the window squeegee.
15
Step 15 of 20It doesn't matter what the bottom end is doing. You will automatically come to this area later and clean it.
16
Step 16 of 20Pay special attention to the corners. When you reach the right corner, with the front end of the window squeegee as pointed as possible, go down in one movement while turning the window squeegee.
17
Step 17 of 20Note that the previously lower end of the window squeegee is now the fixed point.
18
Step 18 of 20Change the direction in a flowing movement and concentrate.
19
Step 19 of 20Now the detail work begins. The remaining water on the edges and at the bottom is picked up with the microfiber glass cloth by default.
20
Step 20 of 20By the way, if you still have a few streaks at the beginning, no problem. That's what the microfiber for polishing is for.