

Mild steel non-plated shafts rust and need to be replaced (shown on left). These missed an essential step to be HX6 (gold) passivation, suitable for installation (right). Non-plated shafts were mistaken for stainless shafts (right).
Mild steel non-plated shafts may show signs of rust, are highly magnetic, have blue discolouration from welding and do not have a part number on the lever arm. These must be replaced.
Stainless steel shafts will not show any signs of rust, have a lighter shine to them, are only lightly magnetic and have a part number visible on the lever. These do not need replacing.
HX6 passivated mild steel shafts are bright gold, show no signs of rusting, are highly magnetic and have no part number on the lever. These do not need replacing.

Tools needed for assessment and repair: needle nose pliers, small hammer, 4mm Allen key, ~150mm screw driver.
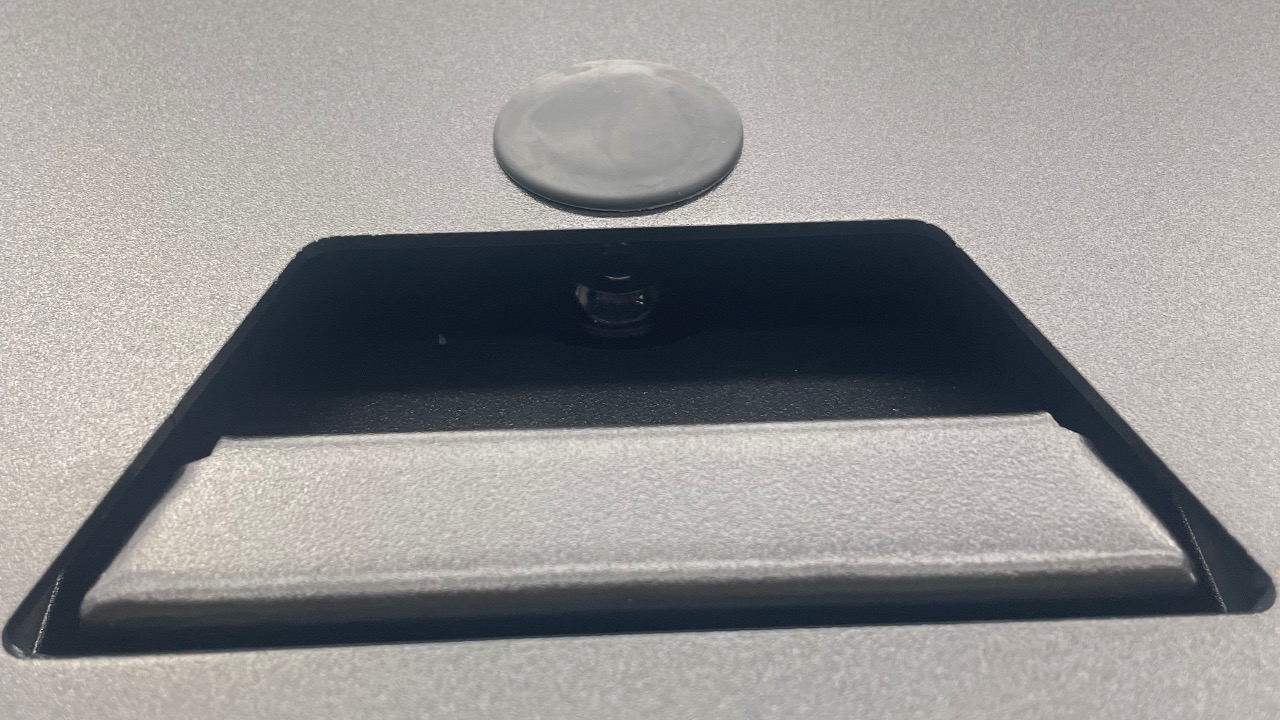
A quick overview of what we will be removing and replacing with an open handle. Note that the bushings can fall out and be put back but it will be easier if they stay in place. Also note the handle cannot be removed from either side or rear door.
The aim is to do this without the need for hammering as this may bend the tabs.
The risk with using too much force (hammer) to push the shaft through is that this tab may be easily bent. This is due in part to friction between the shaft and the handle and part from the shaft and the bushing. A loose bushing has been supplied with the shaft in case the one already installed is tight. Try to install as is first.
To both loosen the hex hole in the handle and to bend back the tab if it is bent inwards, use the hex shaft and pry gently to make the tab straight again. This may be difficult to see through the handle opening. This is shown later on a canopy as well.
To assess the part number or replace shaft, Remove lock cover by unscrewing 6x (rear) or 9x (side) M6 screws with a 4mm hex bit or Allen key.
Remove the locking rod if in the way.
Remove the retaining screw, spring washer, washer and gasket.
Remove the spring
Firmly push on the shaft with a Philips head screw driver to push it out of the handle
Remove steel shaft
Remove foam ring from old shaft and replace on new shaft.
Slide shaft GENTLY through handle. Through wiggling and pushing with your hand, the shaft should work its way through all the bushings. Do not use a hammer as this will bend the tabs. If this works, proceed to step 26.
Bushings need to slide easily on shaft. The supplied bushing has been verified to do this.
Bushings may fall out if handle moves.
To ensure the shaft can be easily inserted, with the bushings removed, insert the hex shaft gently into the handle and slightly bend the tab outward. This will allow the hex shaft to slide gently without bending the tab. This is shown more clearly on a removed handle on step 8.
To reinstall bushings, Remove the rubber ring from the rear door. Side door has much better access to the bushings
Hold bushing either on finger or using a tool and insert into hole. The bushing should stay in place.
Bushing should stay in place
Repeat for other side
Insert the shaft gently.
Align the end of the shaft with the hole in the bushing. Do not use excessive force or bushing will be damaged.
Only when the threaded hole is flush with the side of the handle housing, use a hammer to lightly tap the shaft through the rest of the way. Shaft should sit ~3mm proud of the surface.
To ensure tabs are open as wide as possible and to prevent the handle from shifting, use a flat head screw driver to tap the LH tab with a hammer. Be careful to avoid knocking edges.
Replace lock cover with all M6 fasteners
Replace rubber cap