
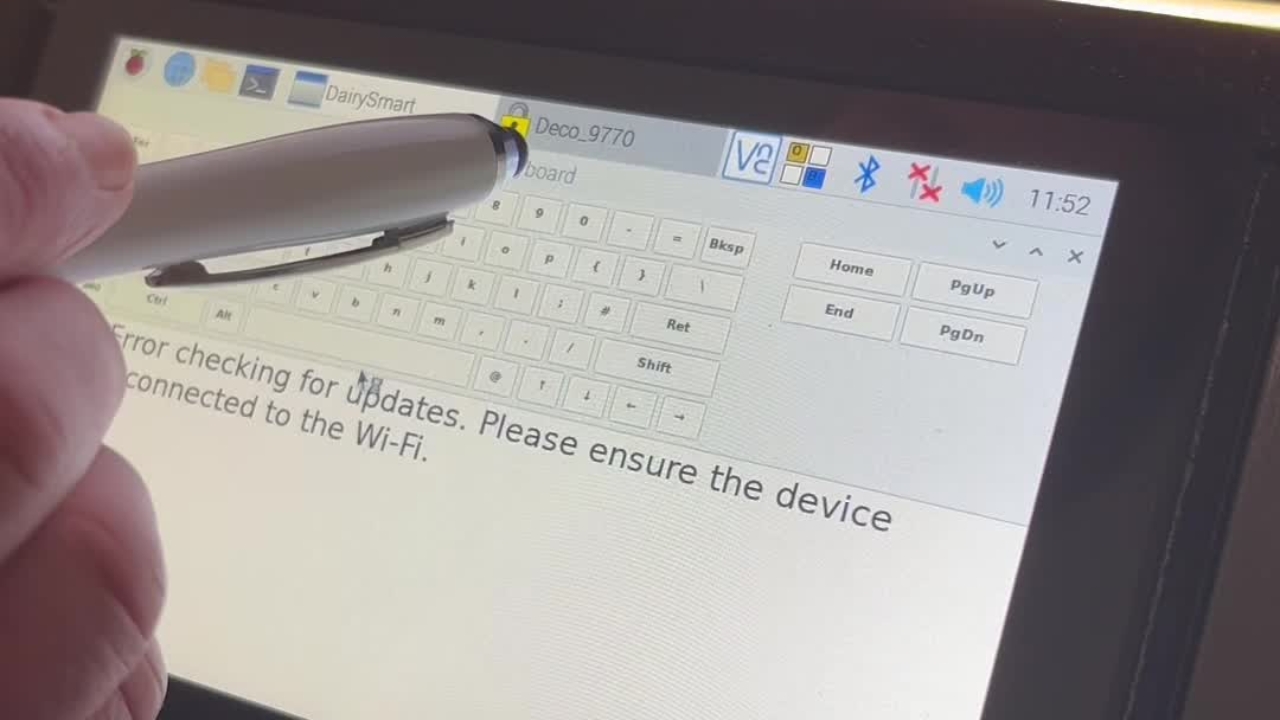
To turn on the Jupiter, push the button at the back. Once in this screen you will need to connect to wi-fi.
To connect to Wi-Fi, click the three black lines in the top right corner, and click windowed.
There's two red crosses beside the three lines in the top right corner, click that. Choose your wi-fi you would like to connect to.
To get the keyboard, you will go over to the little raspberry in the left-hand corner and click on it. Move it by dragging the top of keyboard.
Then you will need to put your Wi-Fi or hotspot password in.
Once you have entered your password, you can click OK and push the cross to close the keyboard.
It may take a few minutes to connect to the wi-fi.
It may take a few minutes to connect to the wi-fi.
It may take a few minutes to connect to the wi-fi.
If you have forgotten your password, go to DairySmart.NZ to reset your password - note this cannot be done from your Jupiter unit - otherwise proceed with entering your login details.
Select enter, select login. Select your farm, then you will be brought to this screen.
You will click in season and it will come to camera calibration - please ensure the plate tray is empty and closed for this entire process.
Click OK. This may take a few seconds.
Click 'Ok' when complete.
Select Front Left for the front left quarter you've sampled and then repeat, if your sample is made up from multiple quarters, select composite.
Click continue.
Enter the cow ID and select the number of days the sample has cultured for typically 24 hours (1 day).
Click continue.
Open plate draw and insert the same way as the picture on screen - with the agar facing up - and close the draw.
Click capture image.
If you have more than one sample, you can click next sample and repeat the process.
Please ensure no plates are left in the Jupiter unit.
Once you are finished, click done and it will send your plates to DairySmart for analysis to be reported.
Now you can go click the three lines on the top right corner, click shut down.