
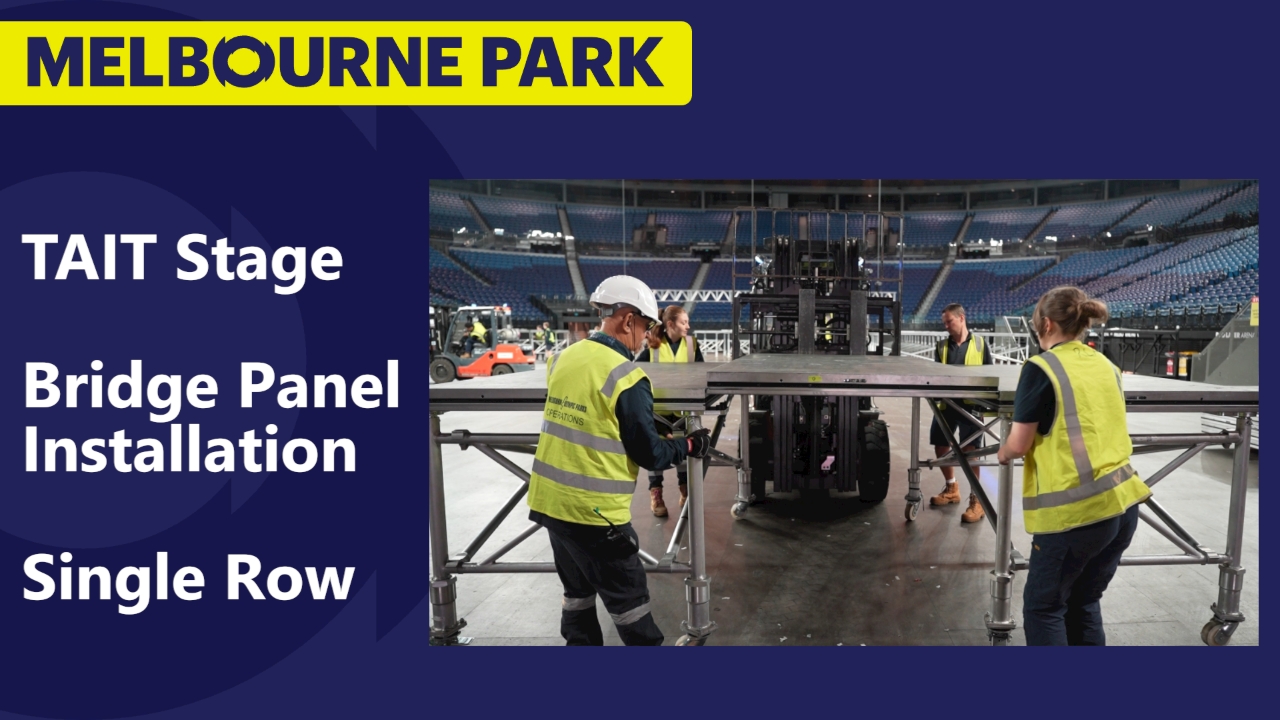
Setup
Requirements
1 person on Forklift
2 people on Floor (Minimum)
4 people on Floor (Recommended)
Large Clear Work Area
Equipment
Stage Frames (with Panel Installed)
Stage Panels
Forklift
Stage Panel LockingTool
PPE
Gloves
Steel Cap Boots
Hi-Vis Vest
Line Up Assembled Frames
Roll two frames parallel to each other a stage panel width apart.
Important: Ensure the panels are aligned in the same direction such that they can lock with the panel next to them. See next step for details.

Pro Tip: Panel Alignment
Ensure the panels are aligned such that the small holes near the edge are facing an edge without a hole.
If two holes are next to each other the panels WILL NOT lock together. You will have to STOP and rotate the panels before continuing.
Adjust Corners
For each edge where the bridge piece is to be installed, rotate the corner pieces so that two of the studs are facing outward.
Pick Up Stage Panel
Move the forklift tynes close to the stack of stage panels. Ensuring tynes ar roughly a third of the panel width apart.
Raise tynes tothe level of top stage panel.
Using TWO people, slide the top stage panel onto the tynes.
Raise tynes.
(Potentially) Adjust Panel
IF the panel is sitting on an angle, adjust the fork tynes so that it sits flat.
Install Bridge Piece
Slowly drive the forklift with the bridge panel between the frame pieces.
Line up the panel by moving the frame pieces.
Slowly lower the bridge panel onto the corner studs, adjusting as necessary.
Repeat
Continue to add bridge pieces until the row is complete.
Tighten Locks
Use a ladder to get on the stage.
Using the panel locking tool, go to each hole in the panel and turn it until it locks.
Note: If there are two holes next to each other, the panels WILL NOT lock together. You will need to rotate the panels around. See next step.
Troubleshooting
If the panels are not locking together (because there are two holes next to each other), spin the bridge piece around.
Always use a minimum of four people to do this (as the panels are very heavy).
If the stage is too high off the ground, use a forklift to lift the panel and drive it around to the other side.