This design allows for both top and face mounting. Decide based on your preference for the desired look.
Measure the length of your pelmet and mark the position of your brackets. Ensure the brackets are leveled and appropriately spaced for optimal support and weight distribution.
Drill your brackets into place, keeping in mind the orientation for either top or face mounting.
When fitting the brackets, position them with the tabs forward for a top mount or downward for a face mount to facilitate easy fitting and removal of the shade.
To install the pelmet, locate the tabs on the bracket and click them into place.
Use tie-downs to enhance stability in mild to moderate wind conditions.
Thread the cord through the bottom in-rail ring and loop it back through itself to create a secure head knot.
To keep the shade taut in a downward position, install the receiver.
For adjusting the blind, put the handle through the eyelet.
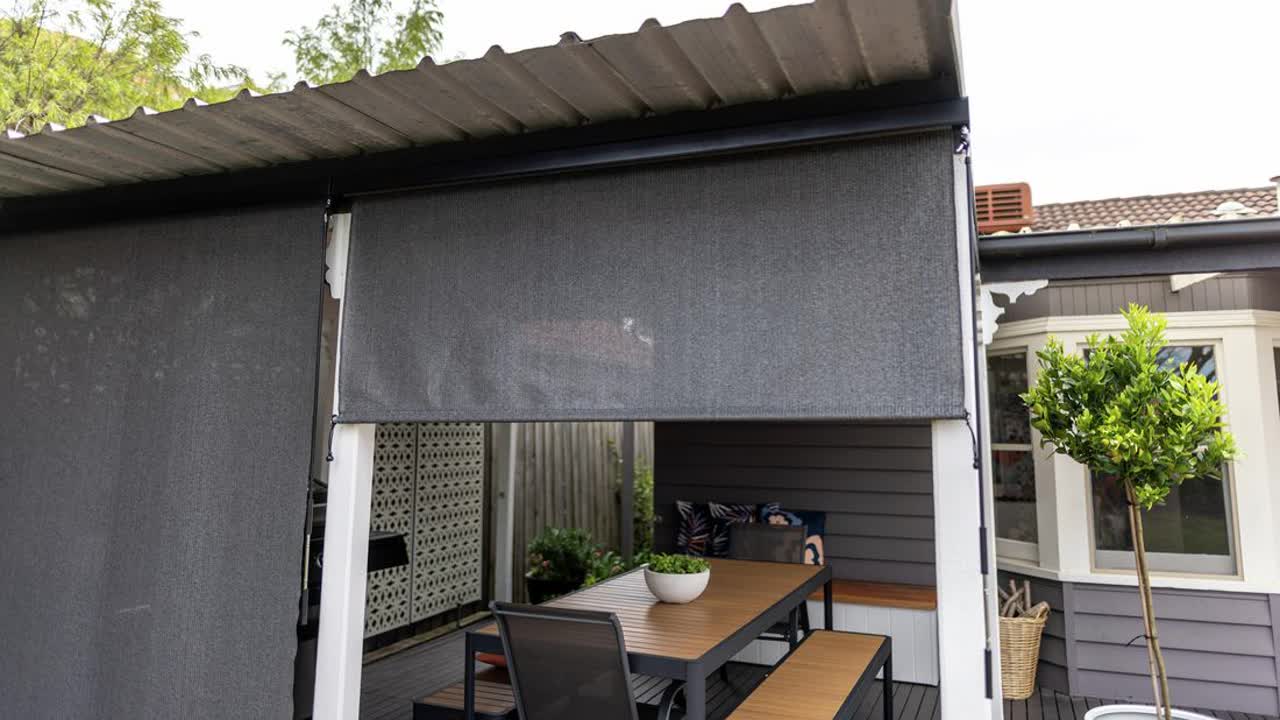
Congratulations! You've successfully installed outdoor blinds that can be utilized throughout the year.