
Chipping and Painting
Principle reasons for chipping and painting are for protection and decoration purposes.
Principle reasons for chipping and painting are for protection and decoration purposes.
1
Step 1 of 20So to start off, both on assigned work, making sure everyone wear protective equipment, namely helmet, boots, mask, eye and ear protection.
2
Step 2 of 20First look for any blistering or peeling.
3
Step 3 of 20From there, we bring in the big toys. This is a pneumatic chipping hammer.
4
Step 4 of 20The head moves in and out, chipping away the rust.
5
Step 5 of 20Hammer is great for big pieces and flat surfaces. For uneven surfaces, we have the pneumatic chipping gun.
6
Step 6 of 20The individual needles pack less of a punch but are able to move about and cover more surface area.
7
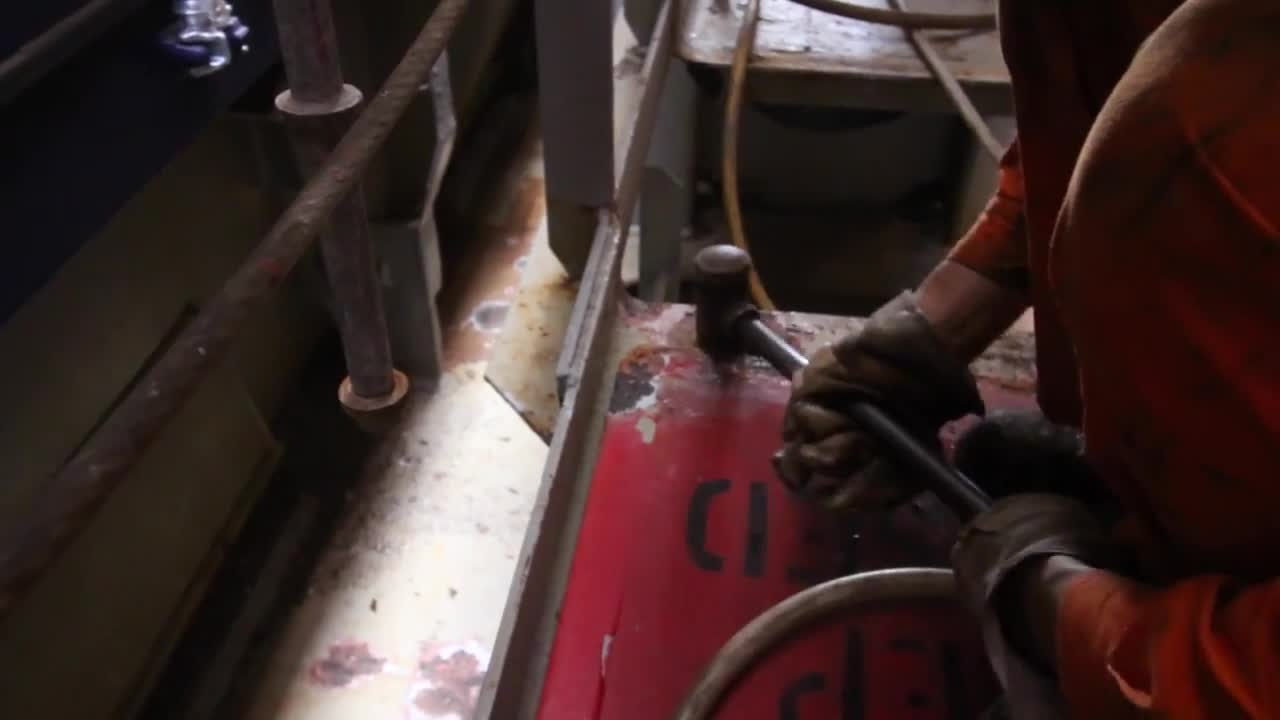
Step 7 of 20Or you could go old school and use a chipping hammer.
8
Step 8 of 20Finally, once the rust is off, we clean up a device called Sunder to reveal the bare metal.
9
Step 9 of 20The second half process is painting. Well, we have to start from the paint locker.
It is intended for safe storage and quicker access to frequently used paint.
The room is well ventilated so that the paint fumes won't build up which is potentially dangerous.
10
Step 10 of 20We just have to make sure the correct proportions and most importantly, the correct pairing.
11
Step 11 of 20For example, 9-map hardener can take forever to dry and an incorrect type of hardener will make it into lumps, ruining the paint.
12
Step 12 of 20And the Material Safety Data Sheet provides such information.
13
Step 13 of 20It contains everything from what to mix with, to the flammability of the paint, to first aid if you somehow took a sip.
14
Step 14 of 20Before we apply the paint, we have to make sure the surface is clean. Sometimes we will even wipe with a rag.
15
Step 15 of 20A roller is used for flat surfaces and a different size brush for the others.
16
Step 16 of 202-3 layers of primer is applied followed by a finishing top coat.
17
Step 17 of 20This process can take several days because of the time required to dry.
18
Step 18 of 20Brush work is very important and it comes down to attention to details and experience.
19
Step 19 of 20A beginner may need extra time.
20
Step 20 of 20Chipping is always done in the morning and painting is done in the afternoon so that the bare metal won't be exposed to elements during the night.