
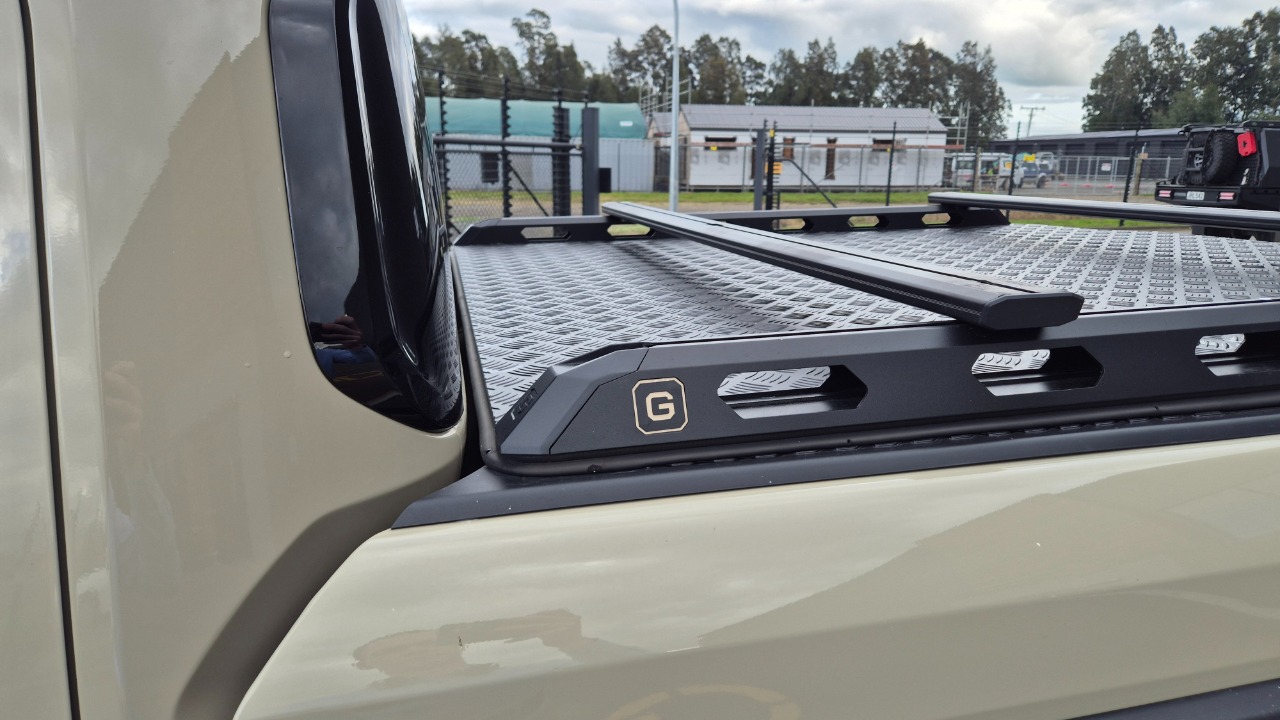

Remove the lid from the vehicle by undoing the twist knobs, removing the gas struts, then releasing the quick release pin.
Place this on a table ready for the seal to be replaced.

Remove any existing sealer on the joins on each end (if applicable).
This sealer is not required.
Remove the front pinch weld seal, this is pressed onto a grove so will remove easily.
Press on the replacement seal ensuring this overlaps at each end. If needed, you can stretch the seal to fit.
Use a roller or your hand to ensure the seal is pressed onto the groove fully.
The seal is now fully installed.
Install the Gearforce lid back to the vehicle.

IMPORTANT: Ensure the hinge is seated correctly into the 2 hinge grooves.

Once completed and install, this should look similar to this.