
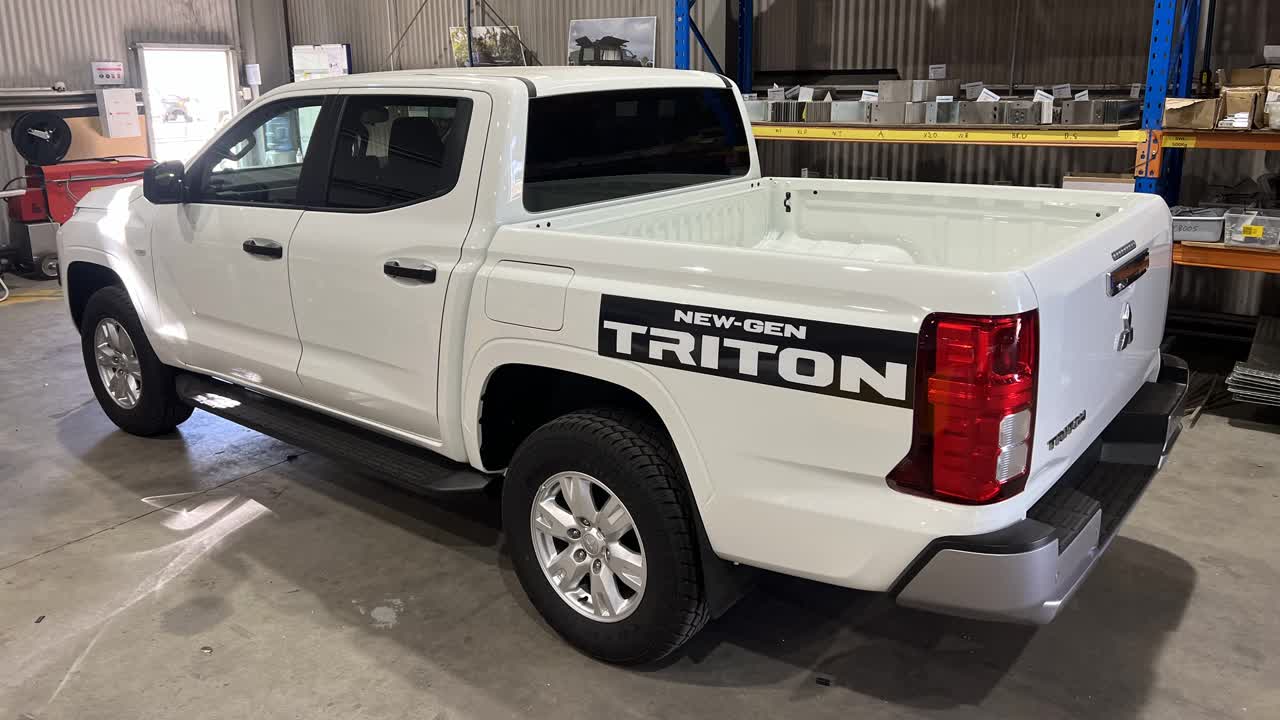
Follow these step-by-step instructions to see the easiest and most efficient way to remove the Tub on the New-Gen Triton
** Important note** There is a site variation depending on whether a factory Towbar is fit or not. Follow the instructions accordingly.
Tool List
- Sockets: 10mm, 12mm, 17mm
- Pry Tool
- Phillips Head Driver
- Holesaw (anything 15-30mm is ok)
- Lifting Slings
- Forklift
Open the fuel filler release door located on the driver side below the steering wheel
Open the fuel door, and remove the fuel cap

Using a pry tool, remove the clips holding the plastic inner guard. Both sides of vehicle
Remove Fuel Cap and AdBlue bolts, 10mm socket. Qty 4.
Remove the rear mud flap, use a 10 mm socket. Qty 5 Bolts

Remove Mud Flaps
The plastic inner guards can now be removed

In front of the wheel, identify this body bracket.12mm socket. Qty 2.
Remove front body bracket. Repeat for other side.

The next step is removing the rear bumper. Steps 14-17 are for NO FACTORY TOWBAR Steps 18-20 are with WITH FACTORY TOWBAR

From under the vehicle, unplug the wiring to the bumper.

If a factory towbar is fitted as shown here skip down to step 18

Take caution on the next steps. When the (below) bolts are removed both the rear bumper and bar for AdBlue tank will drop away from the vehicle! be prepared have a second person help you.
17mm socket, Rear bumper bolts. Qty per side. Do not completely remove the front bolt. Leave it in so that it supports the AdBlue bar.

Lower the Rear Bumper onto foam or a blanket.
15mm

Unplugged Tobar Wiring
Unplug Wiring and then lift off bumper
Open the tailgate
Aligners fitted remove it
Remove the tailgate cover panel. Phillips Head Driver.
Remove the cover panel
10mm socket, remove the tailgate handle assembly
Once 2 plastic clips are cut, it will fall away from the tailgate.
Close the tailgate
Remove camera bracket from tailgate. Philips Head Driver.
Feed the camera back through the tailgate

Unplug the camera from its harness
Feed the tailgate wiring out of the tailgate and through tub hole

With the tailgate open, remove the 2 x Phillips Head Screws holding the tail lights
Pull directly back to remove the tail light from the housing. Unplug the wiring

Using a pry tool, break the clips holding the wiring to the inside of the tail light housing
Feed the tail light wiring back and out.

Using a pry tool, remove the remaining wiring from the bottom side of the Tub
If it has a tub liner. If not, skip to step 42
17mm breaker bar
17mm
Front Mounts. 17mm socket
Middle Mounts. 17mm socket

Rear Mounts. 17mm socket with extension

Remove Fuel neck bolt. 10mm socket.
Remove AdBlue "Thingy" 😎. 12mm socket.
Remove the fuel neck from the Tub
From the inside of the wheel arch, squeeze the black clip and the fuel filler realse cable will come out of the Tub.
With a second person, carefully remove Tub from vehicle.
These clever instructions were created on Knowby The simplest way to create and share instructions.