
If the tray system does not have a toolbox/canopy 7, 10, or 13 on it, insert x2 hole plugs on each side of the headboard
If the tray has a 15x, 17x or no canopy/toolbox then hole plugs arent used and an antiluce, rubber washer, rubber o-ring and rubber button are fastened to the side of the headboard instead.
Headboard horns are fastened with x4 stainless steel M8x16's and loctite. The backing plate is placed behind the headboard and riveted with 6 stainless steel dome rivets. Lashing rings need to be drilled out to 8mm and are fastened with x2 stainless M8x20 bolts & loctite.
Rivet x2 logos on each side of the tray with x2 stainless steel dome rivets. Rivet the serial number at the front of the tray on the drivers side using x2 stainless rivets. Ensure the serial number matches the job and is on the drivers side.
Apply M6 lug nuts to tray like so.
Take note of where these lugnuts are located. This is for both a normal tray system and a service body tray.
Tap these two small holes at the rear of tray with a M5x0.8 tap. Place number plate light and fasten with x2 stainless steel M5x16 hex socket screws and loctite.
If a tray doesn't have a rear drawer, a no rear drawer fascia is fastened instead. This fascia is bolted with stainless steel M6x16 button heads with anti seize, a flat washer and nyloc on the back.
For a rear drawer, take the rear facsia jig and place on fascia. Apply foam tape around the outside of jig like so. Next, place foam tape around the front of the rear drawer as shown above.
Pull on tray till rear drawer slots into place.
Fasten each corner of the drawer to the tray using x4 zinc M6x20 clinch studs with a spring washer and normal nut on the back. Gently tighten until clinch stud is almost flush with the tray.
Fasten rear drawer to tray with x4 zinc M8x25 hex head bolts, x2 M8 zinc washers on either side and a zinc M8 nyloc.
Attach fascia by inserting rear drawer locks into fascia and rear drawer at the same time. Fasten with nylocs that are supplied with locks.
Rivnut the lock cover with x4 M6 stainless steel rivuts like so.
Slot rear drawer lock cover in. Use x2 zinc M6x16 button heads on each side of the drawer into the lock cover and fasten. Use x2 stainless steel M6x20 button heads with antiseize in the two holes on the front of the fascia like shown above.
Apply sillicone around all gaps in the drawer like so.
Apply sillicone to the fillet join at the rear of the tray and swipe with your finger to ensure the sillicone is filling the gap.
Don’t forget to insert the rear drawer bench if included. Place in drawer like so and slide onto lock cover hooks. Ensure that the bench does not scrape on the top of the drawer when opening and closing as this will damage the benches powdercoat.
Fasten x2 rubber stoppers at the rear of the tray using a M5x16 stainless steel button heads, antiseize and a nyloc.
Place your assembled headboard onto the tray. Insert M8x20's with antiseize and nylocs in the side of the headboard and tray like so. Insert M6x20 button heads with loctite, a flat and spring washer into the back of the headboard like so.
Slightly fasten your M6x20’s. Place M8x25 button heads, loctite and a flat & spring washer into the top two rivnuts in the headboard columns. Insert x2 M8x20 button heads with antiseize through the bottom 2 holes of the column, making sure the button head is facing towards the tray.
Insert M8x20 button heads with antiseize and nylocs into the rest of the holes to the side of the headboard. Place nylocs onto the M8x20 button heads at the bottom of each headboard column. Ensure your headboard and tray is square.
You can fasten the bolts that have a nyloc with a power tool but ensure you use a hand tool to fasten all the bolts that are in rivnuts.
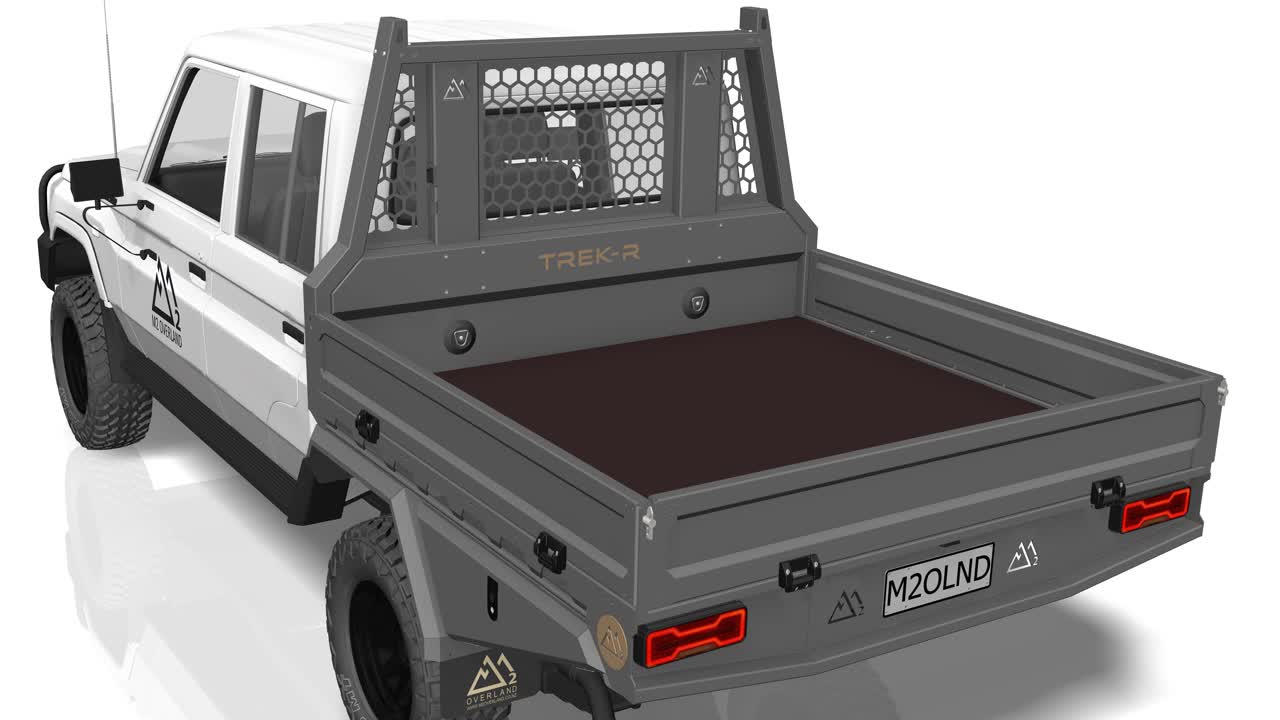
Your tray system is now complete and should look like this. Ensure you have left the x2 M8 rivnuts on the passengers side empty.