
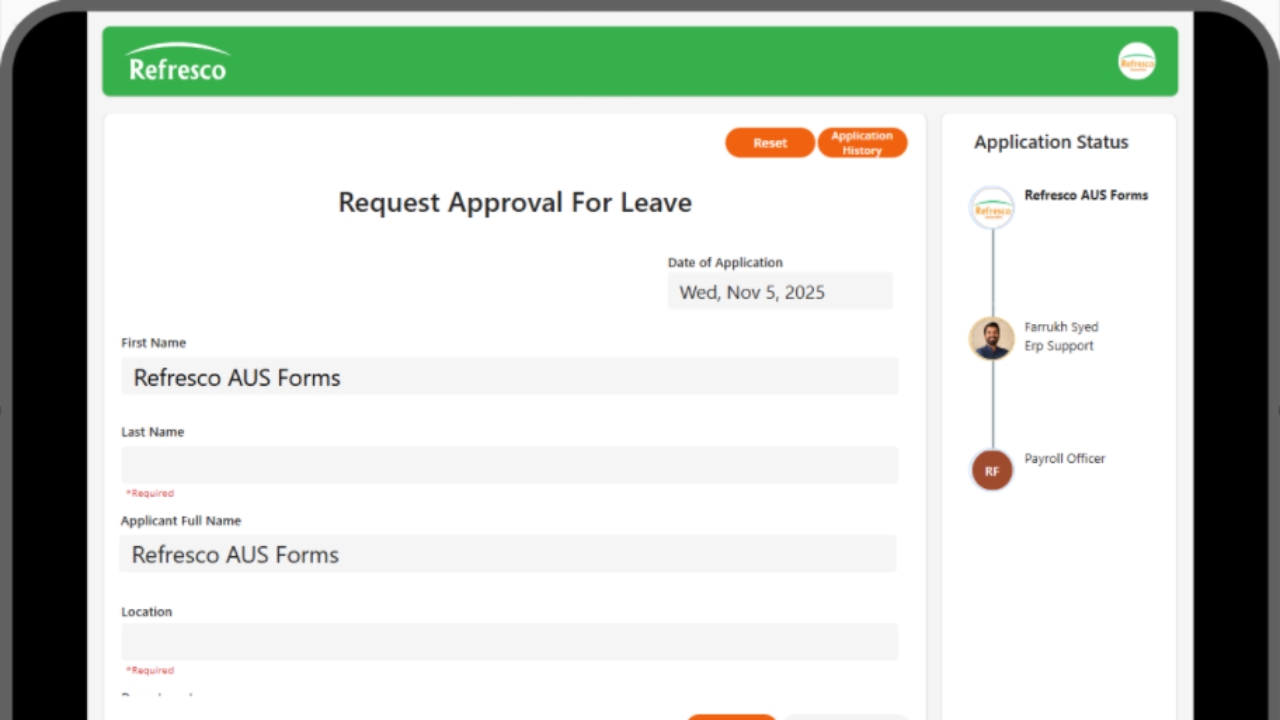
Swipe left or right on your iPad home screen to locate the Power Apps application. Once you find it, tap on the Power Apps icon to open it.
If you see any updates available for the Power Apps application, tap on it to install the latest version. Updates often include important bug fixes and may introduce new features that improve your experience.
Tap on "Employee Leave Application". Once the app loads, locate the lookup field and search for your name. Then tap on "Fill". The app will retrieve and display your personal details automatically—please wait a few moments for the information to load.
Your personal details have now been added to the application. You can find your Payroll Employee Number on your payslip, as shown in the example provided in this step.
Enter your personal email address in the provided field. This email will be used to send you the outcome of your leave application. Make sure your email address is correct to avoid missing important notifications.
Choose the type of leave you are applying for from the dropdown list. If you are selecting Sick Leave or any other leave type that requires supporting documentation, set the "Certificate" option to "Yes". Then, make sure to submit a copy of your certificate or proof to your approving manager for verification.
Choose your leave timeframe: Full Day, Half Day, or Certain Hours. If you select "Certain Hours", the "To Date" field will be disabled, as it's not required for partial-day leave. In this case, make sure to enter how many hours of leave you need.
Also, enter the starting date of your leave. If you are applying for a Full Day or multiple days, make sure to enter the end date as well. The system will automatically calculate any public holidays that fall within your leave period.
Enter how many days of leave you are requesting as Paid and Unpaid. Make sure the numbers are accurate and reflect your intended leave balance. Paid leave will be deducted from your available entitlement, while unpaid leave may require approval from your manager depending on company policy.
If your approving manager is currently on leave, the system will display a warning message indicating they might not be available to review your application. In this case, you may need to wait for their return or contact an alternate approver as per your department's process.
Add any comments or notes for your supervisor in the comments section. This is useful for providing additional context about your leave request, such as reasons, special instructions, or anything that might help with the approval process.
Once all required fields are completed and you've reviewed your application, sign in the designated area and tap on "Submit" to send your leave request for approval. Make sure all information is accurate before submitting.
If you experience any issues with the app or have feedback to share, tap on "Report Error". This allows you to notify the support team and provide suggestions to help improve the application. Feel free to include any details that might assist in resolving the issue or enhancing the user experience.