
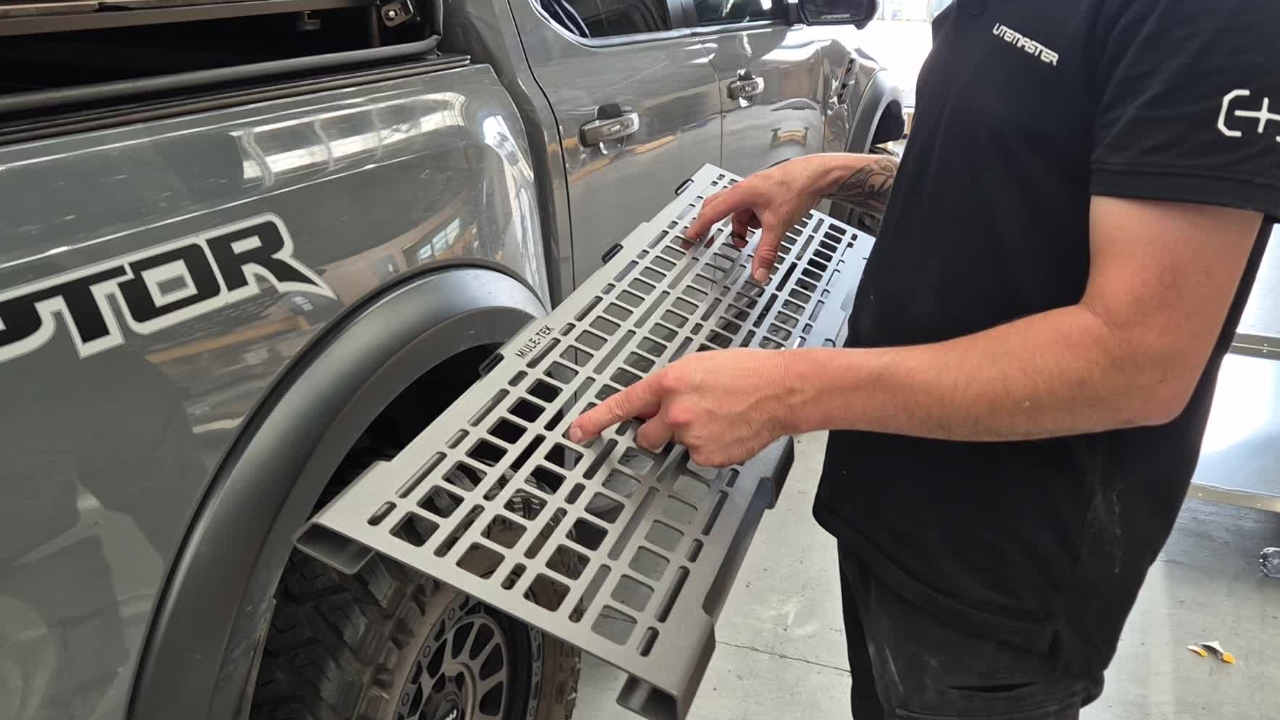
Mule-tek panel will arrive as shown
Prior to removing the tape or applying glue. Take a whiteboard marker, Hold the panel in place and mark around where panel will be installed. Ensure this doesn't interfere with the central locking wiring etc.
It is recommended to use a whiteboard marker so this can be cleaned off afterward.
Using a whiteboard marker roughly mark around the outside of the muletek panel, then remove the panel. This should show an outline of where the panel will sit once installed.
Ensure the door is clean prior to prepping this as below.
Open the surface activator wipes and apply this to the door where the tape and glue will stick to the surface. This will need an approx 40mm wide strip of activator.
This 'etches' the surface allowing the glue to stick.
WARNING: Do no get surface activator on other areas of the canopy as this will damage the surface.
Flip the panel over, remove the double sided tape and apply the sealer in a wiggly line.
Note: Don't apply the sealer in blobs or a bead that is too thick otherwise this won't cure in the middle of the sealer as this is moisture activated.
Once the adhesive backing is removed and the glue is applied, place the mule-tek panel into place and press firmly around where the glue is for 30 - 40 seconds moving the pressure around where the double sided tape is.
The double sided tape is to hold the panel while the glue cures over the next 24 - 48 hours.
If you have the ability to clamp the panel in place overnight while the glue cures, this is ideal. Try not to overtighten the clamp as this could cause the panel to warp or the glue to seep out.
Leave the glue to cure for 24 - 48 hours to cure.
Once done, your Mule-Tek panel is ready to use!