
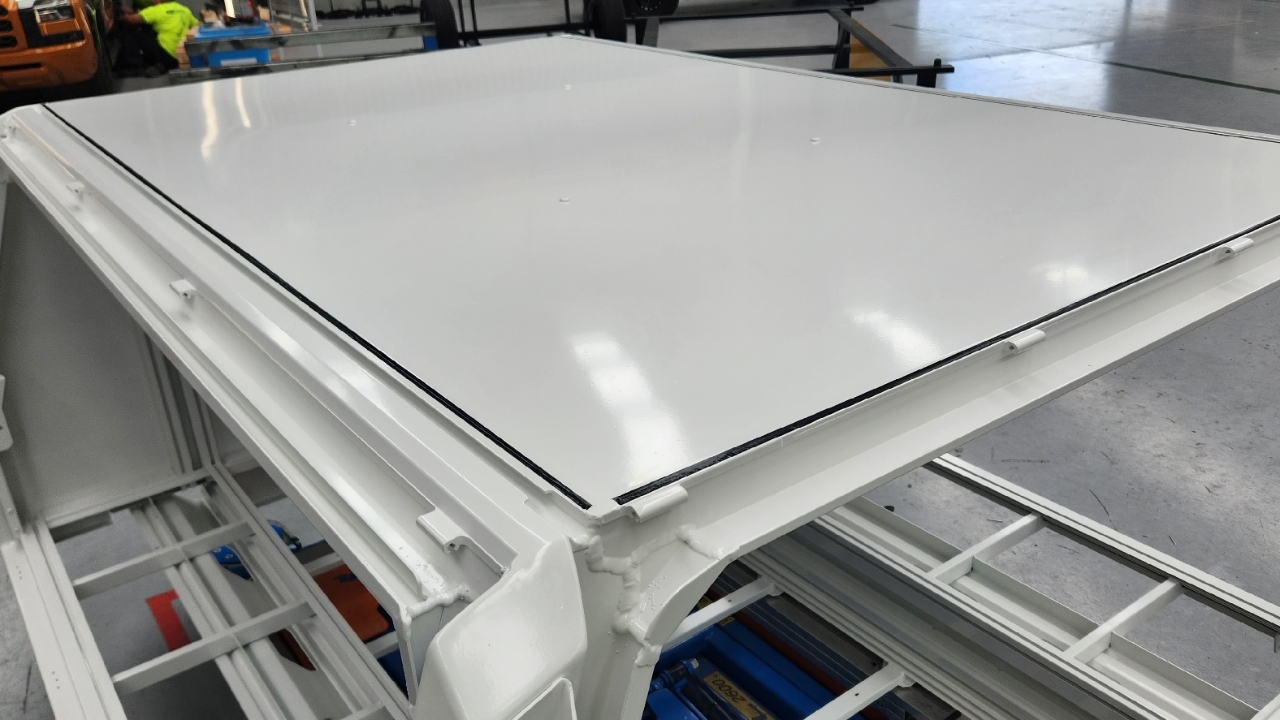

CQC: Poor roof seals lead to leaking internally
Apply green masking tape on both edges of the roof groove all the way around.
Keep this as straight as possible.
Ensure corners are boxed square, this will make it easier when applying sealer.

CQC: Ensure masking is cut square as shown
Apply surface activator into the groove using a cotton tip. (This allows the sealer to bond to the PC)
Apply thick bead of SMP60 sealant into all roof joins
Using a piece of rubber, smooth the roof seal by pressing the sealant down into the groove in the roof.
Inspect all joins. Pop and re-run over any bubbles.
Remove the masking tape, peeling this away from the sealed join.
CQC: Ensure this is done immediately after smoothing to ensure surface does not dry causing edge lift

Inspect edges for any lifting, excess sealant, short amounts etc
CQC: Inspect all seal edges for any pin holes or areas that may leak
Rectify any pin holes found as these will leak if not addressed.
Mark on QC sheet

DO NOT MOUNT CANTILEVERS OR ROOF PLATFORMS UNTIL SEALANT IS DRY