
Begin by removing the caps off each of the bolts.
Remove each of the bolts from the sports bar.
Remove the sports bar from the wellside.
Pry the tabs off the front of the wellside like so.
Grind the tabs down till they’re flush and spray with a coat of black zinc.
Prep your M8 x 30 button top bolts with springs , flats and Loctite.
Remove the hold down points from each corner of the wellside.
Take your front left mount and reattach the hold down bracket to the wellside.
Leave the bolts partially loose so you are able to adjust the position of them when you install the Artemis.
Repeat this process with the front and rear mounts ensuring you reinstall the hold down handles.
Apply silicone to the front left and right corner joints of the wellside.
Next, install your Artemis on to the wellside.
Using M8 x 20 button tops and Nyloc nuts, fasten the Artemis to each of the mounts.
Ensure the Artemis is square at not touch the back of the cab.
Once your Artemis is in position, fasten the mounts to the wellside.
Next, fasten your Artemis to the mounts.
Take the center mount and M8 x 20 with Nyloc nut.
Fasten the center mount to the Artemis with x2 washer in between.
With the center mount in place, drill through the mount and wellside with a 8mm drill bit.
Spray the drilled hole with black zinc.
Fasten a M8 x 20 button top and Nyloc nut through the center mount and wellside.
Remove the bolt holding the Artemis and center mount together and remove the washers.
Reinstall the bolts and fasten the center mount to the Artemis.
Clean all swarm from the wellside.
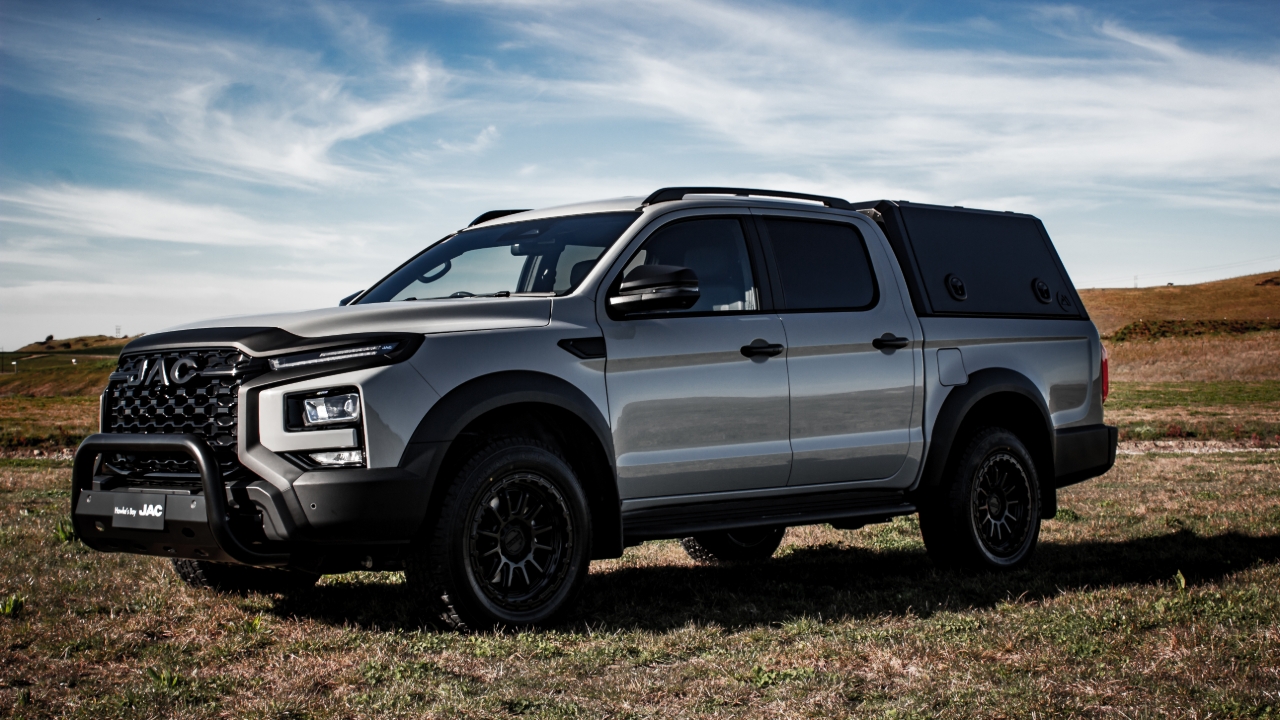
Your JAC Artemis install is now complete
Complete testing and check sheets.