Knowby
Verrydt Enterprises Pty Ltd
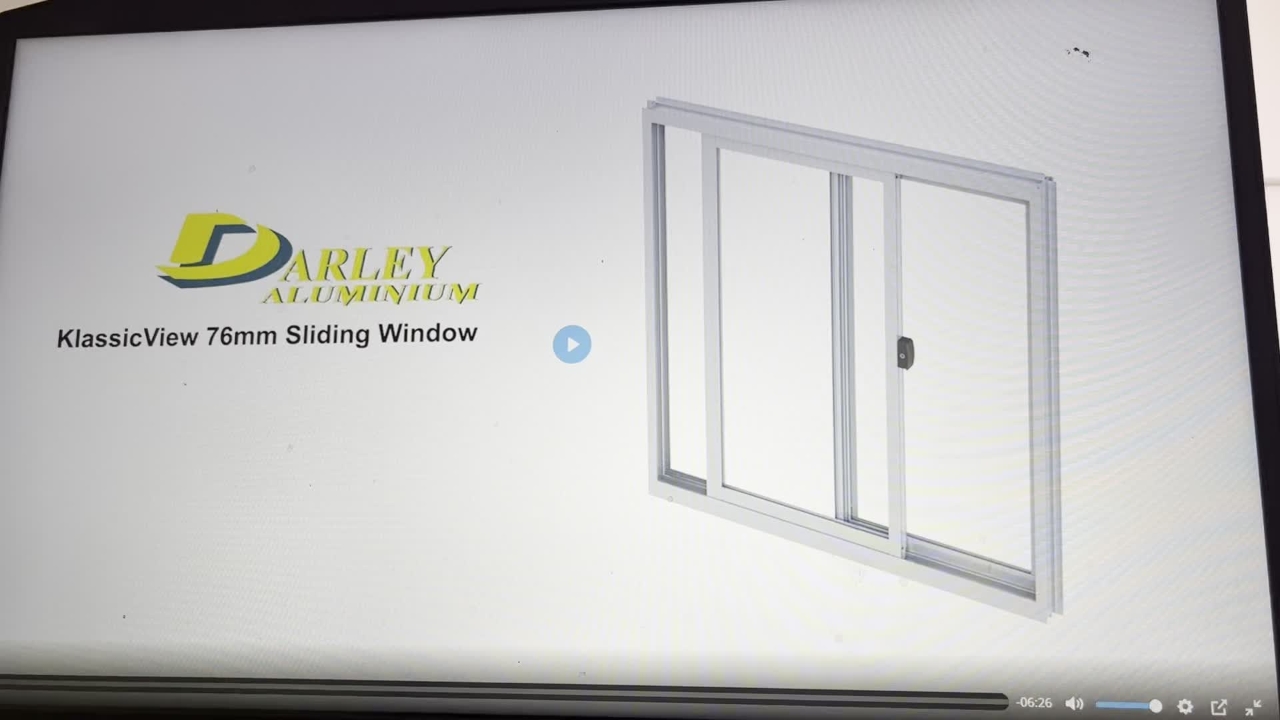
Single Sliding Window
This is our sliding window, as a finished item.
This is our sliding window, as a finished item.
1
Step 1 of 31This is our fixed assembly window, finished item.
2
Step 2 of 31Alright, this is our gaskets.
3
Step 3 of 31We need to fit to the framework for sealing after the framework has been machined.
4
Step 4 of 31I will apply it to the top and the bottom of the jamb.
5
Step 5 of 31This is the mohair, all has to be inserted to all grooves.
6
Step 6 of 31And now we have the rubber, which needs the weather seal, which goes into the seal of the frame before assembly.
7
Step 7 of 31And we have frame assembly.
8
Step 8 of 31These are the screws you need to assemble, inch 6 gauge will do the job.
9
Step 9 of 31And a pre-wax the screws to help on installation.
10
Step 10 of 31This is the lock, has to be fitted to the sash before assembly, as well as the wheels.
11
Step 11 of 31Once you have your glass on the bench, you need to apply the U-rubber around the glass.
12
Step 12 of 31Cut on the corners, but not right through.
13
Step 13 of 31And then join the rubber always at the top of the sash.
14
Step 14 of 31Once this is done, you then apply all your framework.
15
Step 15 of 31And assemble with light tapping to avoid damage to the framework.
16
Step 16 of 31And then screw together with inch and a half pre-wax screws.
17
Step 17 of 31Now the panel installation, once your main frame is assembled, you're now ready to assemble the fixed sash.
18
Step 18 of 31Then your slider sash can be assembled into the frame.
19
Step 19 of 31These are the thresholds for the fly screen assembly.
20
Step 20 of 31Insert into the main frame.
21
Step 21 of 31These are the plastic bracket hardware you'll need for final assembly.
22
Step 22 of 31Insert a small piece of mohair for extra weather seal.
23
Step 23 of 31And then insert into fixed sash.
24
Step 24 of 31This is the final cover plate to cover all holes.
25
Step 25 of 31And they will only go onto the sliding sash. This is the plastic bracket to fix the fixed panel into position.
26
Step 26 of 31The bottom will be snapped off to fit into the bottom channel.
27
Step 27 of 31Once assembly, you can pre-test the window and make sure it is level.
28
Step 28 of 31A minor adjustment might be required.
29
Step 29 of 31As well as this can be done on site after window installation.
30
Step 30 of 31Check that lock actually works.
31
Step 31 of 31And that's the complete window.