
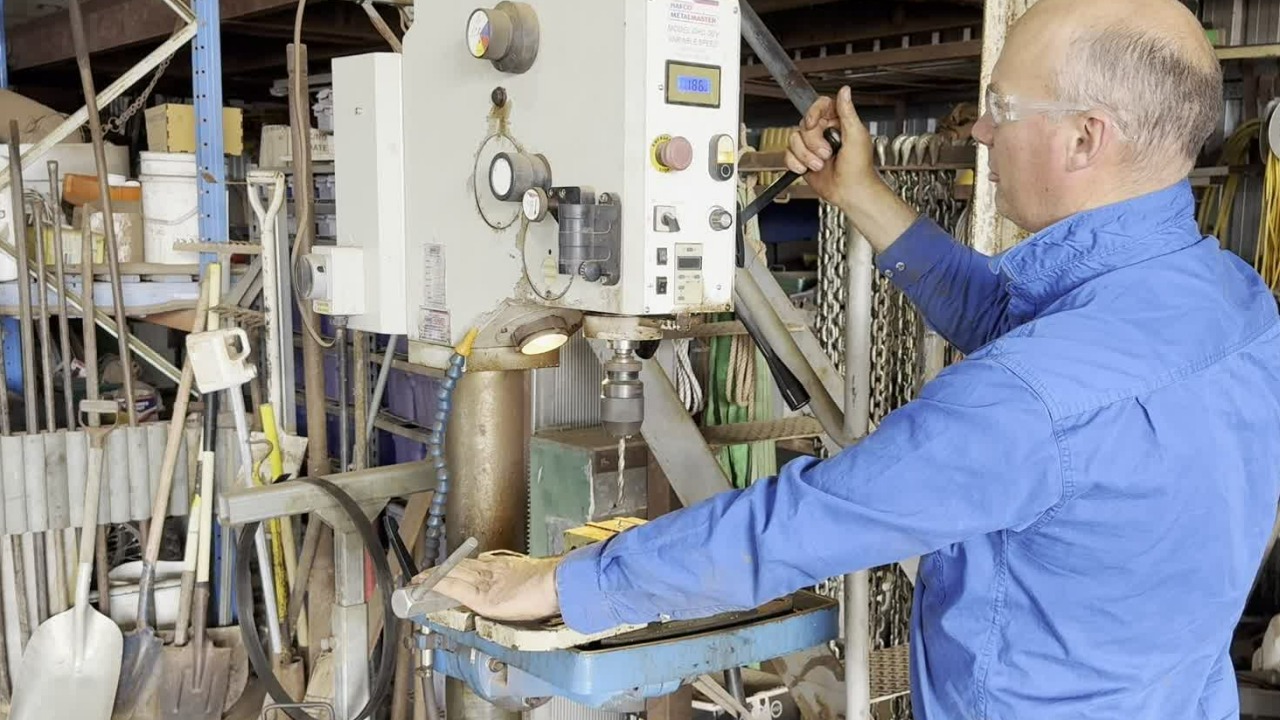
Wear appropriate hearing and eye protection when operating equipment.
Never wear gloves when operating the drill. The spinning drill bit can catch the fabric and pull your hand or fingers directly into the machine.
Familiarise yourself with the emergency stop button.
When the drill press is on and operating, hit the red button to stop the drill (this can be done with your forehead if your hands are caught).
To deactivate the emergency stop button, twist the button and it will pop out.
Turn the main switch on.
Ensure you have the required drill bit installed.
Place the drill bit up into the chuck.
Wind the chuck in an anticlockwise direction.
Hold the top and the bottom ring and turn the bottom ring in the anticlockwise direction (you do not need to apply a massive amount of pressure).
If required, to undo a drill bit, complete the drill bit installation process in the opposite order - turning the bottom ring clockwise this time.
Put the material you wish to drill a hole in on bench space.
Crank the lever up until there is sufficient grip on your material - this should be nice and firm, not loose.
Locate the on button - positioned above the off button.
Note the speed dial. You can adjust to drill slowly through to very quickly.
Turn anticlockwise for slower and clockwise for faster.
For little/fine drill bits, go fast
For big drill bits, go slow
When ready and everything is in position, turn on and hold onto the crank that controls the vice.
Rotate the crank/arm that lowers the drill to apply firm downwards pressure to drill your hole.
Once your hole has been drilled, return the handle to the up position.
Do not let this go as it will fly upwards (hazard).
Turn the drill off.
Undo your workpiece and remove your material.
Turn the main switch off.
Clean any drill shards and leave a tidy surface.

Navigate to Resolution to view a copy of this procedure - tag: STANDARD OPERATING PROCEDURE.
Then, navigate to the Staff Training Acknowledgement Declaration form to confirm your understanding of this course.