The initial and crucial step is preparation. It's essential to check a knowledgeable knowby like "Walls Ready: A Painting Prep Guide" to guide you through the process.
To prevent running out of paint, follow the rule that one gallon covers approximately 400 square feet. Calculate the square footage of each wall using the length times height equation.
For the trim, calculate the area using the length (in feet) multiplied by 0.5 for the width.
Here's the general plan: work from the top down. Begin with the ceiling, then move on to the walls, and conclude with the trim.
If you're using more than one gallon, mix them in a 5-gallon bucket to ensure color consistency. This technique, known as boxing, ensures an even blend. For the edges, consider using a smaller cut bucket.
Painting the ceiling follows a similar process to painting the walls – start by brushing the edges and then use a roller. Remember, to prevent spatter, avoid rolling too fast.
Once the ceiling is dry, you can use painter's tape to mask off the edges and begin painting the walls.
For painting the edges, also known as cutting in, dip the brush about a third of the way into the paint and tap it against the sides – avoid scraping.
Hold the brush like a pencil and paint with smooth strokes, feathering out the edges to prevent runs.
Getting a bit of paint on the trim is okay, as you'll be painting that later, but aim to avoid excessive messiness.
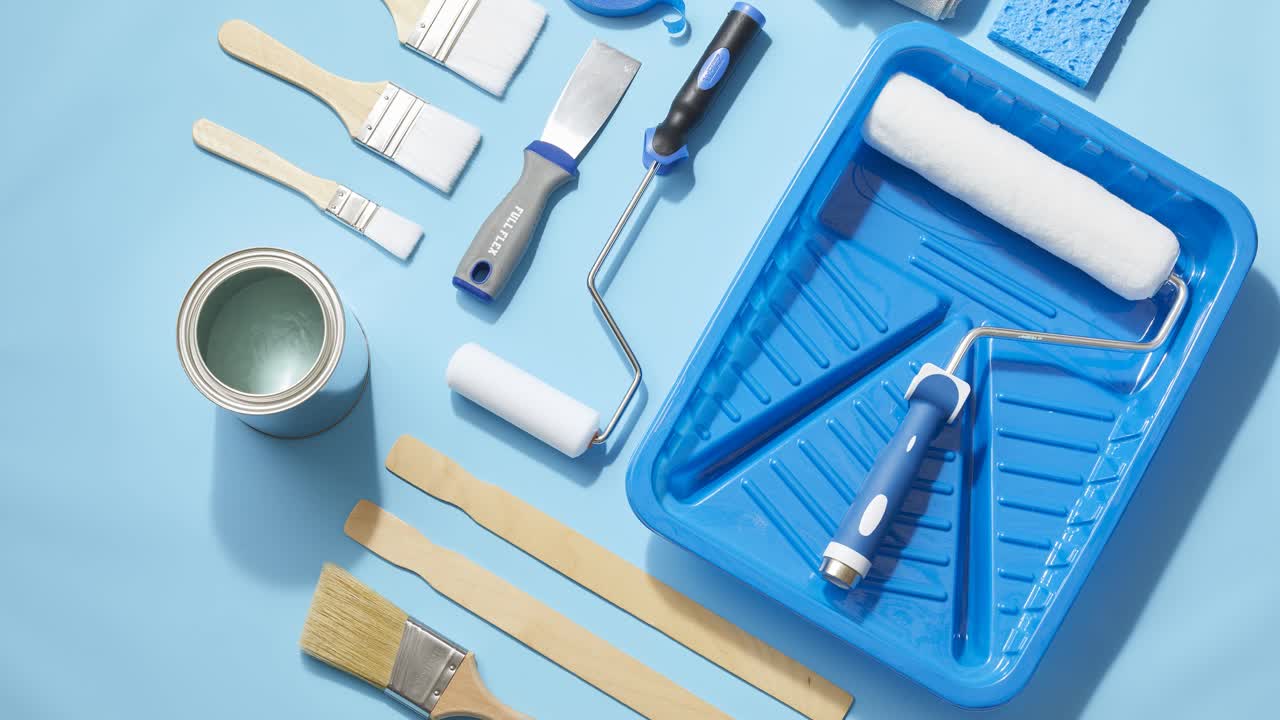
When using a roller, if you have a paint bucket, make sure to use a roller grid.
When using paint pans, use a liner for easy cleanup.
To assist with paint loading, dampen the roller cover first by using a wet rag.
Dip the roller just a short way into the paint and roll it a few times to even out the paint.
Avoid the temptation to fully submerge the roller, as it can lead to a messy application.
Begin near the edge and roll the paint on in a zig-zag pattern. It's beneficial to roll in various directions for thorough coverage, especially on textured walls.
Take your time to avoid paint splatter. Avoid pressing and squeezing the roller to extract more paint – simply reload when needed.
Work in 4-foot sections, starting from the top and then moving to the bottom. Once you're in the flow, you can go back along the edges for a more detailed finish.
Here are a few tips: turn the roller sideways to reach areas close to the ceiling and baseboards more effectively.
To remove buildup and prevent runs, lightly roll down over the painted areas. This technique is known as "laying off."
Paint one wall at a time for each coat, ensuring you apply two coats for the entire room.
If you need to take a break, cover your paint bucket and wrap up your brush and roller. If you plan to use them the next day, you can put them in the fridge to keep them in good condition.
Once the walls are fully dry, use painter's tape for the trimwork. Run it along the wall-trim edge and press it down with a plastic putty knife for a clean edge.
Following this process will result in straight lines on your trim.
After painting the trim, remove the tape. Use a knife to cut along any spots where it's stuck, and remove it shortly after it's dry to prevent peeling.
Certain tapes come with specific removal time recommendations, so be sure to check before peeling it off.
Finally, for latex paints, rinse the brush under water and use a cleaning brush to remove the paint from the bristles.
Work some hand cleaner into it, rinse again and reshape the brush.
For roller covers, use a 5-in-1 tool for cleaning, and store them upright for proper maintenance.
Absolutely, that's a comprehensive guide! Remember to take your time, follow the steps diligently, and enjoy the satisfaction of achieving excellent results. Happy painting!