
Complete

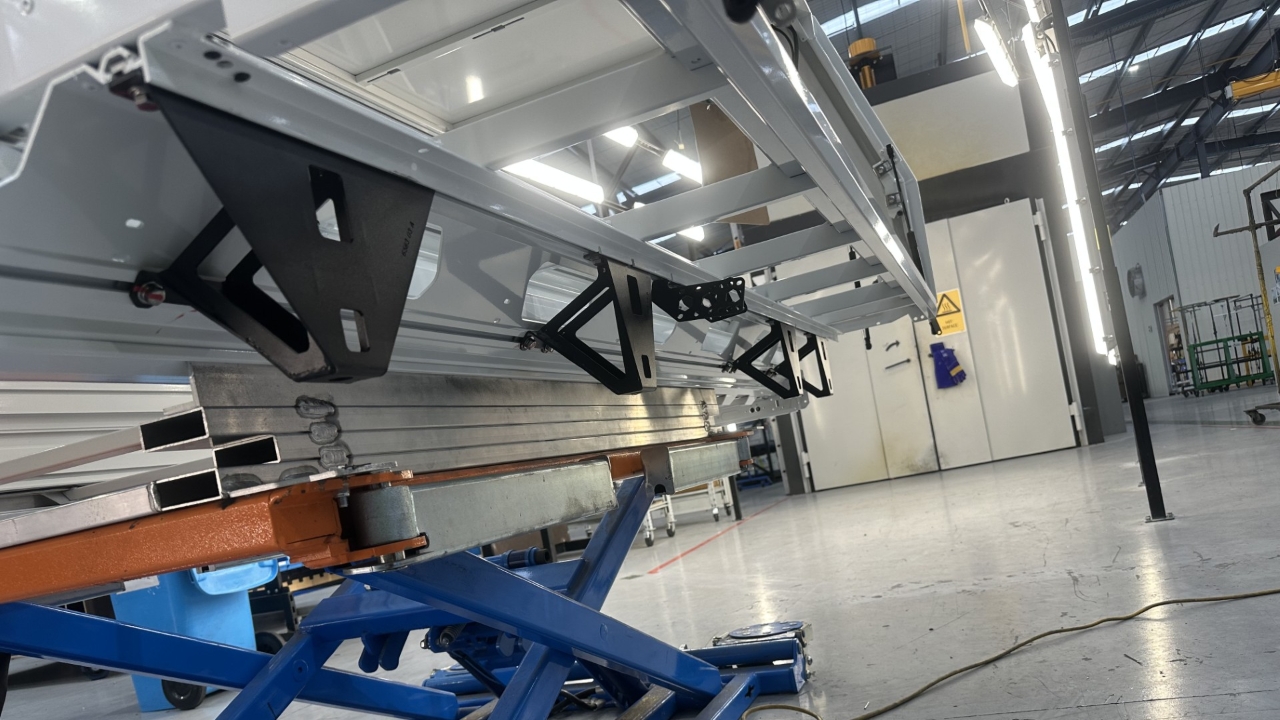
With the body sitting on the Cartar hoist.
Install chassis mounts from the front of the body in order:
Left (passenger): 3L → 2L → mudguard brackets → 1L
Right (driver): 3R → 2R → mudguard brackets → 1R
On SC install same as above but after 1R & 1L install 0R & 0L

Line up the slots in the 2nd & 3rd chassis mounts with the slots in the body.
IF there are no slots, measure vehicle mounting points - use mount 1 to locate mounts 2 & 3 / 4 .

Tighten (but don't torque) all chassis mounts to the body/tray using an impact driver.
CQC: CRITICAL TORQUE SPEC
When not using an Anti-Seize Lubricant (dry torquing), Set the torque wrench to 25Nm.
When using an Anti-Seize Lubricant, the torque must be dropped to 19Nm (~25% reduction)
Torque all chassis mount bolts with a torque wrench.
CQC: Use one-piece flow (torque-mark, NOT torque-torque-mark-mark)
Repeat for all remaining chassis mounts.