
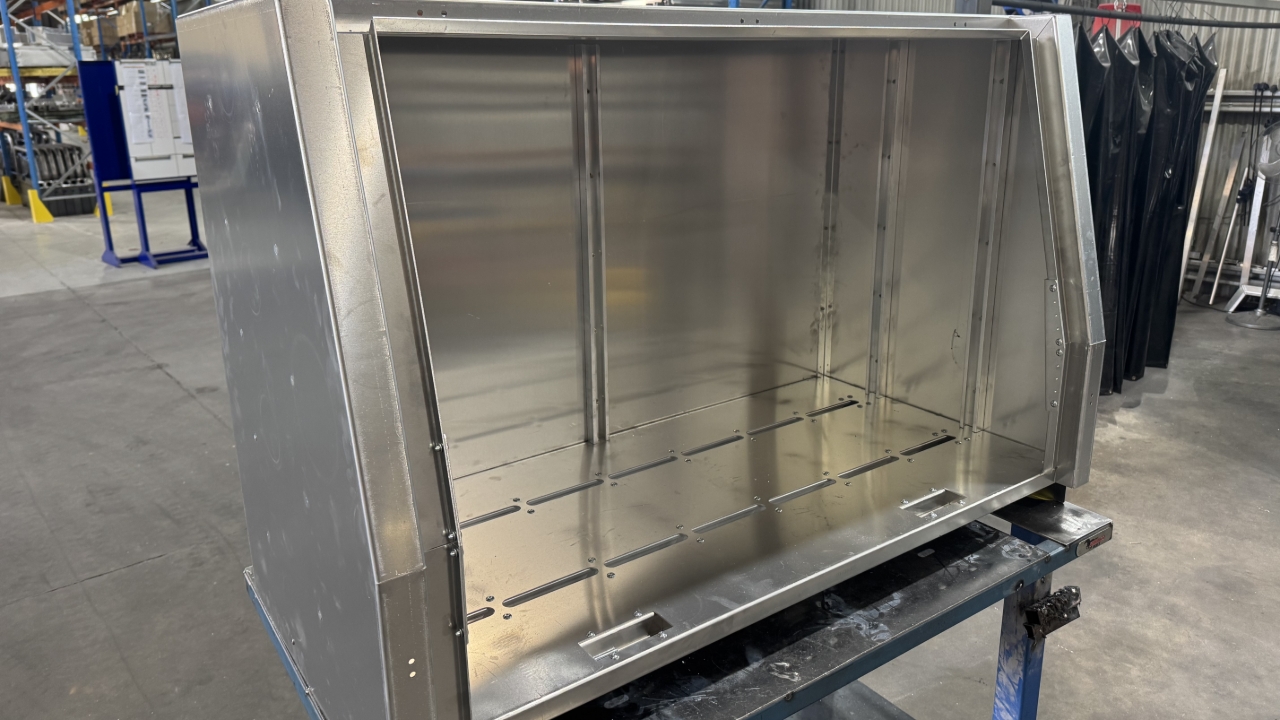
It will look like this when done.

Start by making the end walls.
Identify an end. 320-002-02 LH or RH
Identify the end wall stiffener. 320-002-06

Rivet together.
Repeat for both end walls

Identify the toolbox base, start with it upside down, as shown here. 320-002-03

Cut the extrusion. 1400mm. Qty 2 per toolbox. 320-002-08
Fit extrusions
Fit the pieces that hold the extrusion down. 300-002-04

From the bottom side rivet a few rivets in
Flip over

Do the remaining floor rivets
Identify the recess Latch plates. 320-002-05

Rivet them on
Fit end wall

Rivet on

Repeat for other end
Identify the roof and lift it into place. 320-002-01
Rivets in the top
Other rivets in back wall

Identify the square corner pieces. 300-002-07
Position them in the corner like this

Rivet in place
It should now look like this
Next, we will fit the vertical internal struts. There are two on each end wall and one in the Centre on the back wall.

Get a drill will countersinking bit
Countersink
Use a countersink head Huck fastener to check that you are countersinking to the correct depth. The head of the pasta should be flush
Identify a strut. 320-002-09
Position it

Get the huck fasteners

Install All five vertical struts like this
Body is now ready for welding


Now ready for powder coat