
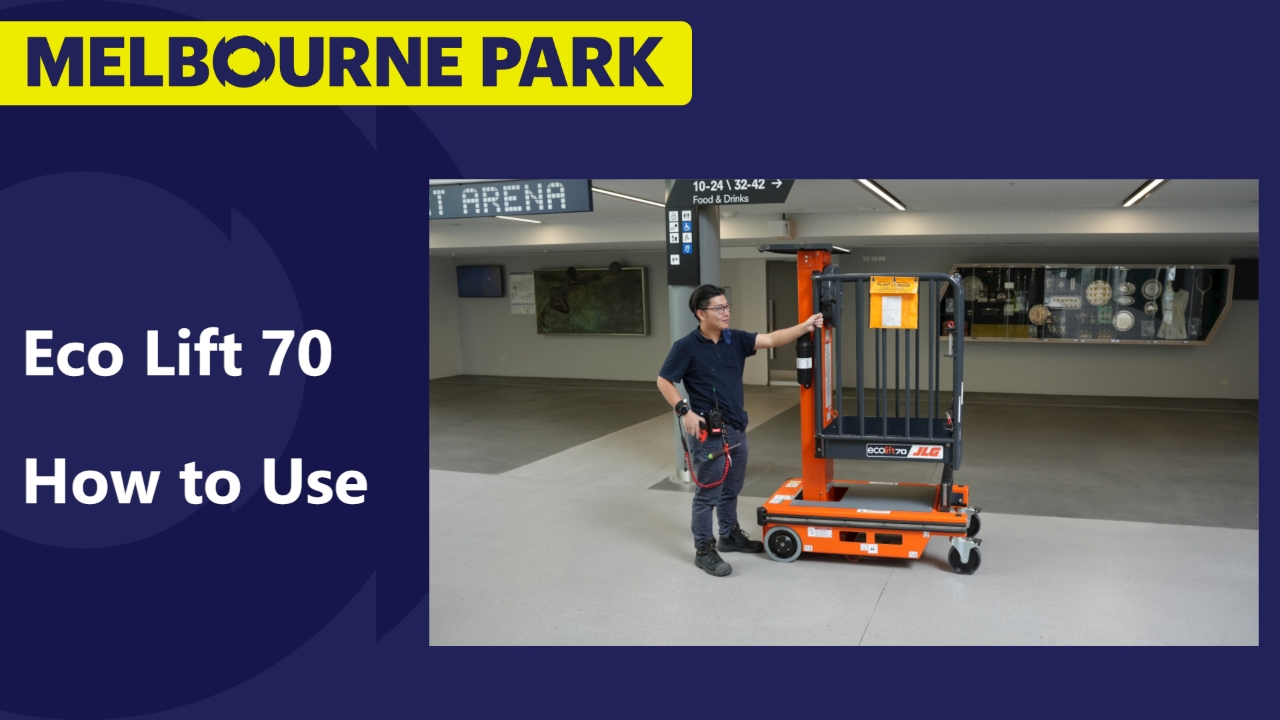

Pre-Start Check (Preparation)
Prior to operating, look for faults. Key things to check:
Ensure the gate springs work
Make sure the brakes work
Look for any loose or faulty parts
Once the pre-start check is completed, add a record to the Plant Logbook.
If any issues are found, report them to your supervisor
Note: For additional information about the plant, consult the Operations Manual (contained in the black tube).

Tool Tethering (Preparation)
Hazard: Tools or loose items falling and injuring people or damaging equipment.
Controls:
Ensure all tools and loose items are tethered
Maintain an exclusion zone around the work area
Where to Grip (Moving)
To push, grip the vertical bars on the back corners of the lifter below the gate springs.
DO NOT grip and push on the bars of the gate.
Slopes (Moving)
When pushing on slopes:
Two people minimum
Always face up the slope and push from behind (even if going down the slope, i.e. walk backward)
Use a forklift to move the lifter if the slope angle is greater than 5 degrees
Poor Placement (Positioning)
Be mindful of surroundings when placing the lifter.
DO NOT obstruct doorways or important equipment (such as fire extinguishers)

Good Placement (Positioning)
Place the lifter beside where the work is to be performed.
Ensure their is enough space above the lifter to raise it to the required height.
Ensure it is close enough that you DO NOT need to lean over rail to perform work.
If you need to lean to perform work, STOP, LOWER and MOVE the lifter closer.
Prepare for Entry (Entering)
Once the lifter is in place:
Lock the Brakes
Lower the Step
Never enter the basket with the brakes unlocked
Tip: Try pushing the plant to test that the brakes are locked
Entering the Basket (Entering)
Only one person may be in the basket at a time.
Maintain three points of contact when entering.
Ensure the gates are closed behind you after entering.
Note: The gates are spring loaded and should close themselves. If they do not close, record this in the log book, tag out the plant and report it to your supervisor.
The plant MUST NOT be used if the gates are broken.
Raising the Basket
To raise, pull the handle on the wheel toward you and rotate clockwise.
While raising the basket keep an eye above you to ensure you do not hit anything or get crushed
When you release the handle it should lock into place stopping the wheel from spinning.
Note: If the handle does not lock into place, lower the platform, record the fault in the logbook, tag out the plant and report to your supervisor.
Working at Height
Perform the necessary work, ensuring an exclusion zone is maintained below the work area to avoid falling objects hitting passers by.
Lowering the Basket
To lower, pull the handle on the wheel toward you and rotate counter-clockwise.
While lowering the basket keep an eye below to ensure you do not crush anything.
Lower the basket until it won't lower any further. The unit will not move if basket is not all the way down.
Exiting the Basket
Pull the gates toward you to open them.
Maintain three points of contact when exiting.
Use the step to exit the basket.
Finishing Up
Put the step back up and disengage the brakes.

Final Notes
NEVER Operate the wheel from outside the basket. The plant is spring loaded and without weight in the basket it will be violently propelled upward.
The basket can hold a total of 150kg of weight (this includes the weight of tools and equipment).
The tool tray at the front of the basket can hold a maximum of 15kg