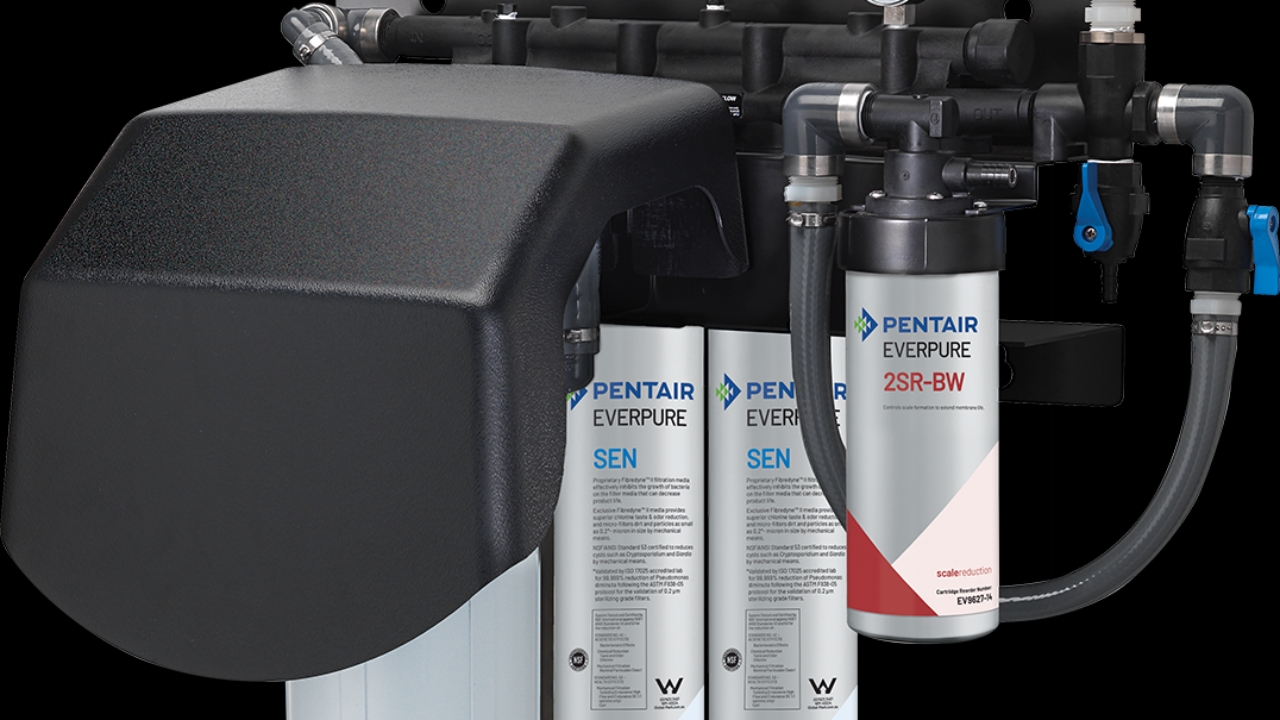

Turn off water to the system at the blue valve on the left hand side and release pressure through the flushing valve to the right of the 4 aluminum cartridges.
Ensure the pressure gauge is showing zero before moving to the next step
Using the filter spanner remove the large white filter bowl by turning to the left. Once removed discard old filter cartridge and rinse out filter bowl. Please note filter bowl will be full of water and heavy so remove with caution.
remove x 5 aluminum cartridges by turning 1/4 turn to the right and pulling down, dispose of all five.

Install new pre filter in large white housing and fit new O ring to the top of white housing.
tighten filter bowl with spanner just past hand tight and do not over tighten.

Install all 5 new aluminum cartridges into the manifold by pushing up straight and twisting 1/4 turn to the right.
Ensure all filters are installed in the same sequence as they where removed. Left to right is 4 larger cartridges followed by one small cartridge
Turn water back on at the water inlet ensuring the flushing valve is still on and hose directed into a suitable drain or bucket.
allow to flush for 4 minutes then turn off flushing valve and check for leaks

Place dated stickers showing date changed and a 12 month expiry on each cartridge.
Clean up area ensuring floor is dry and place wet floor signs if applicable.