Knowby Nat Org
Knowby
PRO SOS2 Palletisation Gripper Set Up
PRO SOS2 Palletisation Gripper Set Up 1. PURPOSE Bag positioning for robot gripper 2. SCOPE Changeover of finished bag length for correct bag pick up and placement by robot gripper 3. RESPONSIBILITY Operators 4. METHOD VISUAL DIAGRAMS STEPS SPECIAL REQUIREMENTS
1
Step 1 of 9

Video

2
Step 2 of 9
<p>Step 1:</p><p>Complete this first:</p><p>​<klink id="fe10b10b-14cb-4a23-b9e4-12f7d528d28f" step-id="ec8848e9-3145-4931-b2c0-163c2468c08d">Horses</klink> </p><p><strong>Enter </strong>the robot cell using the safety access key. This key must be in possession at all times when in the robot cell.</p><p></p>

Step 1:

Complete this first:

Horses

Enter the robot cell using the safety access key. This key must be in possession at all times when in the robot cell.

3
Step 3 of 9
<p>Step 2:
Select the correct bag
template for the finished
length of bag on the
BPO.</p>

Step 2: Select the correct bag template for the finished length of bag on the BPO.

4
Step 4 of 9
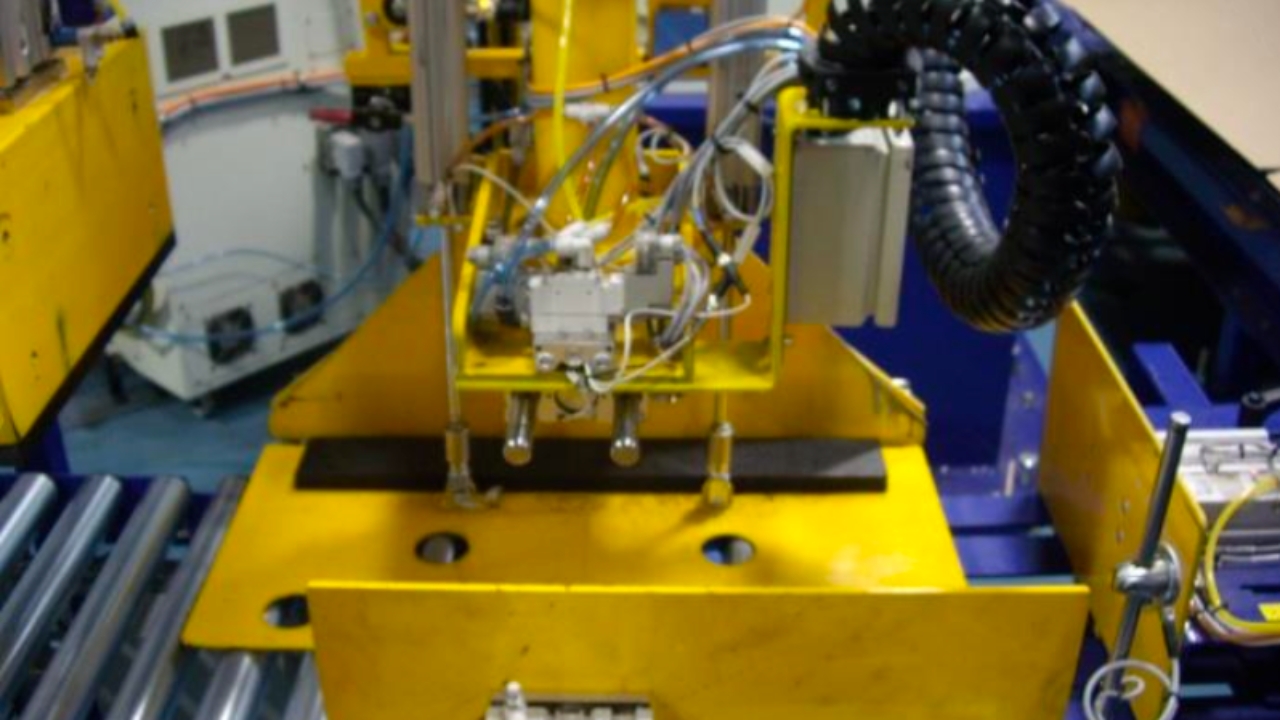
<p>Step 3: Using the correct template, place studs in locating holes of backing plate and fit nuts so that the template is secure.</p>

Step 3: Using the correct template, place studs in locating holes of backing plate and fit nuts so that the template is secure.

5
Step 5 of 9
<p>Step 4:
Fully extend the right
side
stop cylinder and loosen
the
clamps to adjust the
cylinder
to meet the template.
Tighten the locks once in
correct position.</p>

Step 4: Fully extend the right side stop cylinder and loosen the clamps to adjust the cylinder to meet the template. Tighten the locks once in correct position.

6
Step 6 of 9
<p>Step 5:
Release the air pressure
from the cylinder on the
lower port.</p>

Step 5: Release the air pressure from the cylinder on the lower port.

7
Step 7 of 9
<p>Step 6:
Extend the left cylinder
down; loosen the clamp
to
adjust the cylinder to
meet
the template. Tighten the
clamp once in correct
position.</p>

Step 6: Extend the left cylinder down; loosen the clamp to adjust the cylinder to meet the template. Tighten the clamp once in correct position.

8
Step 8 of 9
<p>Step 7:
Remove the template, so
robot gripper is ready for
production.</p>

Step 7: Remove the template, so robot gripper is ready for production.

9
Step 9 of 9

This is tge last step, answer the ques