

Preparation
Safety Controls
Ensure the work area is clear of bystanders and hazards
Equipment
Power Drill
Power Drill Bit (Need to specify exact bit)
Allen Key (Need to specify exact allen key)
Personal Protective Equipment (PPE)
Leather Gloves (Worn at ALL Times)
Safety Note: Always wear the provided leather gloves to protect hands from sharp edges, pinch points, and hot drill surfaces.
Remove the First Bolt
Remove the bolt closest to the cover plate (i.e. raised bollard position).
Important: This bolt must always be removed first to avoid risk of injury or uncontrolled movement.
Place your foot firmly on the cover plate to control upward tension.
Unscrew the bolt using the Allen Key.
Remove the Second Bolt
Remove the bolt opposite the cover plate (i.e. raised bollard position).
Place your foot firmly on the cover plate to control upward tension.
Unscrew the bolt using the Allen Key.
Open the Pit
Using hand pressure, carefully lift the cover plate toward the hinged side and secure it open.
Remove the temporary pit cover that was placed over the gap.
Safety Note: Do not leave the pit uncovered at any time.
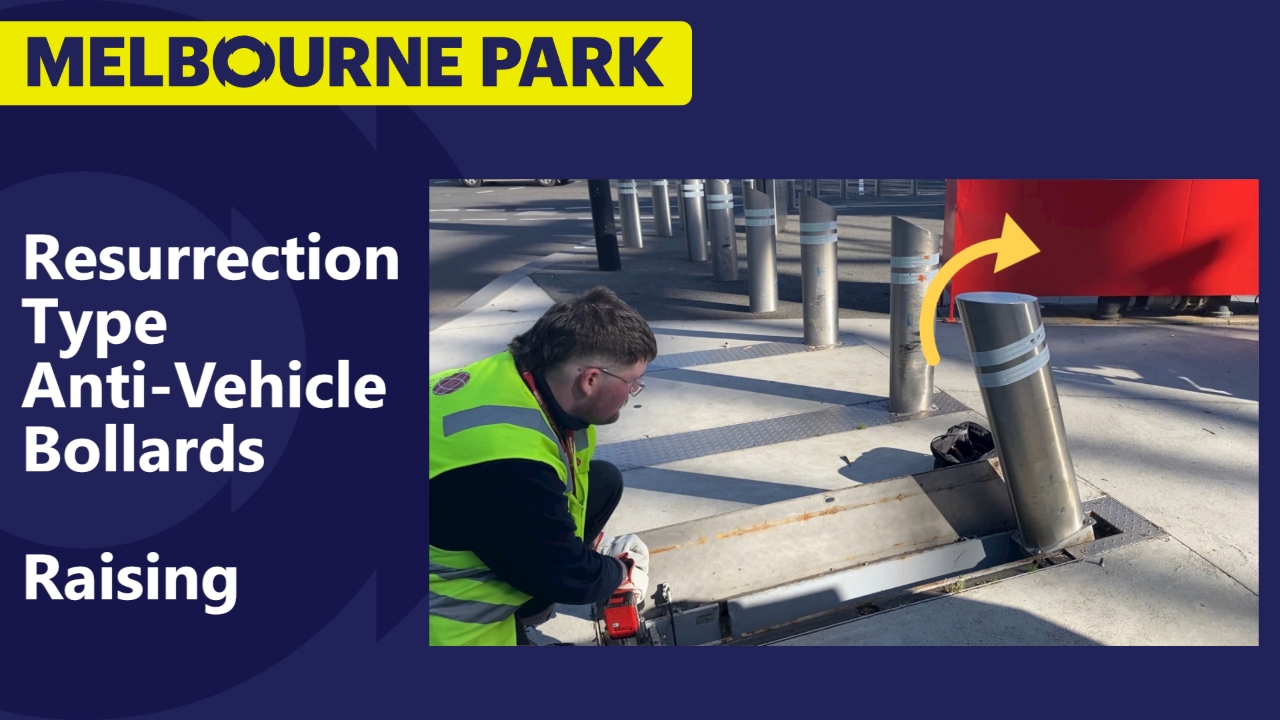
Raise the Bollard
Safety Note: If resistance or abnormal movement occurs while raising, stop immediately and report to your supervisor.
Connect the cordless drill to the internal bolt inside the pit.
Engage the drill in the REVERSE DIRECTION and steadily operate until the bollard is fully raised.
Disengage the drill and disconnect it from the internal bolt.
Close the Pit
Safety Note: Ensure the bollard is fully raised and locked before closing the hatch.
Place the small cover plate back inside the pit before the hatch is closed.
Push the cover plate closed over the pit.
Replace the Bolts
Replace the bolts in the reverse order they were removed.
Place your foot firmly on the cover plate.
Screw in the bolt using the Allen key.