
Knowby
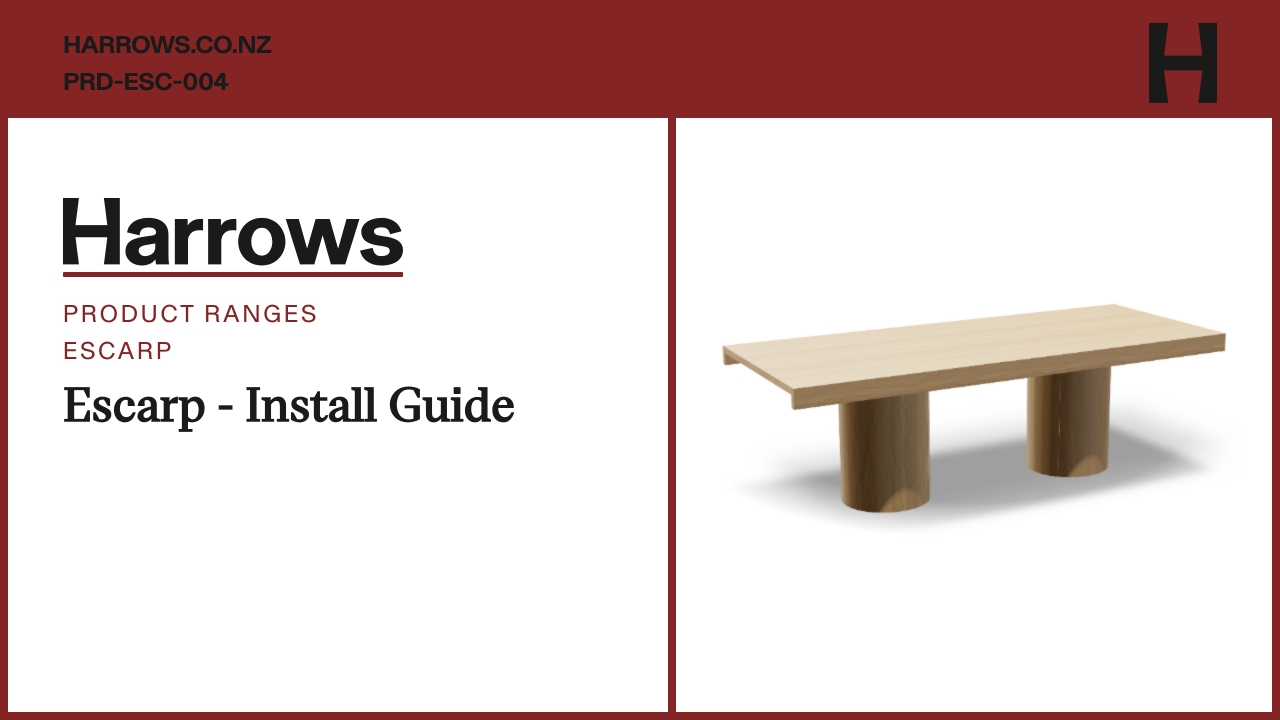
Escarp - Install Guide
PRD-ESC-004. Install an Escarp table or leaner on site: position the columns, lift the top on, join dry-join tops, fix through the brackets and hand over.
1
Step 1 of 9

Before installing, check:

  • The site is ready and there is access

  • The floor is level

  • The position matches the plan

  • Powered jobs: where the power feed is

2
Step 2 of 9
<p>Unpack:</p><ul><li><p>Check the part count</p></li><li><p>Look for transit damage</p></li><li><p>Photograph any damage before starting</p></li></ul><p></p>

Unpack:

  • Check the part count

  • Look for transit damage

  • Photograph any damage before starting

3
Step 3 of 9
<p>Position the columns:</p><ul><li><p>Stand the columns on their glides in the positions on the plan</p></li><li><p>Powered jobs: face the short skin and cutout towards the power feed</p></li></ul><p></p>

Position the columns:

  • Stand the columns on their glides in the positions on the plan

  • Powered jobs: face the short skin and cutout towards the power feed

4
Step 4 of 9
<p>Lift the top on:</p><ul><li><p>Two-person lift minimum</p></li><li><p>Locate each joining bracket in its rebate</p></li></ul><p></p>

Lift the top on:

  • Two-person lift minimum

  • Locate each joining bracket in its rebate

5
Step 5 of 9
<p>Dry-join tops only:</p><ul><li><p>Place the first section, then the second</p></li><li><p>Fit the biscuits and push the sections together</p></li><li><p>Tighten the bench-top connectors from underneath</p></li><li><p>Check the drop edges meet flush at the join</p></li></ul><p></p>

Dry-join tops only:

  • Place the first section, then the second

  • Fit the biscuits and push the sections together

  • Tighten the bench-top connectors from underneath

  • Check the drop edges meet flush at the join

6
Step 6 of 9
<p>Fix the top:</p><ul><li><p>Fix up through each bracket into the top</p></li><li><p>25 mm black hex screws</p></li></ul><p></p>

Fix the top:

  • Fix up through each bracket into the top

  • 25 mm black hex screws

7
Step 7 of 9

Powered jobs only:

  • Route the cable to the supply as shown on the site plan

8
Step 8 of 9
<p>Check the table is:</p><ul><li><p>Stable</p></li><li><p>Level</p></li><li><p>Seated in every rebate</p></li></ul><p></p>

Check the table is:

  • Stable

  • Level

  • Seated in every rebate

9
Step 9 of 9
<p>Hand over:</p><ul><li><p>Clean</p></li><li><p>Final inspection</p></li><li><p>Take photos</p></li><li><p>Get sign-off</p></li></ul><p></p>

Hand over:

  • Clean

  • Final inspection

  • Take photos

  • Get sign-off