
Knowby
Using Screens & Zoom in the Tour Route Meeting Space
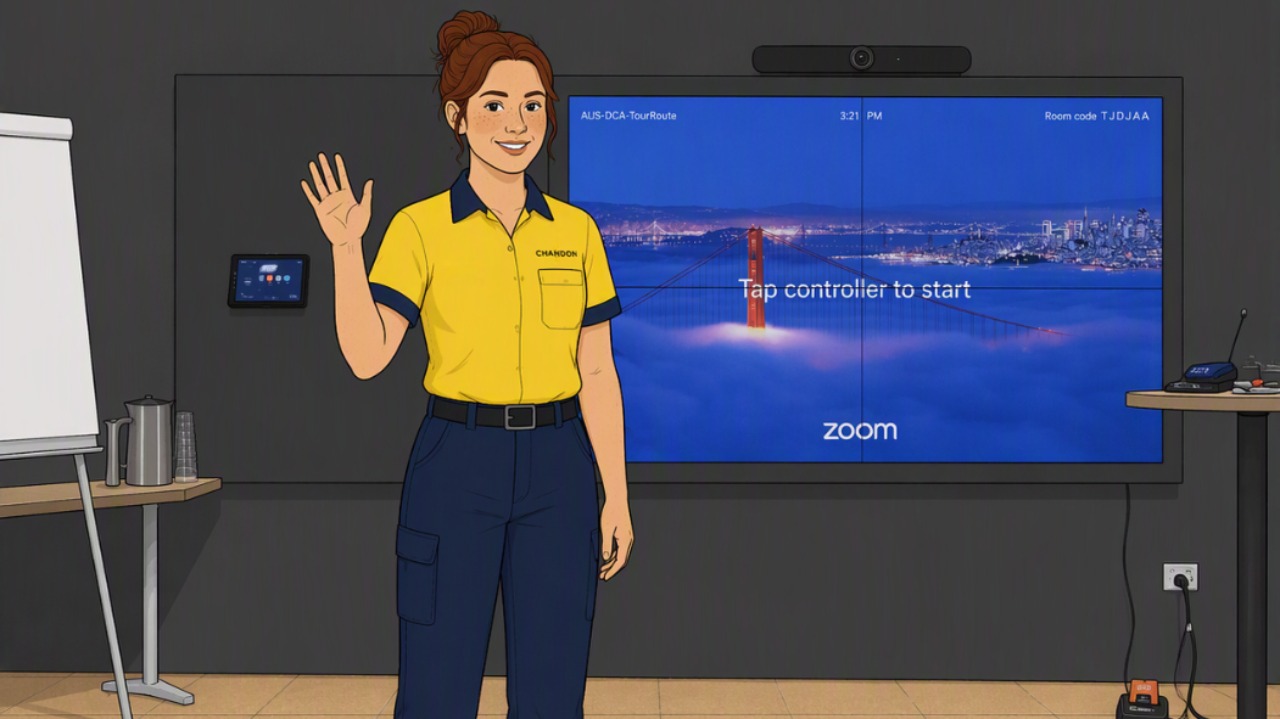
This Knowby provides step-by-step instructions for utilising the display screens and integrating Zoom in the Tour Route meeting room. Learn how to connect your laptop, troubleshoot screen issues, and efficiently manage your Zoom sessions, ensuring a seamless presentation experience.
1
Step 1 of 6
<p><span style="font-size: 12px; line-height: 1.4;"><strong>Pre-Meeting Setup (Screens Always On)</strong></span></p><p></p><ol><li><p><span style="font-size: 12px; line-height: 1.4;"><strong>Confirm Screens Are On:</strong> Upon entering the Tour Route meeting space, observe that all screens should already be powered on.</span></p></li><li><p><span style="font-size: 12px; line-height: 1.4;"><strong>No Remote Needed (Generally):</strong> You should not need to use a remote control to turn on the screens before your meeting.</span></p></li></ol><p></p>

Pre-Meeting Setup (Screens Always On)

  1. Confirm Screens Are On: Upon entering the Tour Route meeting space, observe that all screens should already be powered on.

  2. No Remote Needed (Generally): You should not need to use a remote control to turn on the screens before your meeting.

2
Step 2 of 6
<p><span style="font-size: 12px; line-height: 1.4;"><strong>Troubleshooting (If Screens Are Off)</strong></span></p><p></p><ol><li><p><span style="font-size: 12px; line-height: 1.4;"><strong>Locate Remote:</strong> If the top two screens are off, pick up the remote control.</span></p></li><li><p><span style="font-size: 12px; line-height: 1.4;"><strong>Point at "Remote Here" Sticker:</strong> Point the remote control at the bottom left screen, specifically at the sticker that indicates "remote here" and turn on.</span></p></li><li><p><span style="font-size: 12px; line-height: 1.4;"><strong>Verify Screens On:</strong> This action should turn the top two screens back on.</span></p></li></ol><p></p>

Troubleshooting (If Screens Are Off)

  1. Locate Remote: If the top two screens are off, pick up the remote control.

  2. Point at "Remote Here" Sticker: Point the remote control at the bottom left screen, specifically at the sticker that indicates "remote here" and turn on.

  3. Verify Screens On: This action should turn the top two screens back on.

3
Step 3 of 6
<p><span style="font-size: 12px; line-height: 1.4;"><strong>Connecting Your Laptop</strong></span></p><p></p><ol><li><p><span style="font-size: 12px; line-height: 1.4;"><strong>Locate HDMI Cable:</strong> Find the HDMI cable positioned on the right side of the screens.</span></p></li><li><p><span style="font-size: 12px; line-height: 1.4;"><strong>Connect to Laptop:</strong> Plug the HDMI cable into your laptop's HDMI port. (The other end should already be connected to the monitors.)</span></p></li></ol><p></p>

Connecting Your Laptop

  1. Locate HDMI Cable: Find the HDMI cable positioned on the right side of the screens.

  2. Connect to Laptop: Plug the HDMI cable into your laptop's HDMI port. (The other end should already be connected to the monitors.)

4
Step 4 of 6
<p><span style="font-size: 12px; line-height: 1.4;"><strong>Using Zoom</strong></span></p><p></p><ol><li><p><span style="font-size: 12px; line-height: 1.4;"><strong>For Zoom Meetings:</strong> If you are conducting a Zoom meeting, ensure that "AUS-DCA-TourRoute" is added as a meeting location in your Zoom meeting invitation.</span></p></li><li><p><span style="font-size: 12px; line-height: 1.4;"><strong>Wireless Screen Share (Optional):</strong> If you prefer to share your screen without the HDMI cable:</span></p><ul><li><p><span style="font-size: 12px; line-height: 1.4;">Open the Zoom application on your laptop.</span></p></li><li><p><span style="font-size: 12px; line-height: 1.4;">Locate the "Share Key" displayed on the top right monitor.</span></p></li><li><p><span style="font-size: 12px; line-height: 1.4;">Type this "Share Key" into your Zoom application to share your screen wirelessly.</span></p></li></ul></li></ol><p></p>

Using Zoom

  1. For Zoom Meetings: If you are conducting a Zoom meeting, ensure that "AUS-DCA-TourRoute" is added as a meeting location in your Zoom meeting invitation.

  2. Wireless Screen Share (Optional): If you prefer to share your screen without the HDMI cable:

    • Open the Zoom application on your laptop.

    • Locate the "Share Key" displayed on the top right monitor.

    • Type this "Share Key" into your Zoom application to share your screen wirelessly.

5
Step 5 of 6
<p><span style="font-size: 12px; line-height: 1.4;"><strong>Post-Meeting Disconnection</strong></span></p><p></p><ol><li><p><span style="font-size: 12px; line-height: 1.4;"><strong>Disconnect from Screens:</strong> When your meeting is finished, disconnect from the screens by either:</span></p><ul><li><p><span style="font-size: 12px; line-height: 1.4;">Stopping your Zoom session, OR</span></p></li><li><p><span style="font-size: 12px; line-height: 1.4;">Unplugging the HDMI cable from your laptop.</span></p></li></ul></li><li><p><span style="font-size: 12px; line-height: 1.4;"><strong>Do Not Turn Off Monitors:</strong> <strong>Do not attempt to turn off the monitors.</strong> They are designed to remain on.</span></p></li></ol><p></p>

Post-Meeting Disconnection

  1. Disconnect from Screens: When your meeting is finished, disconnect from the screens by either:

    • Stopping your Zoom session, OR

    • Unplugging the HDMI cable from your laptop.

  2. Do Not Turn Off Monitors: Do not attempt to turn off the monitors. They are designed to remain on.

6
Step 6 of 6
<p><span style="font-size: 12px; line-height: 1.4;"><strong>Support</strong></span></p><p></p><ol><li><p><span style="font-size: 12px; line-height: 1.4;"><strong>Contact IT:</strong> If you experience any issues or have concerns, please contact our on-site local IT team.</span></p></li></ol><p></p>

Support

  1. Contact IT: If you experience any issues or have concerns, please contact our on-site local IT team.