
Please watch this Knowby before installing your central locking to get an idea of when you will need to start integrating the gator camera into the central locking loom. Once you have watched this Knowby, please click the link below to return to the central locking Knowby to begin installing the loom.
https://knowby.show/b15cb95f-780a-4bf3-98c0-3f5af173a5b4
Remove the door trim from the front passengers door. Remove the trim left of the passengers footwell.
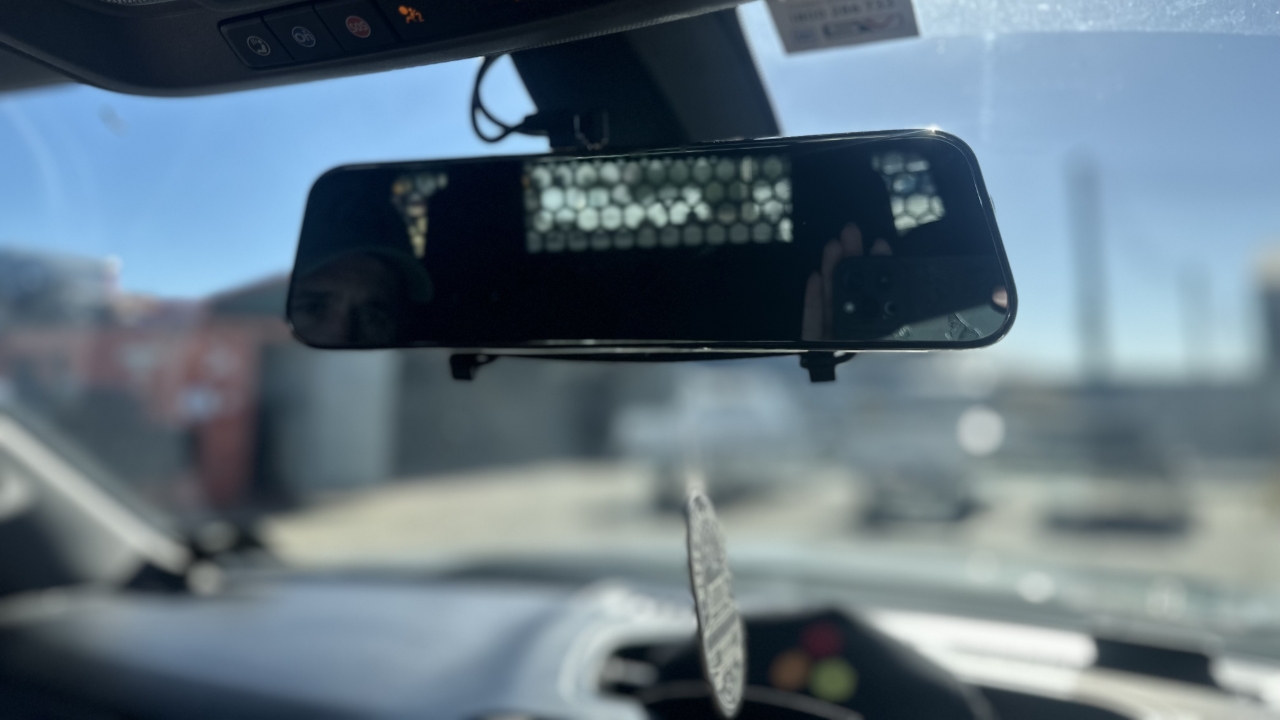
Take your gator camera mirror and attach it to your vehicle mirror like so. Begin feeding the wires up in between the roof and windscreen.
Keep pushing the wires in between the roof and the windscreen, towards the passengers window. Pop the cover off the handle and unbolt the handle
Keep feeding the wires in behind the handle like so.
Bolt your handle back on and click the covers back in. Continue feeding the wires down along the passengers door jam. Push the door seal back on to hold the cord in place. Feed the cord down to the footwell like so.
Pull the flooring up to reveal the central locking vehicle loom. Take the female spade terminals, a 12v socket and plug them together. Plug the gator camera plug into the socket.
Feed the gator camera wire down into the rubber plug along with the central locking loom.
Bundle all of the looms together and cable tie. Ensure you cable tie it securely in a position where it will not get in the way of putting the trim back on. Place the floor back down.
Place the footwell and door trim back on as well as the door seal.
Ensure all trim and door seal is back on correctly. Clean up any excess glue and your gator camera is not complete.
Your gator camera wire should be coming through this hole with the central locking loom.
Send your central locking harness and gator camera wire over the chassis towards the passengers front side.
Feed the gator camera along with the loom down the length of the chassis. Cable tie to only one of the brake lines.
It is important you only cable tie to one brake line to ensure that the brake lines do not rub together. Feed the rest of the camera cable and loom down to the rear passengers tyre.
Your camera cable and loom should be secured in the shown location.
Remove the bolt at the bottom of the guard and clips to pull the inner guard back to access your vehicle loom and gator cord.
Plug your gator camera wires from the vehicle and canopy together.
Once you have plugged your loom and gator camera together tuck it back behind the inner guard and cable tie away from any hot or moving parts.
Reclip the inner and outer guard and fasten the bolt back in.
Reclip the inner and outer guard and fasten the bolt back in.
Once everything is securely plugged and put back, you can reconnect your 12v battery.