
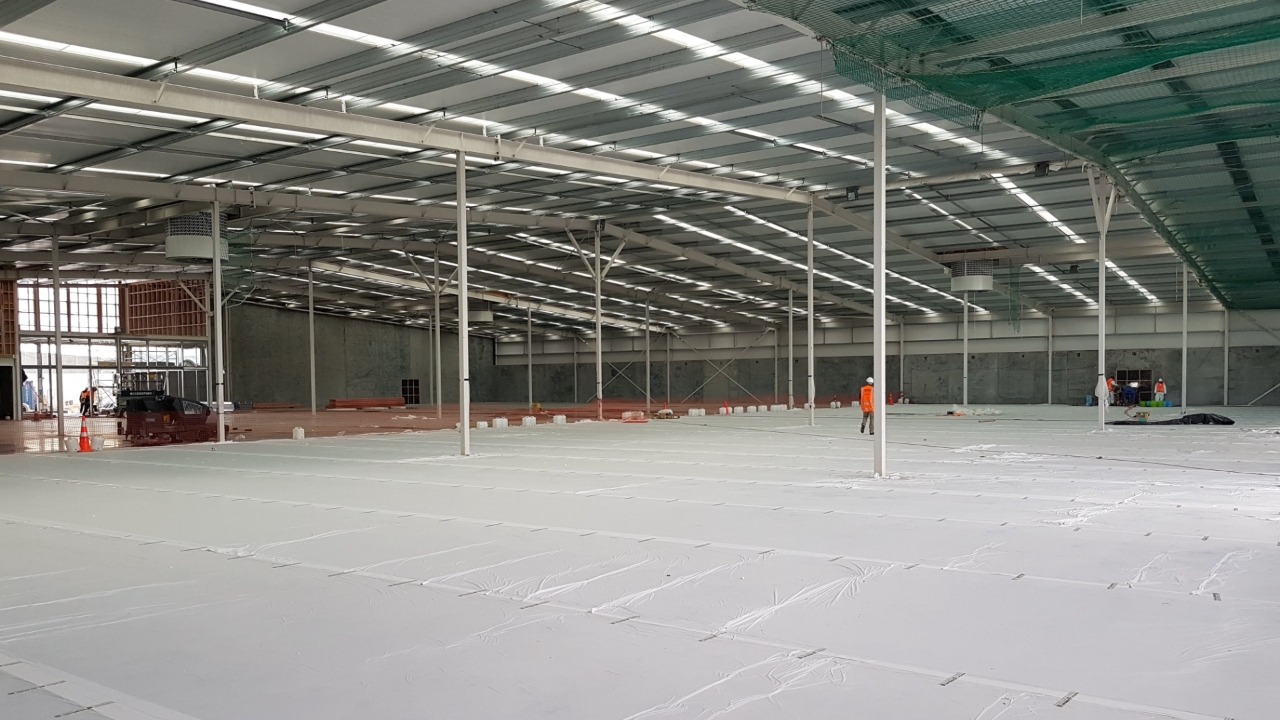
1. Purpose
The purpose of this procedure is to ensure all Markham personnel are trained and competent in the correct installation, inspection, maintenance, and removal of the CONQOR Hydracure Blanket.
Correct installation is essential to:
Maintain consistent moisture within the concrete during curing.
Maximize concrete performance and durability.
Reduce shrinkage cracking.
Meet project specifications.
Protect warranty eligibility.
2. Scope
This procedure applies to all projects where CONQOR Hydracure Blanket is specified as the curing method.
3. Responsibilities
All applicators are responsible for:
Completing a pre-installation inspection.
Applying the blanket in accordance with this SOP.
Maintaining curing conditions throughout the curing period.
Recording inspections and corrective actions.
Removing the blanket correctly.
Cleaning all equipment after use.
4. Equipment Required
The following equipment is required before commencing work:
CONQOR Hydracure Blanket
CONQOR Hydracure Rippa Tape
Heavy-duty scissors
Water hose
Spray nozzle and tap connector
Water-filled buckets or pails
Wheelbarrow (optional)
Floor scrubbing machine
Measuring tape / Wheel or CamToPlan app
Camera or mobile device for QA photographs

5. Personal Protective Equipment (PPE)
The following PPE must be worn:
Steel cap gumboots
Chemical-resistant gloves
High visibility clothing
Safety glasses (where required)
Hard hat (site requirements)
Additional PPE as required by the Site Safety Plan
6. Hazards and Risks
Potential hazards include:
Wind lifting blanket edges.
Hot weather causing rapid evaporation.
Cold overnight temperatures.
Slip hazards from excess water.
Manual handling injuries.
Trips caused by loose blanket edges.
Mobile plant operating nearby.
Low Water pressure
Always follow site-specific safety requirements.
7. Pre-Installation Inspection
Before laying the blanket:
Confirm the slab is ready for curing.
If AQURON has just been applied, ensure the application has been completed correctly.
Inspect the slab for defects or obstructions.
Remove debris where possible.
Report any defects in accordance with the Defect Notice SOP.
Confirm access to the entire slab.
Do not commence installation until any critical defects have been resolved.
Measure slab, and calculate the overall area in m2 (length x width.)

8. Measure the Slab
Measure:
Length
Width
Calculate:
Area (m²) = Length × Width
Record the total area within the project documentation.
9. Calculate Blanket Requirements
One roll of CONQOR Hydracure Blanket covers approximately:
324 m²
Calculate the number of rolls required:
Total Area ÷ 324 = Number of Rolls
Example
1,000 m² ÷ 324 = 3.09 rolls
Minimum required: 4 rolls
Always allow additional blanket for:
200 mm overlaps
Irregular slab shapes
Waste
Repairs around penetrations
Never arrive on site with only the calculated minimum quantity.
10. Application Procedure
Step 1 – Pre-Wet the Slab
The blanket works by retaining moisture already present within the concrete.
Before laying each strip:
Thoroughly wet the slab.
The surface should appear flooded.
Walking across the slab should create a visible splash.
Insufficient water will reduce curing effectiveness.
Step 2 – Position the Blanket
Whenever practical:
Roll the blanket along the longest edge of the slab.
Consider:
Wind direction.
Site access.
Doorways.
Obstacles.
Choose the safest and most efficient installation direction.
Step 3 – Lay the Blanket
Position the roll on the slab edge.
As the blanket is rolled out:
Keep it aligned with the slab edge.
Continuously spray water ahead of the roll.
Maintain a visible "wake" of water ahead of the blanket.
If the wake disappears:
Stop rolling.
Re-wet the slab.
Continue only when adequate moisture has been restored.
The blanket should quickly change from white to a darker colour as it absorbs moisture.
Step 4 – Trim Blanket Ends
At the slab edge:
Roll slightly past the slab.
Wet the excess blanket.
Cut neatly using heavy-duty scissors.
Lay the trimmed section flat.

Step 5 – Install Additional Strips
Repeat the process across the slab.
Each strip must overlap the previous strip by a minimum of:
200 mm
Wet each overlap before placing the next strip to ensure good adhesion and moisture retention.
Step 6 – Maintain Alignment
Install slowly and accurately.
If the blanket begins to drift:
Stop immediately.
Re-align the roll.
Continue once straight.
Straight blanket lines ensure:
Consistent overlaps.
Improved curing.
Easier removal.
Step 7 – Remove Air Pockets
If air bubbles develop:
Sweep them along the length of the blanket.
Do not attempt to sweep across the width.
Internal stitched barriers prevent air moving sideways.
The objective is to make full contact between the blanket and the concrete surface.
Step 8 – Work Around Obstructions
Where pipes or penetrations occur:
Select the most suitable method:
Cut a hole around the penetration.
Wrap a separate blanket section around the obstacle.
Cut and restart beyond the obstruction.
Maintain full slab coverage wherever possible.
If unsure, contact your Supervisor or the Markham office before proceeding.

Step 9 – Secure the Blanket
Using CONQOR Hydracure Rippa Tape:
Secure blanket overlaps every 2–3 metres.
Firmly press tape onto the blanket.
For exposed sites or windy conditions:
Use water-filled buckets or approved weights in place of tape where appropriate.
This reduces blanket movement caused by wind or site traffic.
11. High Wind Procedure
Do not install blanket when winds exceed approximately:
25 km/h
13 knots
If conditions prevent installation:
Maintain slab moisture using sprinklers or regular water application.
Obtain approval from the Site Manager before using sprinklers.
Return when weather conditions improve.
Secure blanket using additional weights if required.

12. Blanket Inspection During Curing
Internal Slabs
Inspect approximately:
3–4 days after installation
External Slabs
Inspect:
Every 1–2 days
Check for:
Lifted edges.
Dry areas.
Damage.
Wind movement.
Ponding.
Where exposure occurs:
Wet the slab immediately.
Reposition the blanket.
Secure with tape or weighted buckets.
13. Blanket Removal
Remove the blanket after:
7–8 days
Removal should preferably be completed by two people.
One person:
Lifts the blanket.
Second person:
Operates the floor scrubber immediately behind.
Remove the blanket one strip at a time.
Do not expose large areas of concrete before scrubbing, as surface residue may dry and become difficult to remove
14. Scrubbing Procedure
Complete two scrubbing passes.
First Pass
Scrub without vacuum suction.
Apply clean water.
Allow the slurry to remain briefly on the surface.
Second Pass
Scrub again.
Operate with vacuum suction engaged.
Remove all slurry and residue.
Inspect the finished surface before leaving site.
15. Equipment Cleaning
Immediately after use:
Empty the scrubber.
Flush clean water through the system.
Remove all slurry and residue.
Clean brushes and recovery tanks.
Do not allow product residue to dry inside equipment.
16. Quality Assurance Requirements
Record the following:
Slab dimensions.
Blanket quantity used.
Installation date.
Weather conditions.
Inspection dates.
Corrective actions taken.
Removal date.
Photographs before, during and after installation.
Upload all documentation to the relevant MJM project and complete ITP

17. Troubleshooting
Issue
Likely Cause
Corrective Action