
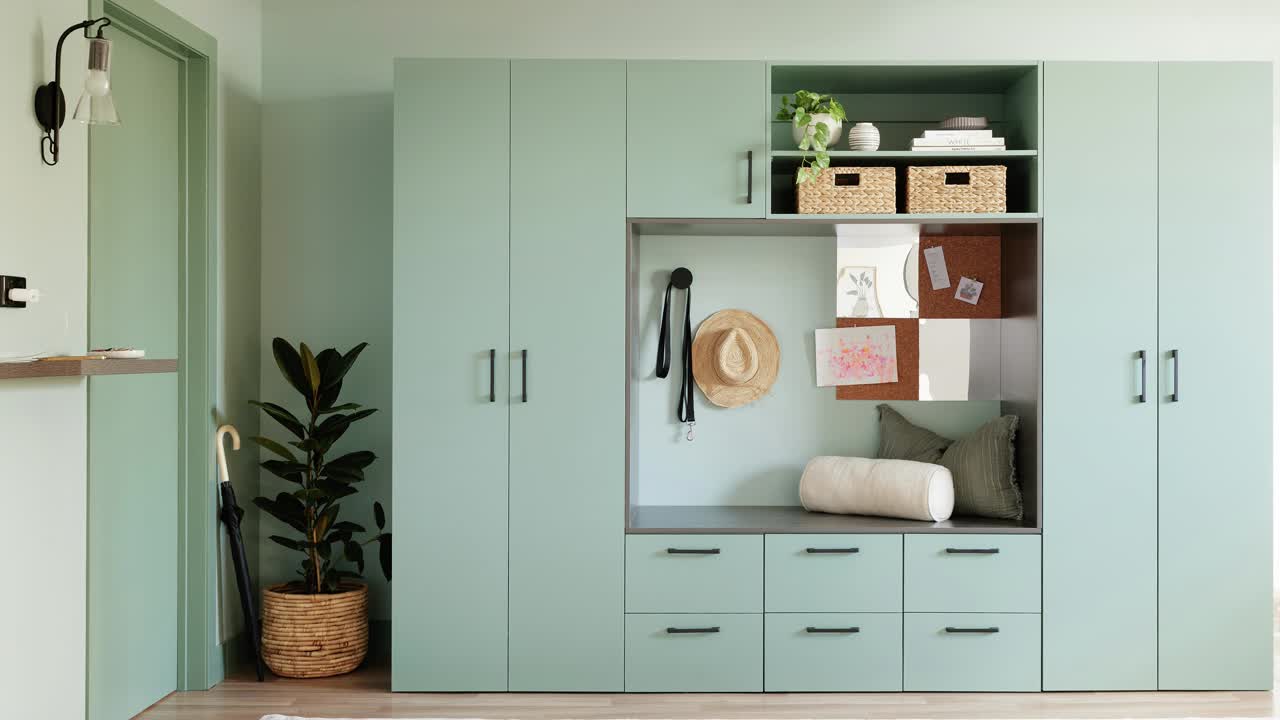
Mud rooms, whether in the garage, laundry, or near the back door, offer an organized solution with designated spaces, clever storage options, and customizable features.
Begin assembly by placing the left-hand cabinet against the wall, ensuring a secure fit.
For overhead cabinets, pre-drill holes in the top and bottom back rails for hanging.
Measure to ensure the cabinets align with each other. Enlist the help of a helper during this process.
Utilize a stud finder to locate a stud on the wall.
Use fixing screws to secure the units to the wall stud. If no stud is found, employ wall mate or wall plug fixings for stability.
Incorporate drawer units, ensuring they sit square with the hanging cabinets.
Add the final double-door cabinet, securing it with proper fixings to prevent instability.
Line the mud room cavity by fixing horizontal panels first and then installing vertical side panels.
Complete the drop and pack zone by adding hooks for daily-use items, enhancing functionality.
Consider bold color choices, wallpaper, or artwork to make the mud room an aesthetically pleasing organization hub that suits everyone in the house.
With these steps, you've created a new mud room to simplify daily comings and goings from your home. Enjoy!