
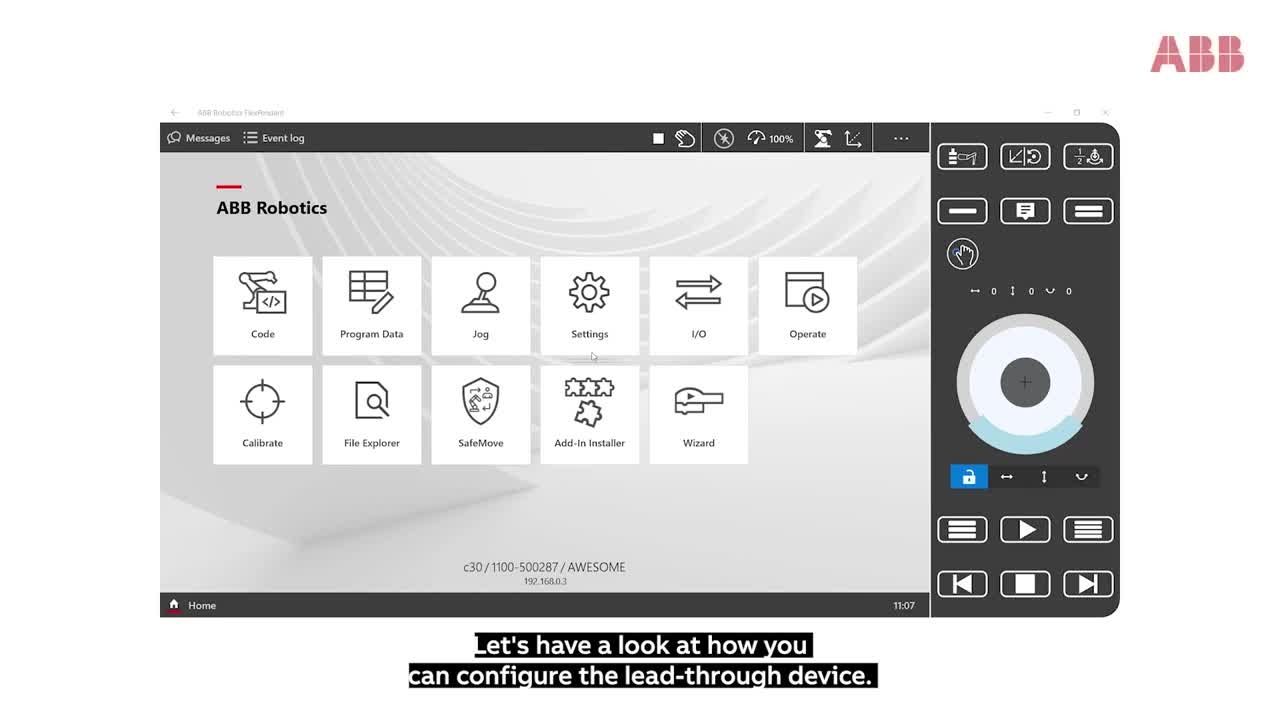
ABB Robotics SWIFTI Lead through setup.
Let's have a look at how you can configure the lead-through device.
Let's have a look at how you can configure the lead-through device.
1
Step 1 of 15Let's have a look at how you can configure the lead-through device. On the FlexPendant, go to Settings, then Lead-through Device.
2
Step 2 of 15Choose Simpler Installation, and from the Installation menu, select the type of lead-through device that you are using.
3
Step 3 of 15If it's the old one with no button, or the new one with two buttons.
4
Step 4 of 15Tap About the types to learn more about each version.
5
Step 5 of 15Then select your installation from four configurations.
6
Step 6 of 15Then tap Apply. For different installations, tap Advanced Installation.
7
Step 7 of 15Here you can enter the offset in X, Y, and Z directions in millimeters relative to the robot flange.
8
Step 8 of 15You can also specify the angle of the lead-through device, as well as the tool load mass of the lead-through device.
9
Step 9 of 15You can also add the tool load mass center in X, Y, and Z directions in millimeters.
10
Step 10 of 15Now, since we have the two button lead-through device, let's go to Configurable, Buttons.
11
Step 11 of 15Here you can add functions for the flat button, including linear and rear end movement, locking the Z axis or the X and Y axis for more precision, while moving the lead-through device.
12
Step 12 of 15The same functions can be applied to the raised button.
13
Step 13 of 15Let's go to the Force Threshold screen. Here you can adjust the sensitivity of the lead-through device.
14
Step 14 of 15The higher we go, the more sensitive the device becomes and the faster we can move the robot.
15
Step 15 of 15The lower we go, the more precise your movements become, since you need to apply more force when moving the robot.