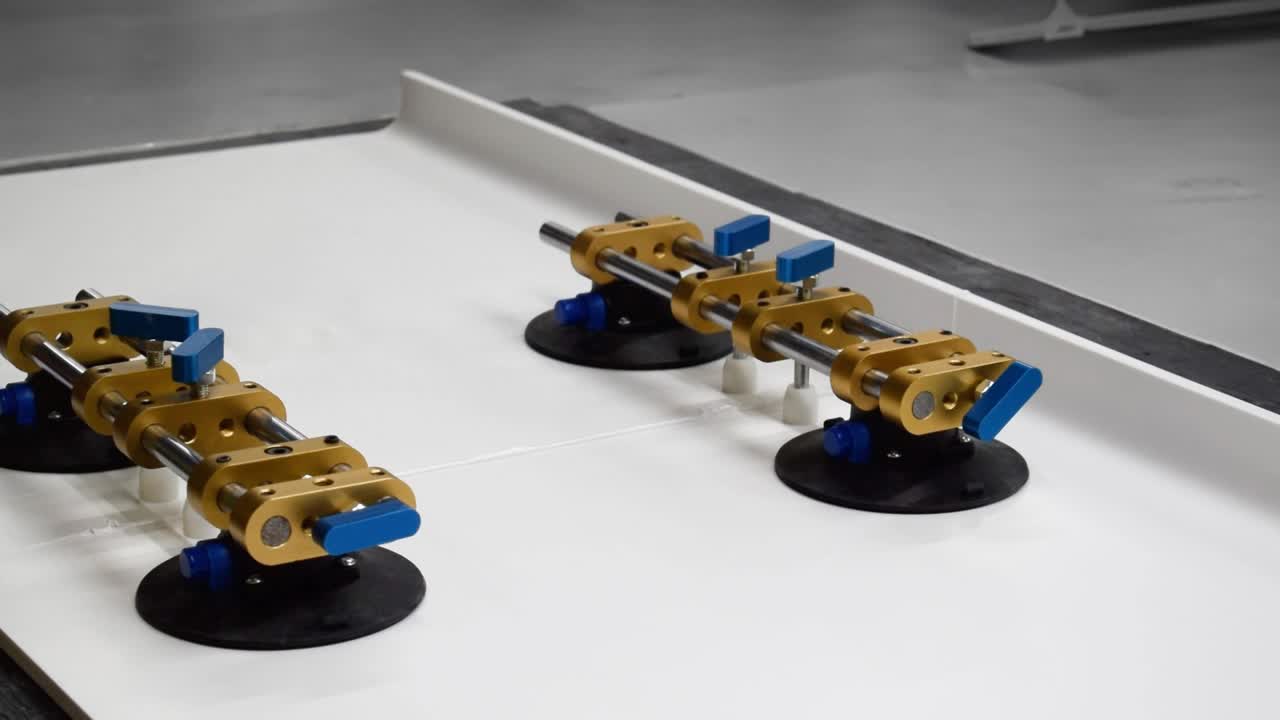
Locate the tools required for jointing a Hygenius solid surface worktop:
- 2 x Suction clamps
- Orbital sander
- Solid surface glue gun
- Hammer
- Chisel

Locate the following sanding disc pads for orbital rotating sander:
- P100
- P180
- P220
- P320
- P500 (polishing pad)

Prepare tools for surface cleaning:
- Industrial Methylated Spirit (IMS)
- White tissue (coloured tissues must NOT be used)
Clean up surfaces using a P320 grit sanding discus. Sand up the join, 200mm each side.
This step is very important to ensure good result. Clean the dust off using IMS and push panels together to ensure the join is tight. In the situation where a join does not consistently touch, this should be fixed using a sanding block.
Position clamps, apply suction to both clamps and tighten to pull the tops together. It is important to do a dry run to ensure tops have a good edge to form the join.
Repeat step step 5. The panels must be cleaned again prior to joining.
Pull the panels together and apply suction clamps for final check prior to adding adhesive. NOTE: the pump buttons have to remain closed during the adhesive curing process. Ensure the red line on the buttons disapears.
Now prepare the glue. Discard the first run of glue that comes out the nozzel.
Apply adhesive to solid surface joint and bring the join together.
Position suction clamps and apply. Level off using adjustment on the suction clamp.
Clean knife using IMS before checking the panel levels.
Using the knife blade, check the surface level ensuring there is no height difference. Adjust clamps to bring the tops level if required.

Allow 1hr for glue to set. Once set, remove the clamps.

You are now going to systematically sand the surface using the different grades of sand paper starting at P100, then to P180, P220 then finally a P320.
Ensure the extraction on your M rated hoover is working correctly and that the holes on the sandpaper and on the hoover line up.
To ensure shape is maintained, sand the rear cove upstand using a rolled up P100 sanding disc to remove any bumps.
Now sand the top of the upstand. All scenarios are different so if tight to the wall, sand by hand.
Polish the surface using a P500 soft pad to achieve the finished result onsite.
The final step is to clean the worktop using a microfibre cloth before handing over to the client.