

1. Purpose
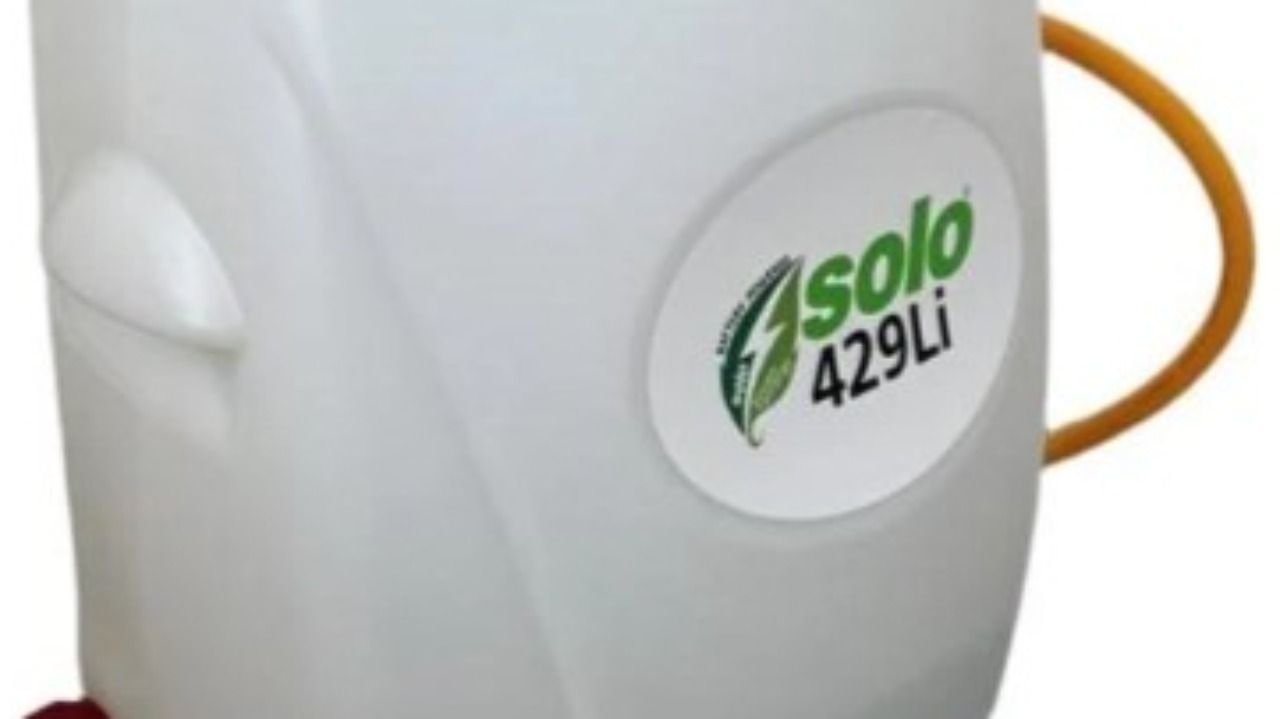
The purpose of this procedure is to ensure the SOLO 429Li Electric Sprayer is maintained in a safe, clean and serviceable condition through routine preventative maintenance.
Regular maintenance extends the service life of the equipment, ensures reliable product application, reduces downtime and helps prevent costly repairs.
2. Scope
This procedure applies to all SOLO 429Li Electric Sprayers owned or operated by Markham Global.
Routine maintenance shall be completed after use and before the sprayer is returned to storage.
3. Responsibilities
All operators are responsible for:
Inspecting the sprayer before and after use.
Cleaning the sprayer after every application.
Performing routine preventative maintenance.
Reporting damaged or faulty equipment.
Ensuring the battery is charged correctly.
Recording any maintenance or repairs where required.
4. Personal Protective Equipment (PPE)
The following PPE shall be worn when servicing the sprayer:
Safety glasses
Chemical-resistant gloves
Safety footwear
Additional PPE shall be worn where required by the product Safety Data Sheet (SDS) or site requirements.

5. Materials and Equipment
The following items are required:
Clean rags
Armour All or silicone spray
Clean water
Mild detergent (if required)
Soft brush (if required

6. Sprayer Components
Operators should be familiar with the following components before carrying out maintenance:
Spray tank
Tank lid and carry handle
Trigger assembly
Y nozzle
Spray wand
Shoulder straps
Charging port
Variable flow control switch
Brass adjustable nozzle (alternative nozzle)
Spray wand clip
Drain plug
Inspect all components during routine maintenance for damage, wear or loose fittings.

7. Routine Cleaning Procedure
Step 1 – Inspect the Lid Assembly
Remove the tank lid.
Inspect and clean:
Lid
Lid seal
Air vent / air lock
Remove any dirt, debris or product residue.
A damaged lid seal should be replaced before further use.

Step 2 – Clean the Tank Filter
Remove the internal tank filter.
Rinse thoroughly using clean water.
Inspect for:
Blockages
Damage
Excessive wear
Reinstall once clean.
Step 3 – Clean the Bottom Tank Filter
The sprayer is fitted with an additional filter located at the bottom of the tank.
This filter should be rinsed with clean water at least once per week, or more frequently where heavy product use occurs.
Ensure all residue is removed before reinstalling.

Step 4 – Flush the Spray System
Fill the tank with clean water.
Operate the sprayer to flush clean water through:
Tank
Hose
Trigger
Spray wand
Spray nozzles
Continue flushing until only clean water exits the nozzle.
Once complete:
Open the drain plug and completely empty the tank.
Step 5 – Clean the Exterior
Using a clean rag:
Wipe down the entire sprayer.
Remove any dirt or product residue.
Apply a light coating of Armour All or silicone spray to the external plastic surfaces.
This helps protect the sprayer from UV exposure and keeps plastic components in good condition.
Do not spray directly onto electrical components.
Step 6 – Battery Compartment Inspection
Open the front battery compartment.
Inspect for:
Water
Moisture
Dirt
Product residue
Dry the compartment thoroughly if required.
Inspect the battery terminals for:
Corrosion
Dirt
Loose connections
Physical damage
Clean terminals using a dry cloth only.
Report damaged terminals immediately

8. Battery Charging Procedure
Only use the genuine SOLO charger supplied with the sprayer.
Charging from 230V Mains Power
Ensure the sprayer is switched OFF.
Connect the charger to the charging port.
Plug the charger into a 230V power outlet.
The charger indicator light will display:
Red – Battery charging.
Green – Battery fully charged.
Disconnect the charger once charging is complete.

Vehicle Charging
Where required, the supplied vehicle cigarette lighter charger may be used.
Ensure the charger is compatible with the vehicle power supply and follow the manufacturer's charging instructions.
9. Post-Maintenance Inspection
Before returning the sprayer to storage:
Confirm:
Tank is clean.
Filters are clean.
Drain plug is closed.
Nozzles are free from blockages.
Battery compartment is dry.
Battery terminals are clean.
Charger has been disconnected.
All components are secure.
10. Storage
Store the sprayer:
Clean and dry.
With the battery adequately charged.
Out of direct sunlight.
In a cool, dry location.
Protected from frost and excessive heat.
Do not store the sprayer with chemical residue remaining in the tank.
11. Quality Assurance
Record any maintenance or repairs where applicable.
Report immediately if any of the following are identified:
Damaged spray wand
Leaking tank
Damaged hose
Blocked or damaged nozzle
Battery faults
Charging faults
Cracked housing
Damaged seals
Equipment with safety or operational defects must be removed from service until repaired.

12. Troubleshooting
Issue
Possible Cause
Corrective Action

13. Important Notes
Clean the sprayer after every use.
Flush the complete spray system with clean water before storage.
Clean the bottom tank filter at least weekly.
Never immerse electrical components in water.
Only use the approved SOLO charger supplied with the sprayer.
Ensure the sprayer is switched off before charging.
Store the sprayer clean, dry and fully maintained to maximise service life.
Report any damage immediately and do not operate faulty equipment until repaired.