
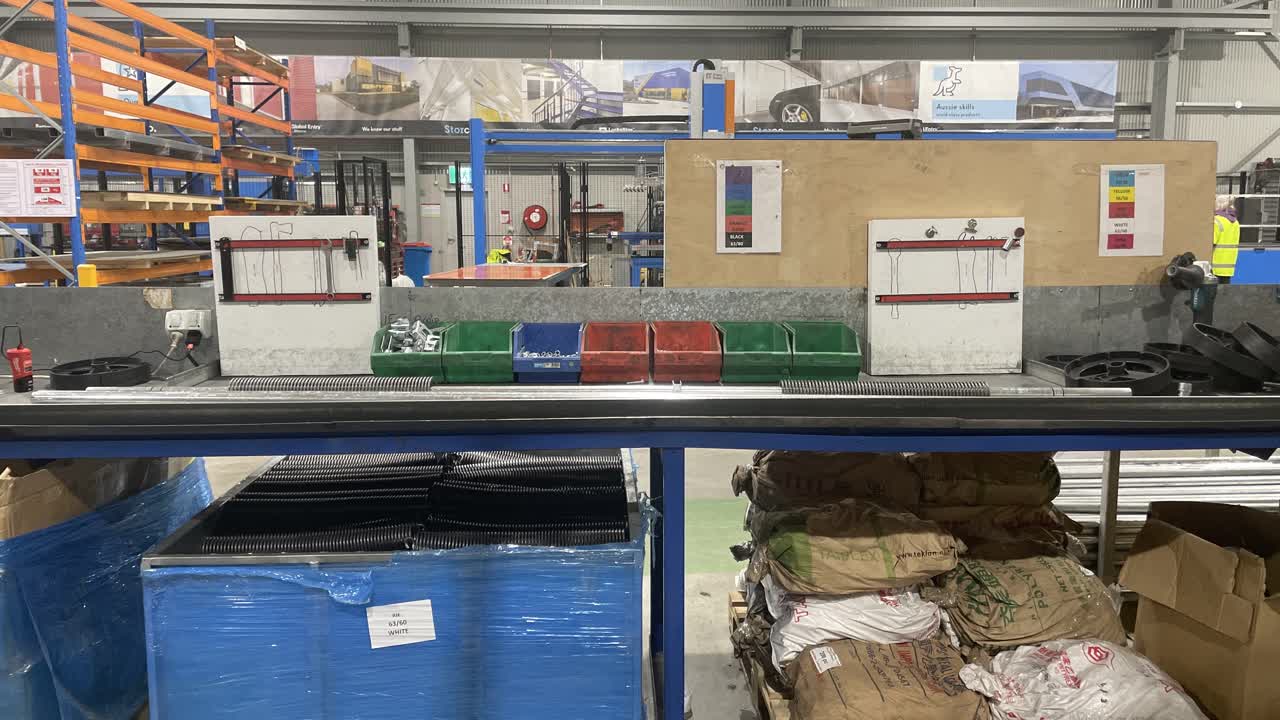

Personal Protective Equipment (PPE). Gloves and Safety Glasses. If you don’t already have a pair of gloves or safety glasses, please see the store person.

QA Sheet. You will find a QA sheet at the machine, if there is no QA sheet there, see the team leader or production. A QA sheet will need to be completed at the start, throughout and, at the end of the day.

Tools required. two ratchets, two drills, two spanners, two clamps, line maker, tape measure, marker, drop down saw and a grinder.

Find a shaft thats the length you need. If cant find the length you need, get one that is close, measure and cut to the length you need using the drop down saw.

Make sure you have to right springs for the job, check the board and if still unsure ask your team leader.

Spring colours; left side

Spring colours; right side
Using the line making template mark 2 lines around the end of the shaft pole. repeat on both sides.
Place one wheel in the middle of the shaft.
Place one spring clamp, one spring and then another wheel. Repeat on the other side.

To secure the spring to the wheel you will need: 3 washers, 1 bolt and 1 nut.

With the 4 sheet doors, you will need to add a bracket to stop the wheel from breaking under the weight.

With 4 sheet roller doors, you'll need to add a bracket and an additional bolt and nut, to the top hole of the wheel. No washers needed for the outside.

The bottom bolt will still require its washers as usual, but the top one will not need a washer.
Place 1 washer on the bolt, then put the bolt through the wheel, place another washer on the bolt. Place the long end of the spring on the bolt, then put on the last washer and nut. Repeat on the other outside wheel.
Using the spanner and the drill, tighten the nut.

Move the shaft to the lip of the table, making sure the lip of all three wheels are flush with the lip of the table, then clamp the outer wheels to the table.
Unclamp one wheel and move it along with the spring to the first black line, then clamp the wheel to the table again, repeat on the other side.
Attach the spring clamp to the other end of the spring and tighten using the drill. Repeat on the other side.
Unclamp the left wheel and attach the silver spider. Make sure the bolt faces up, insert into the wheel, straighten it [bolt up] then pull back. Once the spider is in place, pull the spider, along with the wheel, to the second black line, tighten with your hands and then, with the ratchet. Re-clamp the wheel to the table again.
Unclamp the Right wheel and attach the silver spider. Make sure the bolt faces up, insert into the wheel, straighten it [bolt up] then pull back. Once the spider is in place, pull the spider, along with the wheel, to the second black line, tighten with your hands and then, with the ratchet. Re-clamp the wheel to the table again
Unclamp both wheels and take the shaft to the rolling area.