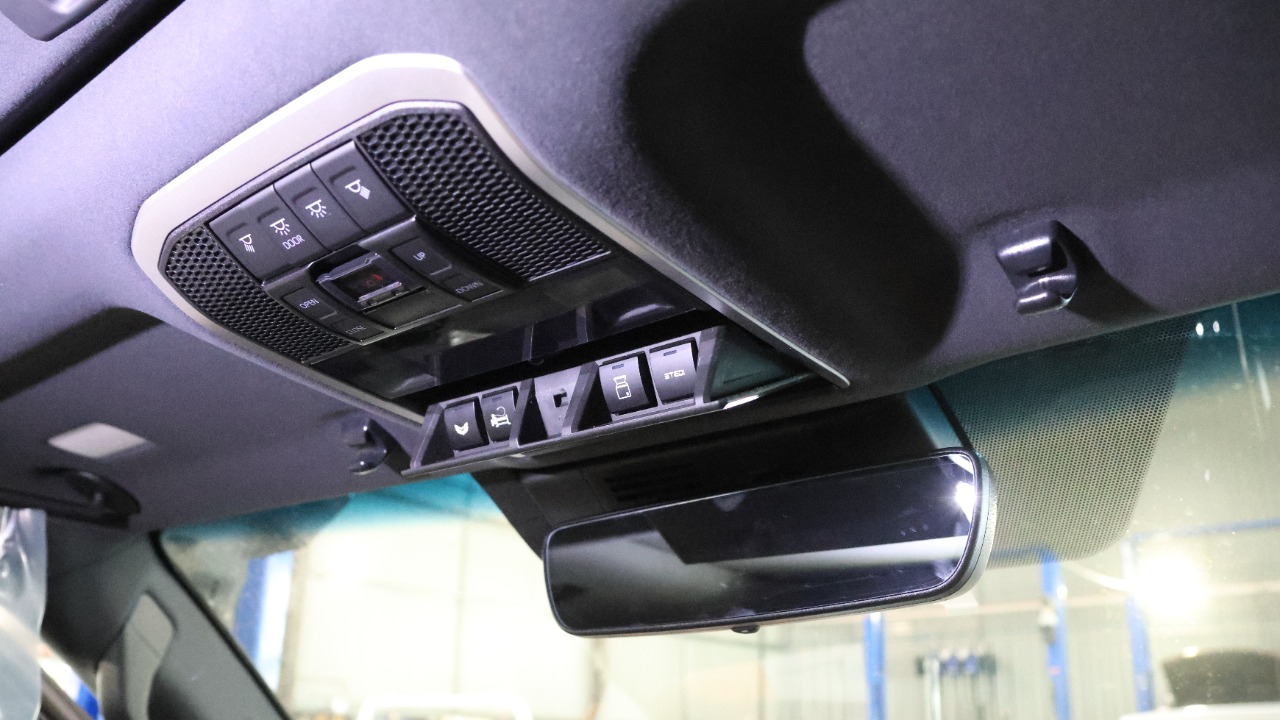
Firstly we'll run through removing the OEM overhead panel.
Begin by removing the overhead panel - You want to start by removing the four push clips located on the panel as well as three guiding prongs at the top here.
Start from the very front of the panel, remove the first two clips working your way back.
There are three connections here that you need to be careful of - 1 on the left and 2 on the right side.
Disconnect the three connections and the OEM panel will be removed.
Next Step is to remove the OEM sunglasses holder - To do this you're going to require a Phillips head screwdriver.
Remove the screw fixing the damper gear and keep to the side when installing the OTA panel.
Remove the spring on the left side by unlatching, unwinding and then pulling it out.
Keep this to the side to reuse when installing the OTA panel.
So now to remove the panel. You want to unlatch it and lift up to the right before pulling it out.
Prefit any switches or blanks into the OTA switch panel.
Connect all wire tails to the switches in the panel.
Remember to label each tail so you can ID them correctly when wiring.
Push the wires through the holes in the Overhead panel and loosely fit the OTA panel - Remember to guide the boss into the hole on the left hand side.
Grab the OEM screw in the gear along with your screwdriver and align the two alignment bosses on the gear into place on the panel - This will ensure the gear is refit correctly and that the damper will function correctly.
With it aligned, slowly tighten until fit - DO NOT OVERTIGHTEN as you may strip or damage the panel
After fixing the gear back in place, fit the spring to the OTA panel.
Start by facing the spring tail towards the rear fo the panel and pushing into the hole - Then wind the gear clockwise until you can latch it. (note the spring should feel like it has been preloaded and not loose)
Before fully reinstalling the panel we would recommend having all your wiring and your cabling through and prepped for connection - There is adequate room to run your wires through the roof lining and then down the A-pillars.
Reconnect the 3x connections, then relalign and clip the panel back into place.
With this completed, your OTA Overhead panel will be completely installed.