
Knowby
W3 Planer Operations Guide
This guide provides step-by-step instructions for safely operating the W3 Planer, covering essential procedures from pre-start checks to shutdown processes.
1
Step 1 of 15
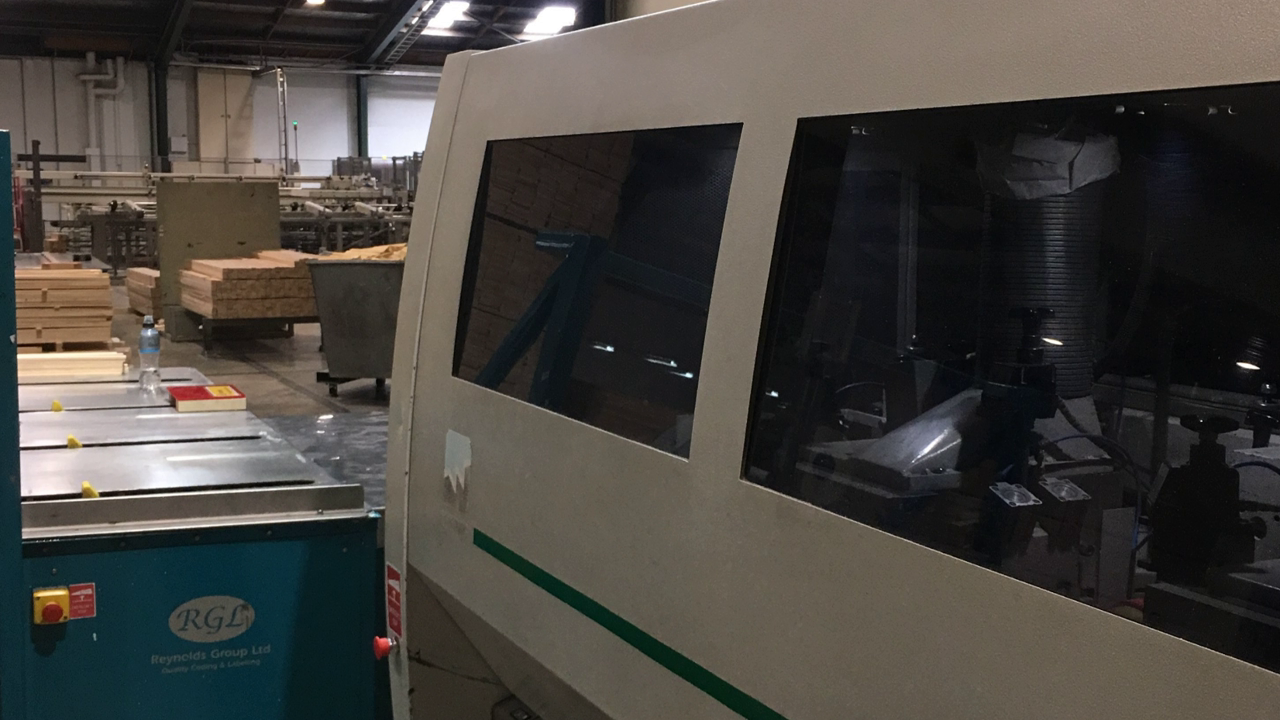
<p>The W3 Planer is designed for four-sided planning and longitudinal profiling of timber boards using mechanical feed. Ensure safe and correct operations to meet production standards</p>

The W3 Planer is designed for four-sided planning and longitudinal profiling of timber boards using mechanical feed. Ensure safe and correct operations to meet production standards

2
Step 2 of 15
<h4>Identify and Mitigate Hazards</h4>
<p>Hazards include sharp cutter heads, saw blades, jam ups, slip and trip hazards, noise, pinch points, live plant/stored energy, distorted timber, and entanglement risks. <strong>Use PPE and follow isolation procedures.</strong></p>

Identify and Mitigate Hazards

Hazards include sharp cutter heads, saw blades, jam ups, slip and trip hazards, noise, pinch points, live plant/stored energy, distorted timber, and entanglement risks. Use PPE and follow isolation procedures.

3
Step 3 of 15

Should you identify any additional potential hazards, please report them to your supervisor by filling out and submitting the hazard report form. Include the date, the names of the trainee and trainer, and provide detailed observations in the 'Comments' section to ensure all concerns are addressed promptly

4
Step 4 of 15
<p>Required PPE includes approved hearing protection, safety eyewear, and safety gloves (<strong>Ninja Lites for timber handling and Ninja Slivers for handling cutter heads</strong>)</p>

Required PPE includes approved hearing protection, safety eyewear, and safety gloves (Ninja Lites for timber handling and Ninja Slivers for handling cutter heads)

5
Step 5 of 15
<h4>Set Planer to Setup Mode</h4>
<ul>
<li>Turn the selector key on the planer control panel to the left to enter setup mode (Fig 1)</li>
<li>Remove the key and hang it on the lockout board to prevent accidental changes (Fig 2)</li>
<li>Ensure the Safety Interlock prevents hood opening until parts stop (Fig 3, 4)</li>
</ul>

Set Planer to Setup Mode

  • Turn the selector key on the planer control panel to the left to enter setup mode (Fig 1)
  • Remove the key and hang it on the lockout board to prevent accidental changes (Fig 2)
  • Ensure the Safety Interlock prevents hood opening until parts stop (Fig 3, 4)
6
Step 6 of 15
<h4>Emergency Stop Procedure</h4>
<ul>
<li>Press the Red Emergency STOP button to stop the line</li>
<li>Each button shuts down the entire line; use only in emergencies, not for isolation</li>
<li>To reset, turn the Red knob clockwise until it pops out</li>
</ul>

Emergency Stop Procedure

  • Press the Red Emergency STOP button to stop the line
  • Each button shuts down the entire line; use only in emergencies, not for isolation
  • To reset, turn the Red knob clockwise until it pops out
7
Step 7 of 15
<h4>Pre-Start Checks</h4>
<ul>
<li>Set planer to setup, remove key (Fig 1, 2)</li>
<li>Select &quot;tool change&quot; on PowerCom</li>
<li>Raise beam (Fig 3, red)</li>
<li>Replace equipment, update profile</li>
<li>Pump heads to 300bar</li>
<li>Align heads with bed/fence (Fig 4)</li>
<li>Check cutter joints (&lt;1mm)</li>
<li>Ensure guards/rollers intact</li>
<li>Lower beam (Fig 3, blue)</li>
<li>Clear materials/tools</li>
</ul>

Pre-Start Checks

  • Set planer to setup, remove key (Fig 1, 2)
  • Select "tool change" on PowerCom
  • Raise beam (Fig 3, red)
  • Replace equipment, update profile
  • Pump heads to 300bar
  • Align heads with bed/fence (Fig 4)
  • Check cutter joints (<1mm)
  • Ensure guards/rollers intact
  • Lower beam (Fig 3, blue)
  • Clear materials/tools
8
Step 8 of 15
<h4>Pre-Start Checks (Continued)</h4>
<ul>
<li>Adjust hold down rollers 2-3mm below timber (Fig 5)</li>
<li>Secure nuts and bolts; replace if needed</li>
<li>Check extraction hoses are clear</li>
<li>Ensure extraction system is on</li>
<li>Verify chip breakers and cutter heads are secure</li>
<li>Rotate cutter heads backward to ensure freedom</li>
</ul>

Pre-Start Checks (Continued)

  • Adjust hold down rollers 2-3mm below timber (Fig 5)
  • Secure nuts and bolts; replace if needed
  • Check extraction hoses are clear
  • Ensure extraction system is on
  • Verify chip breakers and cutter heads are secure
  • Rotate cutter heads backward to ensure freedom
9
Step 9 of 15
<h4>Set Rollers Correctly</h4>
<ul>
<li>Adjust hold down rollers to allow a 2-5mm gap (Fig 2)</li>
<li>Set side rollers 2-5mm narrower than product width (Fig 1)</li>
<li>Align top feed rollers using top handles (Fig 3)</li>
<li>Ensure gaps on adjusters are 2-5mm and lock in position</li>
</ul>

Set Rollers Correctly

  • Adjust hold down rollers to allow a 2-5mm gap (Fig 2)
  • Set side rollers 2-5mm narrower than product width (Fig 1)
  • Align top feed rollers using top handles (Fig 3)
  • Ensure gaps on adjusters are 2-5mm and lock in position
10
Step 10 of 15
<h4>Set Rollers Correctly (Continued)</h4>
<ul>
<li>Set beam height on PowerCom to match timber thickness (Fig 4, 5)</li>
<li>Replace all guards and covers</li>
<li>Ensure emergency stop is pulled out and machine is un-isolated</li>
<li>Start extraction system and check blast gate is open</li>
</ul>

Set Rollers Correctly (Continued)

  • Set beam height on PowerCom to match timber thickness (Fig 4, 5)
  • Replace all guards and covers
  • Ensure emergency stop is pulled out and machine is un-isolated
  • Start extraction system and check blast gate is open
11
Step 11 of 15
<h4>Pre-Start and Start-Up Sequence</h4>
<ul>
<li>Ensure hood is down and Safety Interlock is activated</li>
<li>Switch from setup to manual mode (middle position)</li>
<li>Select or verify profile on touch screen</li>
<li>Start heads one at a time, ensuring each reaches speed</li>
<li>Jog feed roller forward</li>
<li>Switch to automatic mode (right)</li>
<li>Activate automatic feed roller</li>
</ul>

Pre-Start and Start-Up Sequence

  • Ensure hood is down and Safety Interlock is activated
  • Switch from setup to manual mode (middle position)
  • Select or verify profile on touch screen
  • Start heads one at a time, ensuring each reaches speed
  • Jog feed roller forward
  • Switch to automatic mode (right)
  • Activate automatic feed roller
12
Step 12 of 15
<h4>Feed and Monitor</h4>
<ul>
<li>Feed board using jog button</li>
<li>Ensure proper holding by rollers, fences, etc.</li>
<li>Check board size, shape, finish</li>
<li>Switch to auto feed (Fig 1 green)</li>
<li>Start feed (Fig 1 red)</li>
<li>Feed boards butt to butt</li>
<li>Check output every 30 mins</li>
<li>Communicate and check size/CAD regularly</li>
<li>Optimize throughput</li>
</ul>

Feed and Monitor

  • Feed board using jog button
  • Ensure proper holding by rollers, fences, etc.
  • Check board size, shape, finish
  • Switch to auto feed (Fig 1 green)
  • Start feed (Fig 1 red)
  • Feed boards butt to butt
  • Check output every 30 mins
  • Communicate and check size/CAD regularly
  • Optimize throughput
13
Step 13 of 15

Additional Procedures

  • Perform head changes (Head Changes Procedure)
  • Adjust bar-coder (Barcode Procedures)
  • Joint cutter heads (Joint Procedures)
  • Record downtime on System TM
  • Fix quality issues (Reduction and Elimination Procedures)
  • Assist in other areas
  • Clean or assist during downtime
14
Step 14 of 15

Isolation and Cleaning

  • Isolate planer (steps 4-8)
  • Ensure machine stops; check cutter heads
  • Wait for Safety Interlock
  • Follow isolation steps
  • Remove guards, blow down; wear eyewear
  • Avoid air on skin/bearings
  • Check planer; report damage
  • Check cutter joints (>1mm); inform next shift
  • Remove padlock
  • Submit size check sheet
15
Step 15 of 15

Competency Sign-Off

  • Confirm you have the skills, knowledge, and experience to follow the Standard Operating Procedure
  • Sign and date the form to acknowledge your competency
  • Trainer and Supervisor observe and confirm your competency by signing and dating the form
  • Refer to the Weinig Powermat Manual for details