Knowby
Mick Tighe 4x4 & Outdoor
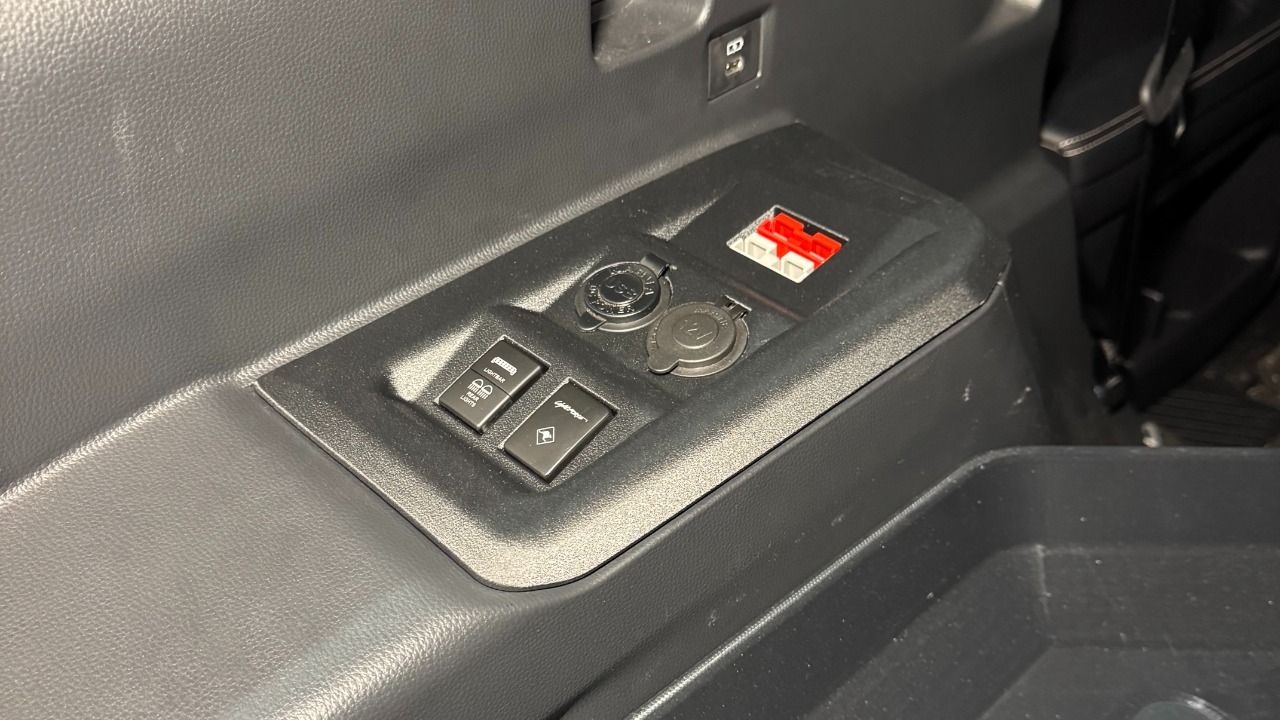
OTA 250 Prado - Rear Cup Holder Replacment Switch Panel
Follow these instructions to install your Left Hand or Right Hand Prado 250 Rear Cup Holder Replacement Switch Panel
Follow these instructions to install your Left Hand or Right Hand Prado 250 Rear Cup Holder Replacement Switch Panel
1
Step 1 of 5
Gather the tools required for installation:
Plastic Trim Tool
2
Step 2 of 5
Using the trim tool, remove the OEM cup holder.
3
Step 3 of 5
Complete remove the cup holder - At this point we recommend having your wiring prepared before fully installing the panel.
4
Step 4 of 5
To install the OTA panel, simply guide and refit in place of the OEM panel.
Please note: Any switches, or sockets should be pre-installed.
5
Step 5 of 5
Your panel is now installed and ready to use!
Thank you for supporting our business, we hope that you enjoy the product.