
Knowby Norweld Australia
Knowby
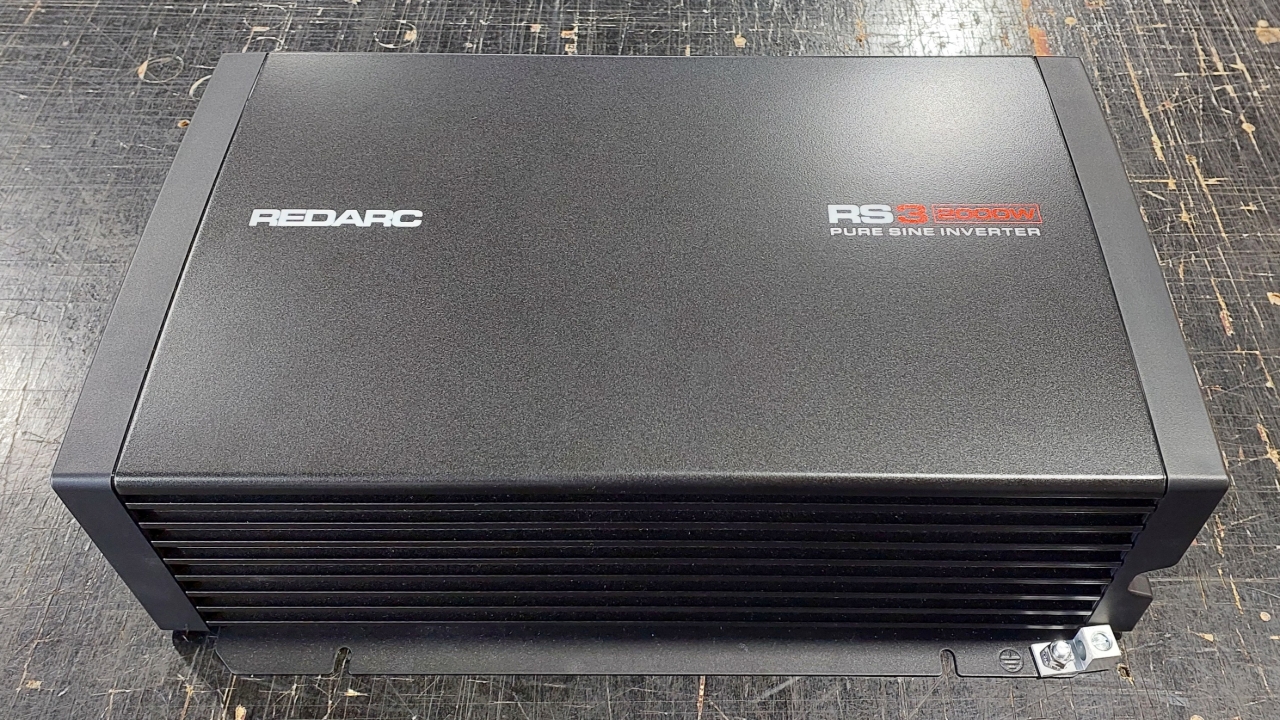
Redarc Inverter Install
How to install Redarc Inverter into canopy.
1
Step 1 of 18
<p>Remove plastic ends using Phillips Screwdriver, X4 screws in each panel.</p>

Remove plastic ends using Phillips Screwdriver, X4 screws in each panel.

2
Step 2 of 18
<p>Remove screws in aluminium cover with Phillips Screwdriver, X3 screws each side.</p>

Remove screws in aluminium cover with Phillips Screwdriver, X3 screws each side.

3
Step 3 of 18

Lift cover off inverter, rotate 180 degrees then refit cover.

4
Step 4 of 18
<p>Using Phillips Screwdriver&nbsp;refit screws in aluminium cover, X3 screws each side.<br></p>

Using Phillips Screwdriver refit screws in aluminium cover, X3 screws each side.

5
Step 5 of 18
<p>Using Phillips Screwdriver&nbsp;refit screws in plastic ends, X4 screws each end.<br></p>

Using Phillips Screwdriver refit screws in plastic ends, X4 screws each end.

6
Step 6 of 18
<p>Using 10mm socket remove factory body earth.</p>

Using 10mm socket remove factory body earth.

7
Step 7 of 18
<p>Install earth cable provided to body earth stud. Second ring terminal on cable will be fitted to negative stud once inverter is in canopy and main earth cable is fitted.</p>

Install earth cable provided to body earth stud. Second ring terminal on cable will be fitted to negative stud once inverter is in canopy and main earth cable is fitted.

8
Step 8 of 18
<p>Install supplied 50mm power cable to positive stud on inverter using 13mm socket angling ring terminal down slightly.</p>

Install supplied 50mm power cable to positive stud on inverter using 13mm socket angling ring terminal down slightly.

9
Step 9 of 18
<p>Refit positive stud cover.</p>

Refit positive stud cover.

10
Step 10 of 18
<p>Using 4mm Allen Key remover X2 top M6 bolts circled in red and undo X2 bottom M6 bolts circled in blue about half way.</p>

Using 4mm Allen Key remover X2 top M6 bolts circled in red and undo X2 bottom M6 bolts circled in blue about half way.

11
Step 11 of 18

With inverter laying face down in canopy, feed 50mm power cable through divider panel. Now stand inverter up against electrical panel and lower onto X2 bottom M6 mounting bolts.

12
Step 12 of 18
<p>Fit X2 top M6 mounting bolts then tighten X4 mounting bolts with 4mm Allen Key.&nbsp;</p>

Fit X2 top M6 mounting bolts then tighten X4 mounting bolts with 4mm Allen Key. 

13
Step 13 of 18
<p>Fit 50mm earth cable to inverter negative stud followed by inverter body earth cable, fit nut tighten using 13mm socket.</p>

Fit 50mm earth cable to inverter negative stud followed by inverter body earth cable, fit nut tighten using 13mm socket.

14
Step 14 of 18
<p>Plug data cable into remote socket on back of inverter.</p>

Plug data cable into remote socket on back of inverter.

15
Step 15 of 18
<p>Run 50mm positive cable through cable tray into battery compartment. Cable tie cables to cable tray in locations highlighted.&nbsp;</p>

Run 50mm positive cable through cable tray into battery compartment. Cable tie cables to cable tray in locations highlighted. 

16
Step 16 of 18
<p>Using 11mm socket connect power cable to circuit breaker.&nbsp;<br></p>

Using 11mm socket connect power cable to circuit breaker. 

17
Step 17 of 18
<p>Refit P Clip over both 50mm cables shown.<br></p>

Refit P Clip over both 50mm cables shown.

18
Step 18 of 18
<p>Connect positive and negative cables to battery then turn on circuit breaker.&nbsp;</p>

Connect positive and negative cables to battery then turn on circuit breaker.