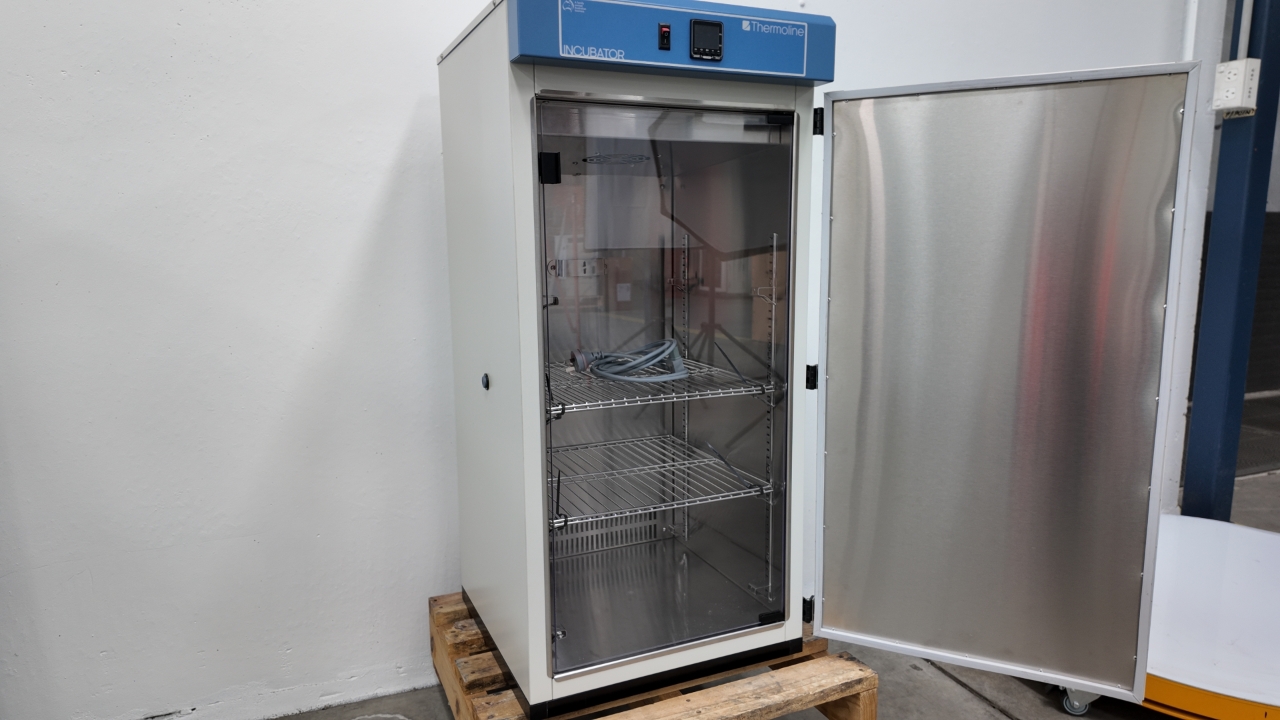
TI Incubators - Inner polycarbonate door (IPD) installation
Step by step installation guide - Inner polycarbonate door (IPD)
Step by step installation guide - Inner polycarbonate door (IPD)
1
Step 1 of 10
TOOLS REQUIRED
- Drill
- Phillips head screwdriver
- Small flat head screwdriver
TOOLS SUPPLIED
- 2.5mm Drill Bit
- M3 Tap
HARDWARE SUPPLIED
- Catch template
- Glass door hinge kit 110 Deg (Black)
- Glass door strike 24x40mm (Black)
- Magnetic push catch
- 2x M3 x 12mm Screws
2
Step 2 of 10Using a small flat-head screwdriver, push the tabs in under the bush. This will release one side of the bush.
Remove the bush from the top and bottom of the inner body.
3
Step 3 of 10
- Peel back the protective plastic from each corner of the polycarbonate door.
- Stick the hinge spacers onto the inside of the door.
4
Step 4 of 10
- Using a Phillips head screwdriver screw the hinge onto the hinge spacer that was installed in the previous step (Top of Polycarbonate door only)
5
Step 5 of 10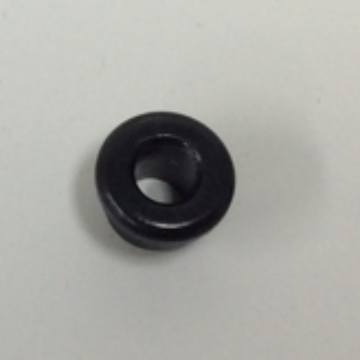
- Place the supplied bush into the hinge holes in the inner body (Holes from Step 1)
6
Step 6 of 10NOTE- See steps 6 & 7 before continuing.
- Slide the door hinge up & into the top bushing.
7
Step 7 of 10- Place the bush and hinge into the hole in the floor.
- Slide the perspex door into place and tighten the screws with Phillips head screwdriver (Do not overtighten)
8
Step 8 of 10- Using the supplied catch template, slide it up to the top of the inner left wall.
- Mark holes on the inner body.
9
Step 9 of 10
- Use the supplied 2.5mm drill bit to carefully drill the marked holes.
NOTE- Use care when tapping. The tap can snap easily if you go too fast!
- Use the supplied M3 tap to carefully tap the 2.5mm holes that were previously drilled.
- Use the supplied 2x M3x12mm screws to mount the magnetic catch (Do not overtighten the screws)
10
Step 10 of 10
- Apply the stick-on foam tape to the perspex door in line with the magnetic catch.
- Place the metal strike over the foam tape.