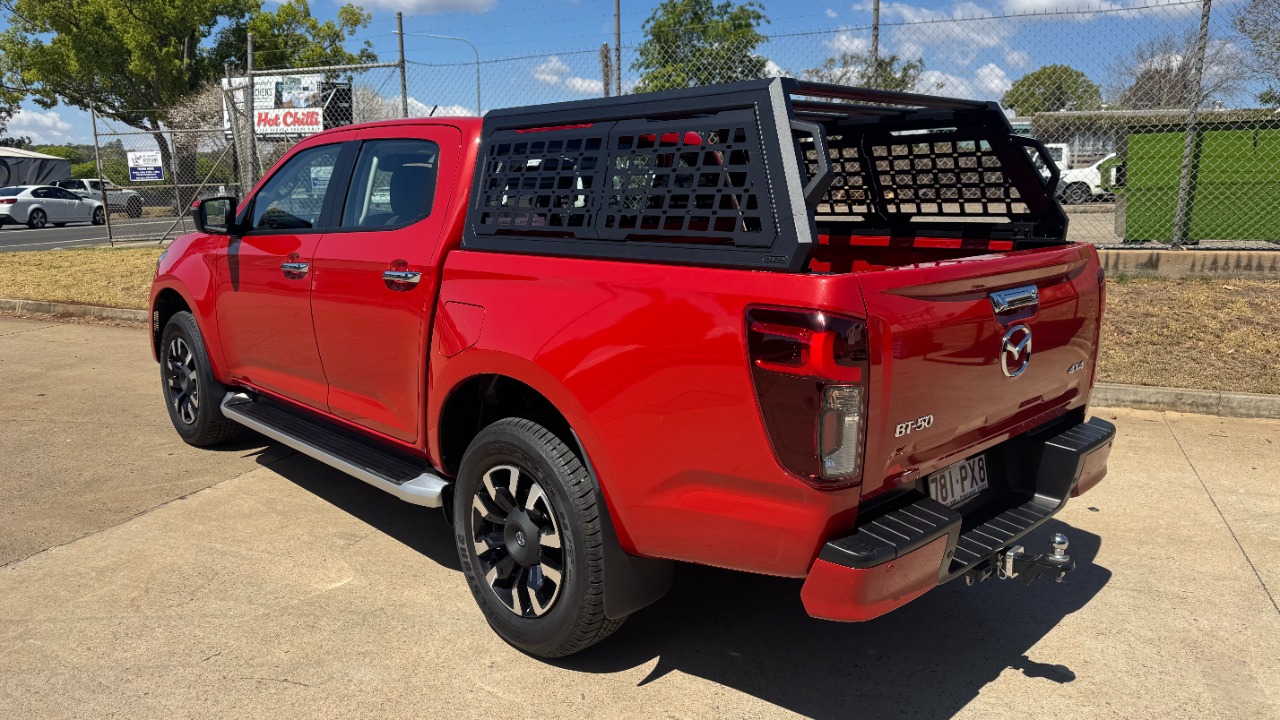
MAZDA BT50 & ISUZU DMAX
Click "Open Document" to view 3D Model
Brackets and fitted components have been colour coded per legend below:
ORANGE: Front Brackets
RED: Middle Brackets
Green: Rear Brackets
White: Crossbars
Yellow: Tie Down Eyelets
Grey: Front Window Mesh (Optional Add-on)
Please note: We have provided this for reference in the assembly process

Tools required for installation:
13mm Socket w/ Wrench
13mm spanner
12mm Socket or Spanner

If you have a tub liner, it will require trimming in order for the brackets to fit correctly.

Place the front bracket as shown over the tub liner and mark the profile for trimming.

Place the rear bracket as shown over the tub liner and mark the profile for trimming.

In the suppplied kit you will recieve the shown brackets labelled 'L' or 'R' depending on the side.

Hardware
M8 × 16 hex head bolt ×16
M8 × 25 hex head bolt with spring washer and flat washer ×8
M8 × 30 hex head bolt with spring washer and flat washer ×14
M8 hex flange nut ×8
D8 flat washer (8 × 16 × 1.6 mm) ×16
M8 spring clip nut ×16
D8 spring washer ×16

Using the 12mm Spanner, remove the two bolts retaining the tub rack at the rear.
Keep for later use.

Remove the Two bolts retaining the tie down bracket and tub liner at the rear.
Keep the bolts and the tie down bracket for later.

Using the 12mm Spanner, remove the two bolts retaining the tub rack at the Front.
Keep for later use.

Remove the Two bolts retaining the tie down bracket and tub liner at the front.
Keep the bolts and the tie down bracket for later.

Remove your tub liner and trim where previously marked if required.

Refit the top OEM bolt into the tub at the front and rear.

Fit the rear brackets in place as shown using the M8x25mm bolts with captive spring and flat washers - Refit the tie down loop back in place too.
Leave the bolts finger tight to allow for adjustment when fitting the tub rack.

Fit the Front brackets in place as shown using the M8x25mm bolts with captive spring and flat washers - Refit the tie down loop back in place too.
Leave the bolts finger tight to allow for adjustment when fitting the tub rack.

Place the assembled tub rack on top of the brackets/Tub.

Fit the tub rack to the brackets using the M8x30mm bolts with captive spring and flat washers and M8 Flanged hex Nuts
Leave the bolts finger tight to allow for adjustment when aligning the tub rack.
Fit two spring clip nuts into the horizontal channels on both sides of the tub rack extrusions.
Align to middle of the extrusion.
Fit the Left middle bracket to the spring clip nuts using M8x16mm hex head bolts with spring and flat washers.
Do not fully tighten.
Fit the clamping bracket to the underside of the middle bracket - as shown.
Use 3x M8x30mm head bolts with captive spring and flat washers.

Pictured is the completed bracket when fitted.
Tighten the bolts in the pictured order: 1 and then 2 (Do not overtighten)
Align the bracket to the middle of the tub or as preferred.
Please note: The bracket is designed to sit at a slight angle.

Align the sides of the tub racks to correctly fit the tub.

With the tub rack correclty aligned
Tighten all bolts fixing the tub rack brackets to the tub rack (13mm socket/spanner), then the bolts fixing the brackets to the tub (12mm Socket/Spanner).
Space the crossbars evenly and tighten using the 6mm Hex key used during the assembly.

The tub rack installation should now be complete.